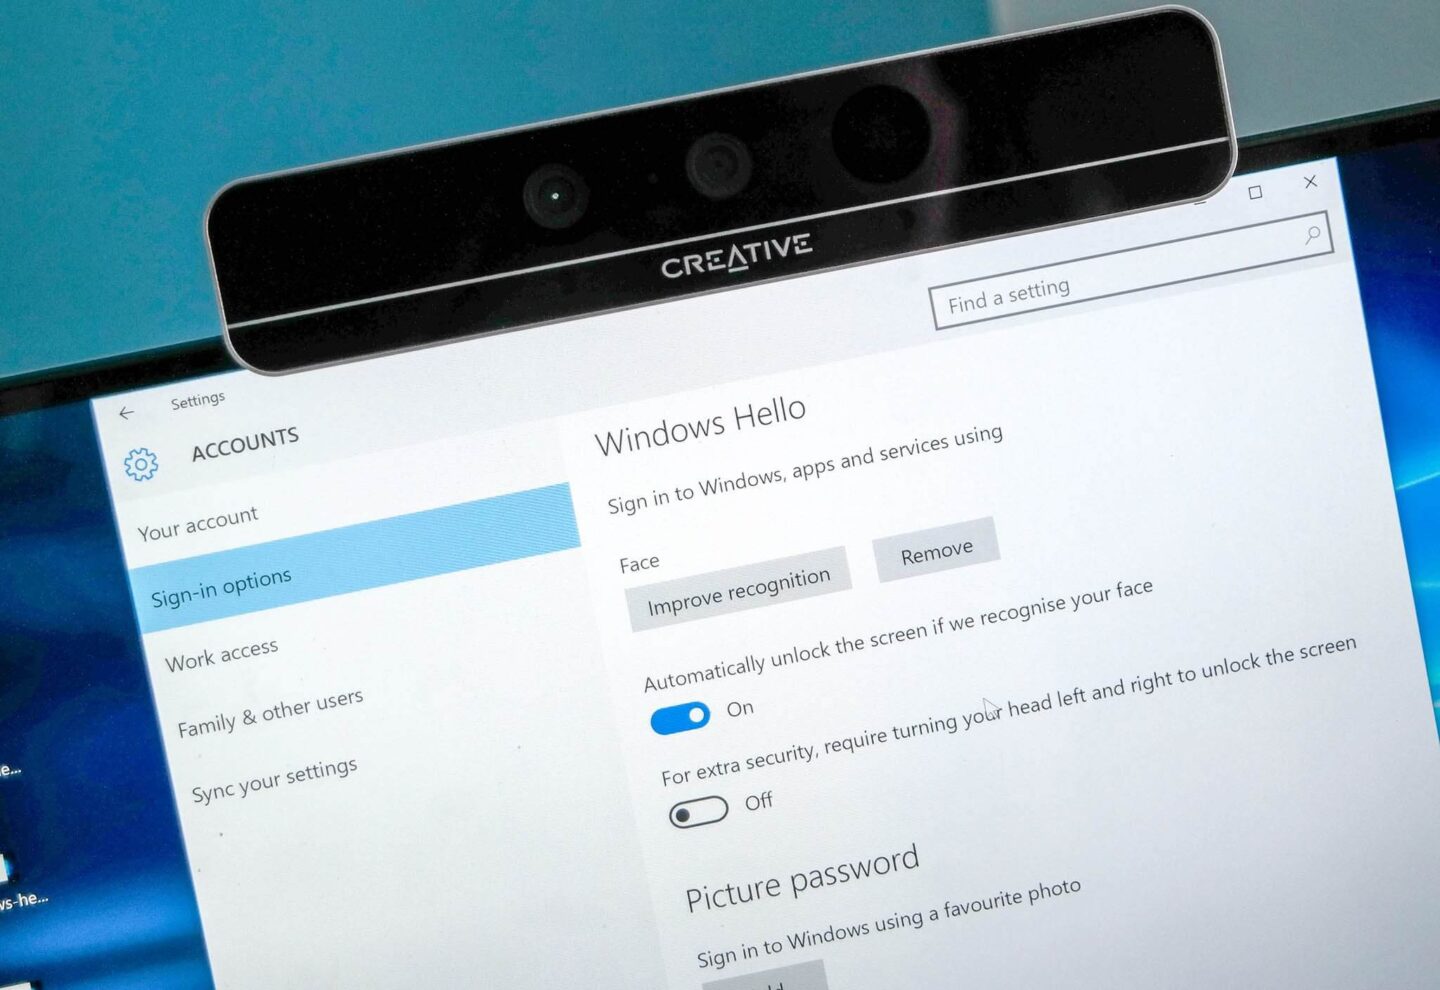
The recent August 2026 Windows cumulative patch introduced significant changes to biometric authentication. Specifically, Microsoft rolled out strict security enforcement for Enhanced Sign-In Security (ESS). Consequently, thousands of users now face frustrating facial recognition failures at login.
If your infrared camera stopped working overnight, you are definitely not alone. Thankfully, this problem usually stems from software misconfigurations rather than hardware failure. In this comprehensive guide, I will walk you through the exact steps to restore your Windows Hello face authentication.
Why the August 2026 ESS Update Caused Windows Hello Camera Errors
Microsoft designed Enhanced Sign-In Security to protect user biometrics from sophisticated spoofing attacks. To achieve this level of protection, ESS leverages Virtualization-Based Security (VBS). VBS isolates biometric matching operations inside a hypervisor-protected container. Consequently, memory injection attacks cannot hijack your biometric credentials.
However, the August 2026 update strictly enforces secure hardware capabilities. Previously, non-ESS certified IR cameras worked alongside basic driver isolation. Now, the operating system blocks unverified camera pipelines entirely. As a result, Windows displays errors like “We couldn’t find a camera compatible with Windows Hello Face”.
Furthermore, many laptop manufacturers delivered legacy driver packages that lack mandatory security flags. When the new update runs, Windows revokes trust in these outdated drivers. Therefore, your integrated IR sensor suddenly fails to initialize during boot.
How Enhanced Sign-In Security (ESS) Interacts with Your IR Camera
To fix this issue effectively, you must understand how ESS validates hardware components. First, Windows checks if your USB host controller supports the secure device capability. Specifically, the driver must expose the CM_DEVCAP_SECUREDEVICE flag to the kernel. You can review complete technical criteria on the official Microsoft Hardware Security Guide.
Next, the Windows Biometric Framework (WBS) attempts to isolate your camera process. If your camera meets ESS standards, Windows runs the process inside bioiso.exe. Conversely, if driver verification fails, the system terminates the biometric link immediately.
⚠️ Warning: Modifying kernel security settings or disabling VBS globally lowers your system defenses against memory exploits. Always test driver updates before altering core security policies.
Step 1: Check System Requirements and Verification Logs
Before applying complex driver patches, verify whether your hardware supports ESS. Thankfully, Windows Event Viewer records clear diagnostic entries for biometric initialization.
First, press Windows Key + R, type eventvwr.msc, and press Enter. Next, navigate to Applications and Services Logs > Microsoft > Windows > Biometrics > Operational. Look directly for Event ID 1108. This specific event details how the system handles your facial recognition sensor.
| Diagnostic Element | Standard Operation | ESS Enforcement Failure |
| Process Isolation | System Process | Blocked / Terminated |
| Secure Device Flag | CM_DEVCAP_SECUREDEVICE Present | Flag Missing in Driver |
| Trustlet Execution | bioiso.exe Active | bioiso.exe Halts |
| User Experience | Instant Recognition | Camera Error on Lock Screen |
If Event ID 1108 indicates a trustlet failure, your current camera driver lacks ESS compliance. Consequently, you must update or re-configure your sign-in preferences.
Step 2: Configure ESS Settings in Windows Sign-In Options
Fortunately, Windows 11 allows users to toggle external peripheral security when compatibility issues arise. If you use an external USB webcam, this toggle resolves most sign-in errors instantly.
- Open the Settings app by pressing Windows Key + I.
- Click on Accounts in the left sidebar, then select Sign-in options.
- Scroll down to the Additional settings section.
- Locate the Enhanced sign-in security toggle switch.
- Turn the toggle Off to allow non-ESS external cameras.
Alternatively, on older Windows builds, this option appears as “Sign in with an external camera or fingerprint reader”. Switching this setting off restores baseline biometric access without locking out your webcam. For official troubleshooting guidance, consult the Microsoft Windows Hello Support Page.
Step 3: Reinstall the Native Windows Hello Face Driver
Corrupted inf configuration files frequently block camera initialization. Fortunately, you can manually re-install the native Microsoft HelloFace.inf package.
First, open File Explorer and navigate to C:\Windows\System32\WinBioPlugIns\FaceDriver. Locate the file named HelloFace.inf. Right-click this file and select Show more options, then click Install. Afterward, perform the exact same procedure for HelloFaceMigration.inf if it exists in that directory.
💡 Pro-Tip: If the FaceDriver folder is completely empty or missing, open Settings > System > Optional features. Search for Windows Hello Face, uninstall the feature, restart your PC, and install it again.
Step 4: Update the USB Host Controller and IR Camera Drivers
Outdated chipset drivers often fail to pass security capabilities to Virtualization-Based Security. Therefore, updating your host controller drivers remains a vital repair step.
- Right-click the Start Menu button and choose Device Manager.
- Expand the Universal Serial Bus controllers category.
- Locate your eXtensible Host Controller entry.
- Right-click the controller and select Update driver.
- Choose Search automatically for drivers.
Next, expand the Cameras section in Device Manager. Right-click your IR camera device and choose Properties. Select the Driver tab and click Update Driver. If no new driver exists, check your manufacturer’s support site, such as the Intel Driver & Support Assistant or Dell Driver Downloads.
Step 5: Restart the Windows Biometric Service
Sometimes, the biometric background service gets stuck in an unresponsive state. Consequently, restarting the service clears cached credential locks.
Press Windows Key + R, type services.msc, and press Enter. Scroll down the list until you find Windows Biometric Service. Right-click the service and select Stop.
Next, open File Explorer and navigate to C:\Windows\System32\WinBioDatabase. Delete all .dat files inside this folder to clear corrupted biometric templates. Afterward, return to the Services window, right-click Windows Biometric Service, and select Start.
Step 6: Verify Virtualization-Based Security Status
Because ESS relies heavily on VBS, any underlying hypervisor corruption will disable facial sign-in. You can easily check VBS health using built-in system diagnostics.
Press Windows Key + R, type msinfo32, and press Enter. In the System Summary view, scroll down to Virtualization-based security. Ensure the state displays Running.
If VBS shows as Not Enabled, open an elevated Command Prompt window. Type bcdedit /set hypervisorlaunchtype auto and press Enter. Restart your computer immediately to restore core hypervisor isolation features. For advanced enterprise deployment rules, review the official Microsoft Security Baseline Documentation.
Final Thoughts and Long-Term Maintenance
System updates continuously enhance platform security, but they occasionally break daily workflows. The August 2026 ESS update highlights Microsoft’s aggressive push toward zero-trust hardware architecture. Thankfully, following the diagnostic and driver steps above will quickly solve camera conflicts.
Always remember to maintain updated hardware drivers directly from your OEM. Additionally, regularly back up your system state before installing major security patches.
Did this step-by-step guide fix your Windows Hello camera error? Leave a comment below with your laptop model and the solution that worked for you! Share this article with colleagues who might be struggling with facial sign-in issues after the latest update.