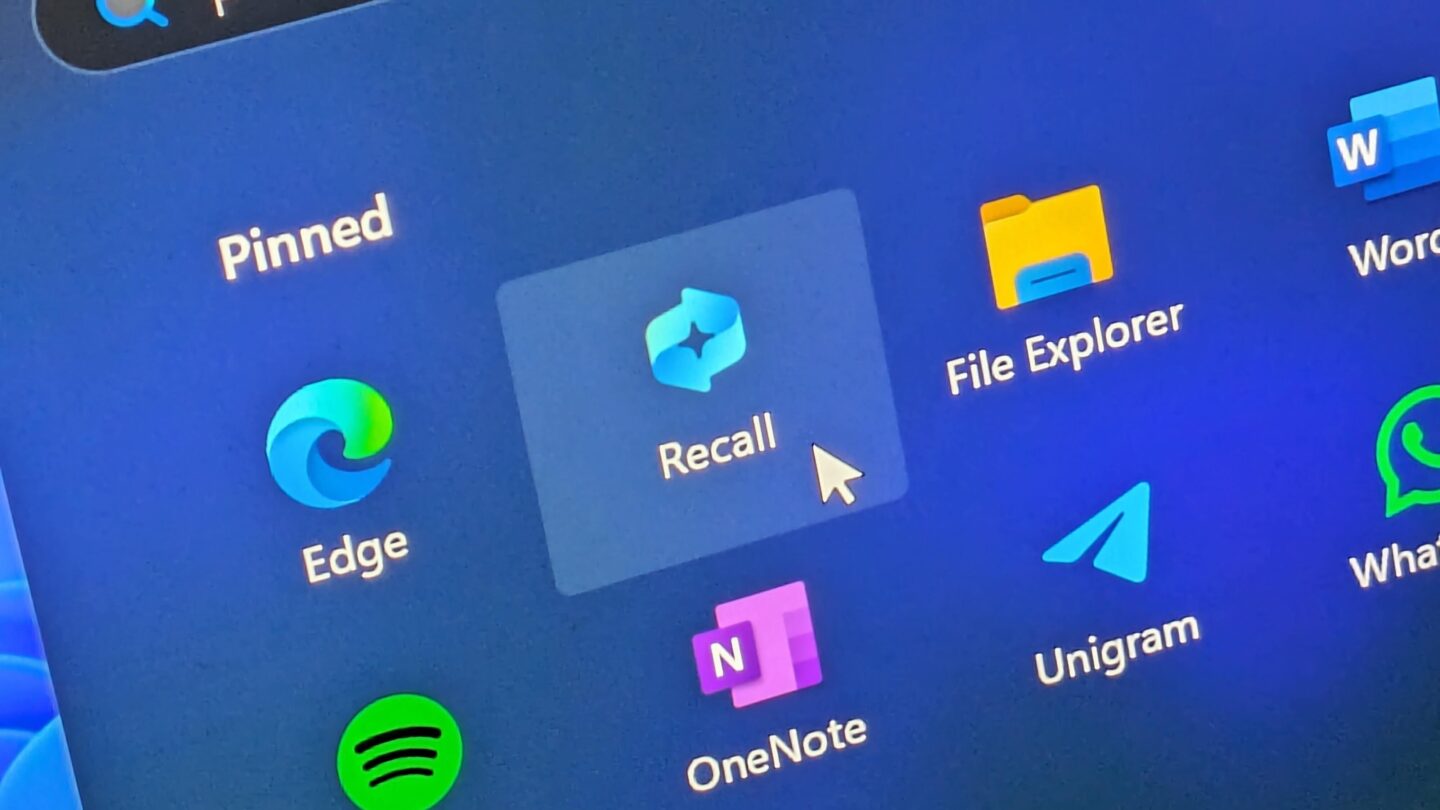
Microsoft recently introduced Windows 11 Recall AI to enhance search capabilities across Copilot+ PCs. However, this feature continuously captures screenshots and creates a comprehensive digital timeline of your desktop activity. Consequently, many users want to disable Windows 11 Recall to safeguard sensitive personal data and business documents. In fact, storing unencrypted or local activity logs raises serious security concerns among enterprise IT administrators.
Fortunately, you can take total control over your device privacy today. Specifically, Microsoft offers several methods to pause, sandbox, or completely erase these background AI tracking systems. In this detailed technical guide, we will walk you through every step to secure your system effectively.
Understanding Windows 11 Recall AI and Its Security Risks
Before taking action, you must understand how Windows 11 AI snapshot storage operates behind the scenes. Essentially, the system captures high-resolution screenshots every few seconds whenever screen content changes. Furthermore, an optical character recognition engine analyzes text, images, and active app windows continuously. Afterwards, it indexes everything into a searchable local database on your hard drive.
⚠️ Warning: Local databases containing unencrypted activity logs pose a massive threat if malware compromises your system. Therefore, disabling this feature is critical for sensitive compliance environments like HIPAA or GDPR.
Moreover, physical access to an unlocked device exposes your entire browsing history and banking sessions. Although Microsoft processes data locally on the NPU, stored snapshots remain vulnerable to local privilege escalation attacks. Consequently, turning off the tracking pipeline provides immediate peace of mind for privacy-conscious users.
Method 1: How to Turn Off Windows Recall in System Settings
First, the simplest approach utilizes the official graphical user interface inside Windows Settings. However, this basic method merely toggles active capture without removing core system binaries. Nevertheless, it serves as a fast first step for standard home users.
- Open your Start Menu and launch the Settings application.
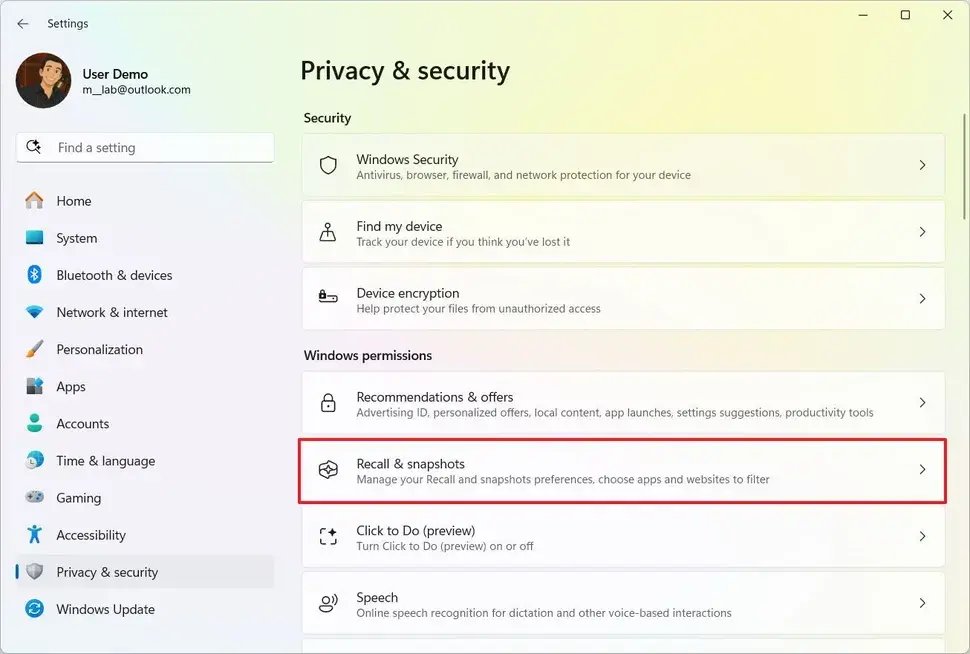
- Next, navigate directly to the Privacy & security tab on the left panel.
- Scroll down and select the Recall & snapshots configuration section.
- Immediately toggle the Save snapshots switch to the Off position.
- Finally, click Delete snapshots to wipe all existing stored history from your drive.
💡 Pro-Tip: Pausing snapshot generation saves valuable disk space and reduces continuous background NPU utilization instantly.
Additionally, review official guidelines on the Microsoft Support Portal for updated OS menu paths. However, keep in mind that system updates might occasionally re-enable toggled settings automatically. Therefore, advanced power users should consider deeper command-line removal strategies.
Method 2: Permanently Remove Recall Feature DISM and PowerShell Commands
If you prefer a permanent solution, command-line utility tools provide superior results. Specifically, using DISM completely purges the package payload from your Windows installation image. Consequently, future operating system patches cannot easily turn the feature back on without manual intervention.
Option A: Using DISM via Elevated Command Prompt
- Press the Windows Key, type cmd, and right-click to select Run as administrator.
- Next, type the following command to execute package removal:
DOS
DISM /Online /Disable-Feature /FeatureName:"Recall"- Afterwards, press Enter and wait for the deployment engine to finish processing.
- Finally, restart your computer when prompted to finalize the system changes.
To verify complete removal, execute this verification query:
DOS
DISM /Online /Get-FeatureInfo /FeatureName:"Recall"Ideally, the output status should explicitly confirm Disabled with Payload Removed. You can read deeper documentation regarding image servicing at the official Microsoft Learn DISM Guide.
Option B: Using Windows PowerShell Commands
Alternatively, system administrators can deploy PowerShell scripts across multiple endpoints efficiently.
- First, right-click the Start Menu button and choose Terminal (Admin).
- Ensure your console tab uses an active PowerShell session.
- Then, enter this administrative command directly:
PowerShell
Disable-WindowsOptionalFeature -Online -FeatureName "Recall" -Remove- Consequently, the OS strips out all underlying system files cleanly.
- Afterwards, reboot your desktop to finish updating your system registry.
For security auditing resources, explore analysis reports published on CSI Specialist Security regarding enterprise telemetry management.
Method 3: Enforcing Group Policy and Registry Locks
Enterprise environments require standardized enforcement across all network workstations. Therefore, configuring Windows 11 privacy settings via policy editors guarantees user compliance. Furthermore, this strategy prevents individual local users from altering security baselines.
Configuring Local Group Policy Editor
- Press Win + R, type gpedit.msc, and hit Enter.
- Navigate to Computer Configuration > Administrative Templates > Windows Components > Windows AI.
- Locate the policy entry labeled Allow Recall to be enabled.
- Double-click the policy and set its status value to Disabled.
- Click Apply, click OK, and reboot your system.
Modifying the Windows Registry for Windows 11 Home Edition
Because Windows 11 Home lacks Group Policy support, registry edits offer an effective alternative. However, always back up your registry before applying manual parameter modifications.
- Launch the run dialog, type regedit, and click OK.
- Head to
HKEY_LOCAL_MACHINE\SOFTWARE\Policies\Microsoft\Windows\WindowsAI. - Right-click the folder, create a new DWORD (32-bit) Value, and name it
AllowRecallEnablement. - Keep its value data set to 0.
- Close the editor and reboot your machine immediately.
For detailed security breakdowns regarding Windows policy controls, check coverage on Windows Latest.
Method 4: How to Sandbox and Filter Recall Snapshots
Sometimes, complete removal is not practical if you rely on specific AI helper applications. In such scenarios, sandboxing capture behaviors offers a practical middle ground. Specifically, you can exclude sensitive programs, financial websites, and private browser tabs from snapshot processing.
- First, open Settings and return to the Recall & snapshots page.
- Locate the App exclusions section and click Add app.
- Select sensitive programs like password managers, medical software, or banking dashboards.
- Next, select Website exclusions to block specific private domains.
- Add sensitive URLs so the background service skips recording those pages entirely.
Furthermore, leveraging third-party privacy toolsets can help isolate system activity further. For instance, privacy insights from Proton Privacy Blog highlight strong sandbox methodologies for modern operating systems.
Best Practices for Maintaining Windows 11 Privacy
Disabling automated background snapshots is just one component of overall system hardening. Indeed, maintaining modern digital privacy requires a multi-layered security strategy. Therefore, implement these essential maintenance tips to safeguard your device comprehensively.
- Audit Background Services: Periodically inspect active processes inside Task Manager.
- Enable BitLocker Encryption: Protect your drive against offline data extraction attacks.
- Manage Telemetry Options: Dial back diagnostic data submissions within Windows settings.
- Review App Permissions: Restrict camera, microphone, and desktop access for non-essential applications.
- Keep Systems Updated: Install security patches promptly to prevent exploit threats.
By applying these proactive measures, you keep control over your digital footprint securely. Consequently, your system remains fast, efficient, and resistant to unauthorized surveillance.
Final Thoughts
Overall, maintaining control over your personal computer remains a fundamental user right. While Microsoft continues pushing Windows 11 Copilot PC security and AI tools, privacy should never take a backseat. Fortunately, using the tools detailed above empowers you to completely customize your OS privacy.
Whether you choose full DISM uninstallation or selective sandboxing, taking action today secures your private data. What are your thoughts on Windows 11 AI snapshot tracking? Did you disable the feature on your PC? Let us know in the comments section below, and share this article with fellow tech enthusiasts!