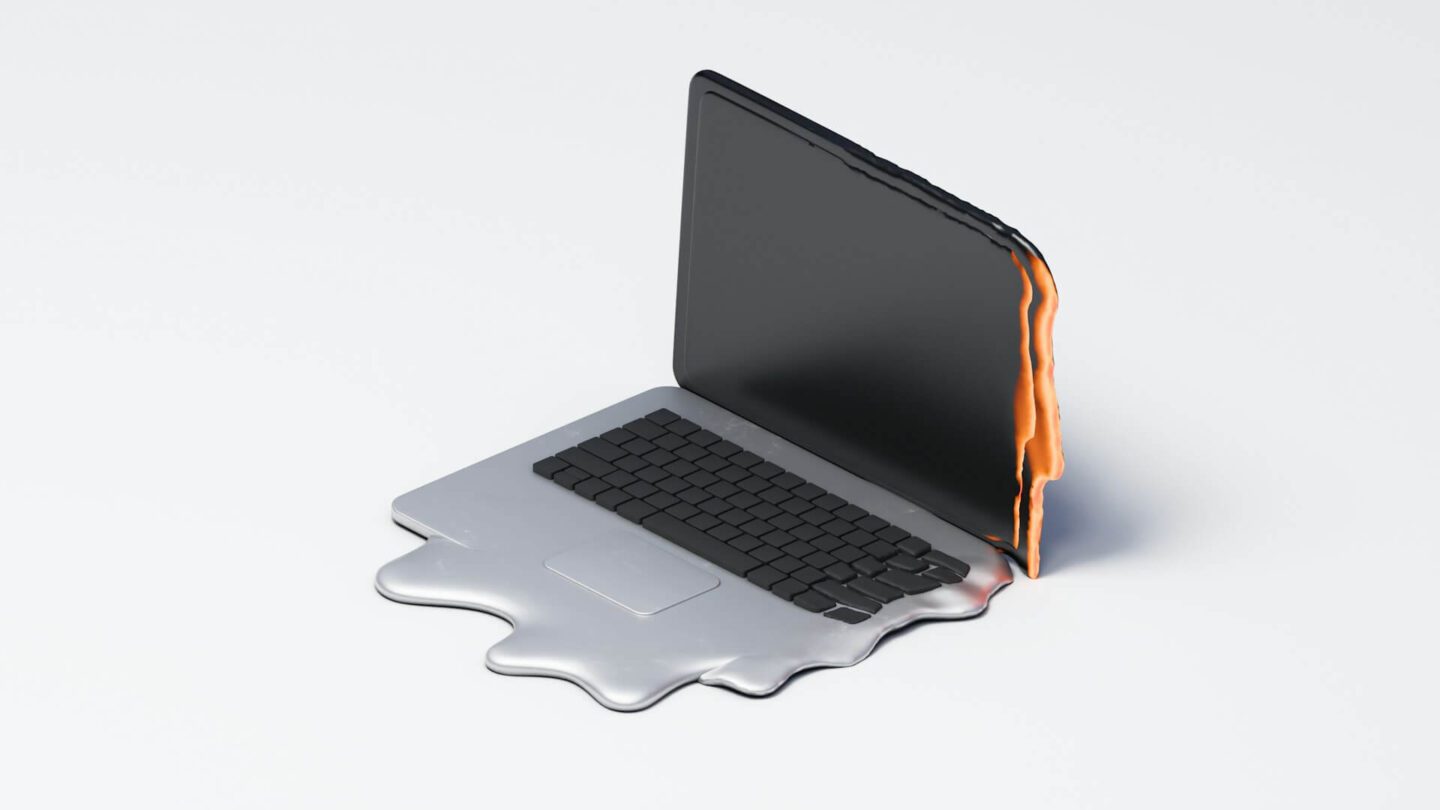
A noisy fan does not automatically mean your laptop needs repairs. However, persistent heat, stuttering games, and unexpected shutdowns deserve investigation. Learning how to fix a laptop that overheats starts with identifying what generates heat and what prevents its escape.
Thermal throttling happens when the CPU or GPU reduces performance to control temperature. Games may lose frames, while applications and rendering tasks run slower. A thermal shutdown occurs when the system powers off because thermal protection cannot maintain safe operation.
These temperature ranges provide a starting point:
- 40°C–60°C at idle: A useful reference for many laptops after background activity settles.
- 85°C–90°C during heavy gaming or rendering: Possible under demanding workloads, depending on the laptop’s design.
- 95°C or higher: Investigate sustained readings, especially alongside throttling, weak airflow, or shutdowns.
These figures are guidelines, rather than universal operating limits. Room temperature, processor specifications, and power profiles affect results. Check Intel’s guidance on processor temperature limits or your processor manufacturer’s specifications.
Also, distinguish CPU package temperature, GPU core temperature, and GPU hotspot temperature. Their limits differ, so comparing them directly can mislead troubleshooting.
Before making changes, record temperatures during a repeatable workload. If you notice battery swelling, smoke, or burning smells, shut down and arrange professional service.
The Core Causes of Laptop Overheating
Dust Blocks the Cooling Path
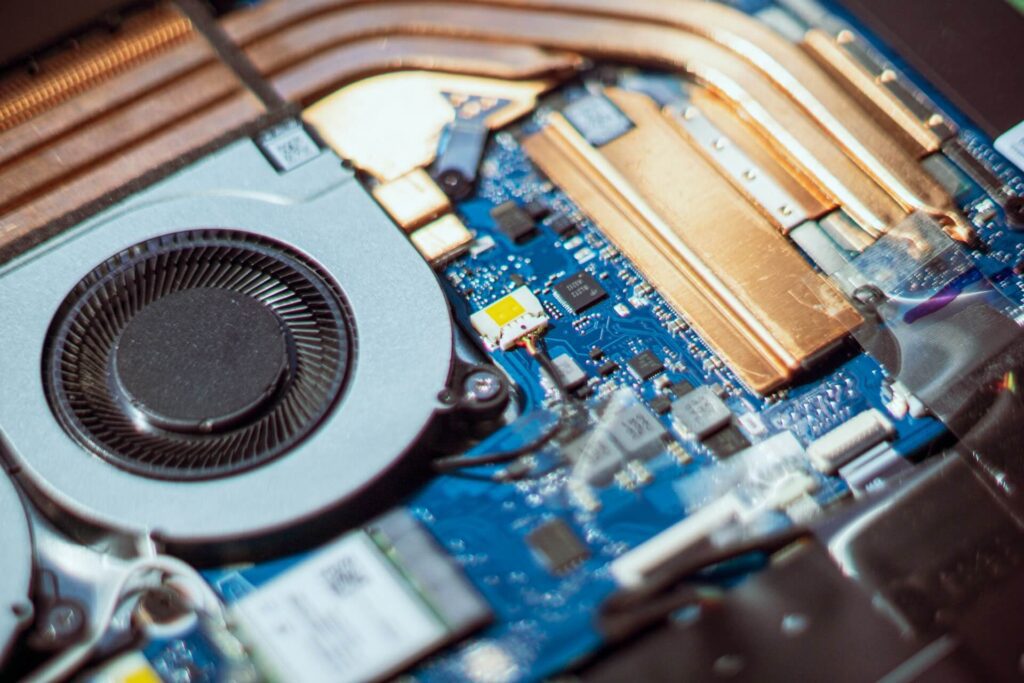
Your laptop’s blower fan pushes air through a tightly packed heatsink fin stack. Heat pipes carry energy from the processor toward these fins, where moving air removes it.
Over time, dust and hair collect between the fan outlet and fin stack. This debris can form a felt-like insulation barrier, restricting airflow and reducing heat transfer. Consequently, the fan sounds loud while little air escapes.
Visible vent dust may represent only part of the blockage. Internal lint can remain hidden behind the fan housing.
Thermal Paste Loses Effective Contact
Thermal paste fills microscopic gaps between the processor and heatsink. Deterioration, paste displacement, or uneven mounting pressure can weaken heat transfer.
However, elevated temperatures alone do not prove that repasting is necessary. Blocked fins and excessive workloads can produce similar symptoms. Some laptops also use factory liquid metal or phase-change materials requiring specialized handling.
Intake and Exhaust Vents Become Obstructed
Beds, cushions, and blankets can seal underside intakes. Meanwhile, nearby objects may obstruct rear or side exhausts.
High room temperatures make cooling harder because the laptop draws in warmer air. Even a clean cooling system needs adequate ventilation.
Background Processes Keep Components Busy
Browser tabs, game launchers, updates, and stalled applications can keep the CPU active. Background graphics applications may also prevent the GPU from entering a lower-power state.
Temporary activity during updates is expected. Persistent unexplained usage deserves investigation.
Fans and Cooling Assemblies Deteriorate
Worn bearings, damaged blades, and intermittent rotation reduce airflow. Damaged heat pipes, poor heatsink mounting, or incorrect previous repairs can also impair cooling.
Software adjustments may reduce heat generation. However, they cannot restore failed cooling hardware.
10 Practical Solutions for an Overheating Laptop
Start with airflow and workload checks before opening the chassis. Reserve internal cleaning, repasting, and component replacement for situations where simpler steps fail or diagnostics indicate hardware trouble.
Solution 1: Elevate the Chassis and Use a Hard Surface
A stable stand can improve intake clearance without changing system settings.
- Place the laptop on a firm, flat desk.
- Raise its rear using a suitable stand.
- Keep underside intakes and hinge-mounted exhausts unobstructed.
- Repeat your baseline workload and compare temperatures.
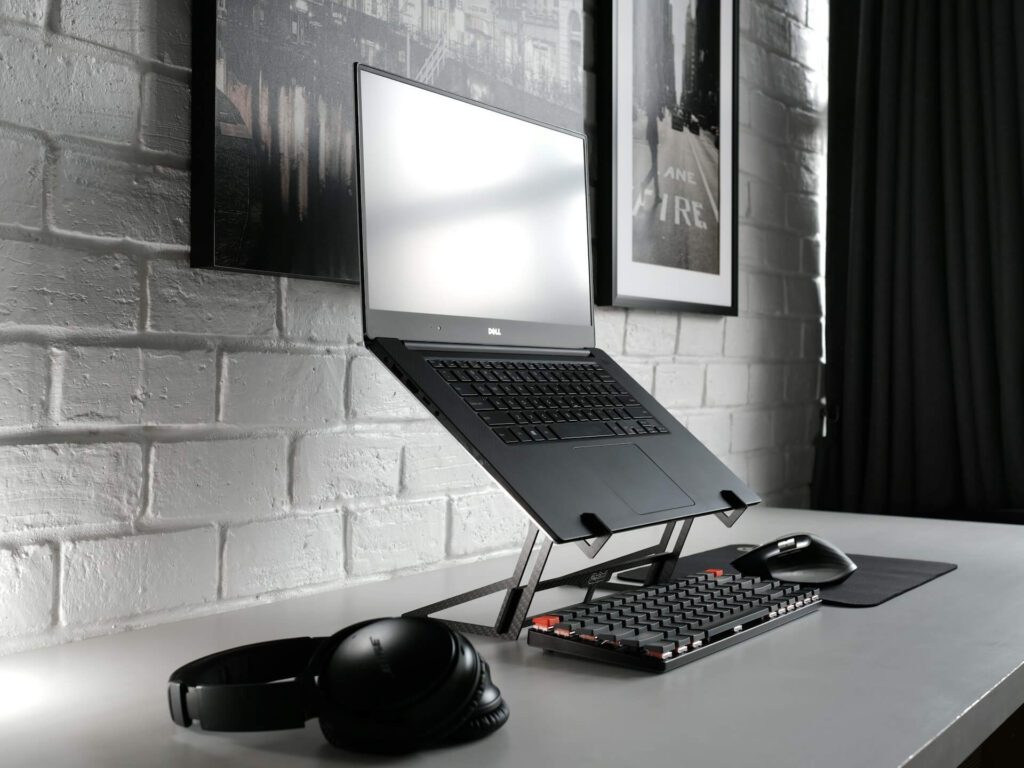
Avoid unstable supports or stands that cover ventilation openings. Dell’s laptop overheating troubleshooting guide explains how blocked airflow contributes to overheating.
Solution 2: Clean Vents and Fan Blades
External cleaning can remove loose debris. However, compacted lint inside the fin stack may require chassis removal.
- Shut down, unplug the charger, and let the laptop cool.
- Use upright canned compressed air with short bursts.
- Maintain the distance recommended by the laptop manufacturer.
- If opening the chassis, follow its service manual and battery-disconnection instructions.
- Hold accessible fan blades stationary while cleaning.
- Remove loosened debris rather than pushing it deeper inside.
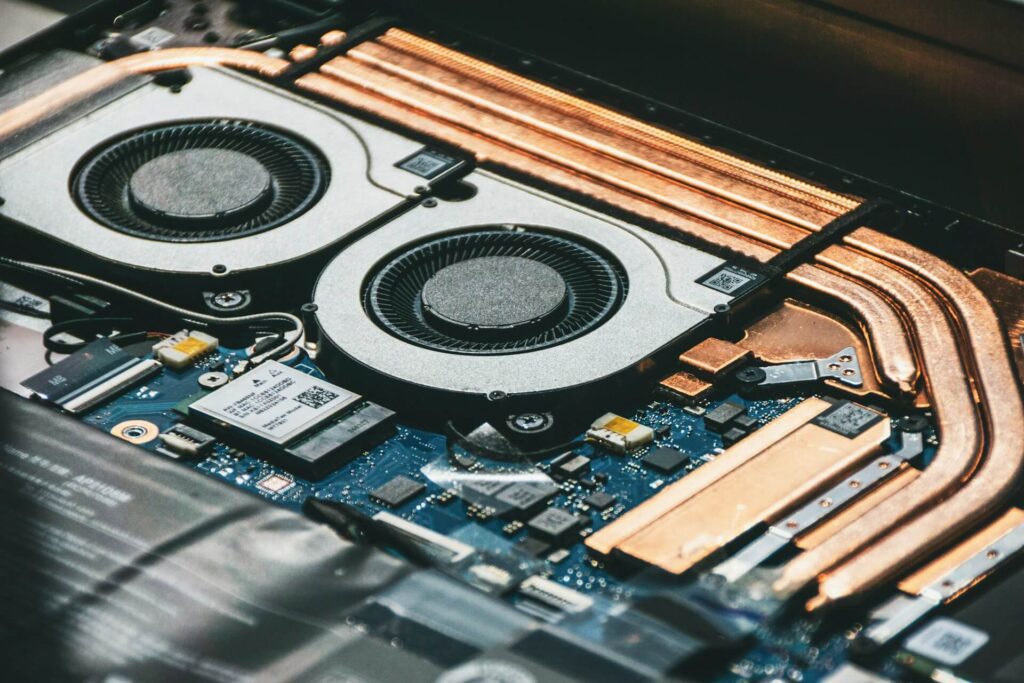
Never insert objects through vents to restrain hidden fan blades. Avoid household vacuums, liquid sprays, and excessive air pressure. If internal access requires extensive disassembly, professional cleaning may be the more practical option.
Solution 3: Check Fan Activity and Thermal Profiles
Open the laptop’s supported utility, such as Lenovo Vantage, MyASUS, or Dell’s thermal controls. Compare available Quiet, Balanced, Performance, and cooling-focused profiles.
A Quiet profile may permit higher temperatures before increasing fan speed. Conversely, a performance profile may increase both cooling and processor power. Evaluate the resulting temperatures instead of assuming one profile always runs cooler.
Run OEM fan diagnostics when available. Grinding, intermittent rotation, or a failed diagnostic test suggests mechanical trouble.
Treat SpeedFan as a legacy, compatibility-dependent utility. Many modern laptops use proprietary fan controllers that it cannot manage. Also, zero RPM at idle can be intentional.
Solution 4: Identify Resource-Hungry Background Tasks
Check whether unnecessary activity explains persistent heat before adjusting processor settings.
- Press Ctrl + Shift + Esc.
- Open Task Manager → Processes.
- Sort by CPU, then inspect GPU usage.
- Close unnecessary applications.
- Review Task Manager → Startup apps and disable unwanted startup entries.
Allow legitimate updates and antivirus scans to finish. Investigate unfamiliar processes before terminating them.
If unexplained activity persists, run a scan through Windows Security. Avoid ending essential Windows processes simply because they briefly consume resources.
Solution 5: Adjust Windows Power Settings and Test 99%
Begin with a balanced power configuration. Microsoft explains the available choices in its guide to changing Windows power mode.
To test the maximum processor setting:
- Open Control Panel → Hardware and Sound → Power Options.
- Select Change plan settings beside the active plan.
- Choose Change advanced power settings.
- Expand Processor power management → Maximum processor state.
- Record the original value, then set Plugged in to 99%.
- Adjust On battery separately if needed.
- Select Apply → OK.
On some systems, 99% suppresses boost behavior and reduces aggressive heat spikes. However, modern processor controls may behave differently, and the setting may be unavailable.
Compare temperatures and performance afterward. Restore the original setting if performance drops excessively.
💡 Pro Tip: Change one setting at a time. Record temperatures, fan noise, and performance under the same workload before deciding whether it helped.
Solution 6: Consider Undervolting or Turbo Boost Adjustments
Undervolting reduces processor voltage. Disabling boost limits peak clock speeds, while power limits restrict energy consumption. These approaches can reduce heat, but they have different performance and stability implications.
ThrottleStop provides controls on compatible Intel laptops. However, processor and firmware restrictions may block voltage adjustments.
For AMD laptops, Ryzen Controller is deprecated and primarily associated with older supported processors. Prefer OEM power controls before experimenting with third-party tuning.
If supported, make small changes and test stability before applying settings automatically at startup. Revert changes if crashes, freezes, or calculation errors appear.
Keep thermal protection enabled. Avoid bypassing security protections to expose locked voltage controls.
Solution 7: Choose a Suitable Cooling Pad
An active cooling pad can assist airflow through underside intakes. Choose one with fan placement that matches your laptop’s ventilation layout.
Consider its stand height, stability, noise, and ease of cleaning. A raised stand alone may already provide a useful improvement.
Vacuum coolers attach to exhaust outlets, so their effectiveness depends on vent shape and fit. An unsuitable adapter may obstruct airflow or place stress on the chassis.
Test accessories under identical conditions. Neither cooling pads nor vacuum coolers repair an internal dust blockage or failing fan.
Solution 8: Repaste the CPU and GPU Carefully
Repasting can restore heat transfer when compound deteriorates or heatsink contact becomes uneven. First, confirm whether the laptop uses conventional paste, phase-change material, or factory liquid metal.
For conventional paste, follow this procedure:
- Shut down, unplug power, disconnect the battery, and follow ESD precautions.
- Remove the heatsink according to the service manual’s screw sequence.
- Soften dried compound using 90%+ isopropyl alcohol applied to lint-free material.
- Clean both contact surfaces gently without scraping exposed processor dies.
- Let the alcohol evaporate completely.
- Apply a suitable amount of non-conductive compound.
- Lower the heatsink evenly without unnecessary sliding.
- Tighten screws gradually in a cross/diagonal pattern, unless the manufacturer specifies a numbered sequence.
- Preserve thermal-pad positions and thicknesses before reassembly.
A pea-sized central dot suits some larger contact surfaces. However, smaller laptop dies require less compound, and exposed dies need complete contact coverage. Follow the paste manufacturer’s method rather than applying a desktop-sized amount automatically.
For example, ARCTIC’s MX-6 specifications describe a non-conductive compound designed to spread through mounting pressure. Conventional Thermal Grizzly pastes are another option, but distinguish them from electrically conductive liquid-metal products.
Never substitute paste for gap-filling thermal pads. Likewise, avoid casually replacing factory liquid metal or specialized thermal interfaces.
Solution 9: Update BIOS and EC Firmware
BIOS and embedded controller (EC) updates may revise fan behavior, power limits, or thermal management. Check release notes for the exact laptop model.
Before updating:
- Back up important files.
- Confirm access to your BitLocker recovery key.
- Suspend BitLocker when the OEM instructions require it.
- Connect reliable AC power and meet the specified battery requirement.
- Close applications and follow the manufacturer’s update procedure.
- Never interrupt flashing.
Consult the appropriate manufacturer’s instructions, such as Dell’s BIOS update guide.
If the laptop repeatedly shuts down, stabilize its cooling before flashing firmware. An update requires reliable power throughout the process.
Solution 10: Replace Failed Cooling Components
Grinding, intermittent rotation, or failed diagnostics can indicate a defective fan module. Match replacements by exact part number, connector, mounting points, and model revision.
A damaged heat pipe or vapor chamber may require replacement of the complete cooling assembly. Suspect impaired heat transfer when the processor end becomes extremely hot while the fin-stack end stays unusually cool under sustained load.
A technician can compare temperatures along the assembly using suitable probes or thermal imaging. Heat should spread toward the fins, although perfectly uniform temperatures are unnecessary.
Reflective copper can distort infrared readings. Therefore, rule out poor heatsink contact, airflow problems, and measurement errors before condemning the assembly.
Replace damaged sealed assemblies rather than attempting to refill or repair them. Afterward, verify fan operation, sustained performance, and temperatures.
Monitoring Tools and Preventive Maintenance
Choose a Monitoring Utility
HWMonitor provides accessible temperature, voltage, and available fan-speed readings. Core Temp focuses on processor temperatures, while HWiNFO64 offers detailed sensor logging and throttling indicators.
Download HWiNFO from its official website and check its licensing terms when using it commercially.
Missing fan RPM readings do not automatically indicate failure. Some laptops do not expose those sensors to third-party applications.
Verify Improvements Consistently
Compare results using the same workload, power profile, test duration, and room conditions. Record temperatures alongside clock speeds and performance.
A lower temperature achieved through a substantial performance reduction represents a tradeoff. It does not necessarily prove that cooling efficiency improved.
Also, distinguish brief maximum spikes from sustained heat. Stop testing if shutdowns or other severe symptoms recur.
Quick Diagnostic Reference
| Symptom | Probable cause | Immediate fix |
|---|---|---|
| Loud fans with low CPU usage | Dust blockage, GPU activity, or an aggressive fan profile | Check GPU usage, vents, and thermal settings |
| Apparent thermal shutdown immediately after boot | Cooling failure, poor heatsink contact, or another power fault | Stop repeated boot attempts and arrange diagnostics |
| Hot keyboard deck | Sustained workload, warm surroundings, or restricted cooling | Clear vents and inspect CPU/GPU activity |
| Grinding or rattling fan | Worn bearing, damaged blades, or debris | Inspect the fan and replace it if defective |
| Hot processor with unusually cool fin stack | Poor contact or impaired heat-pipe transfer | Inspect mounting and the cooling assembly |
| High temperatures after repasting | Uneven mounting, incomplete coverage, or displaced pads | Recheck assembly against the service manual |
| Heat increases during ordinary browsing | Background tasks, browser activity, or blocked airflow | Review Task Manager and intake clearance |
Prevent Overheating From Returning
Inspect vents regularly and clean according to actual dust buildup. Dusty rooms, pets, and fabric-heavy environments may require more frequent attention.
Keep ventilation openings clear and manage unnecessary startup applications. Review OEM updates periodically, but avoid routine repasting without evidence of a thermal-interface problem.
Conclusion: Fix the Cause and Confirm the Result
Start with airflow, background activity, and power settings. Move to internal maintenance when measurements or diagnostics justify it.
Acceptable temperatures depend on the processor, workload, and laptop design. Repeated shutdowns, failed fans, and damaged cooling assemblies require prompt attention.
Which fix helped your laptop? Share your model and before-and-after temperatures in the comments, and pass this guide to someone troubleshooting overheating.