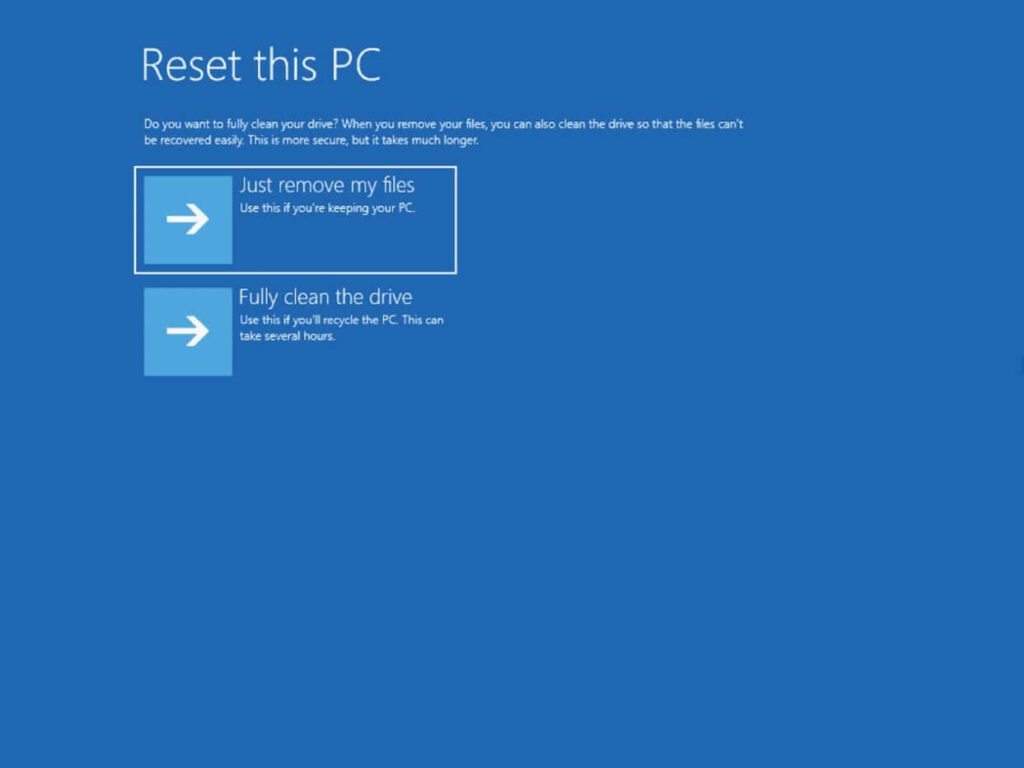
The Windows 11 Cloud Reset feature offers a seamless way to reinstall your operating system directly from Microsoft servers. However, users frequently encounter the frustrating “Failed to Reset” error during this process. This comprehensive guide will help you resolve the Cloud Download Error and restore your system functionality. We will explore the root causes of this recovery glitch and provide clear, actionable solutions.
Why the Windows 11 Cloud Rebuild Feature Fails
The Cloud Rebuild Feature relies heavily on a stable internet connection and intact system files. When these elements fail, the Windows Recovery Environment cannot fetch the necessary installation files.
Network Disruptions and Driver Issues
Wireless connections often drop during the pre-boot phase because standard Wi-Fi drivers might not load correctly in the recovery environment. Consequently, the system loses contact with the Microsoft deployment servers midway through the download. Switching to a wired Ethernet connection usually bypasses this initial hurdle.
Corrupted System Files and Component Store Damage
Local system corruption frequently blocks the cloud deployment pipeline. If your existing Windows image contains corrupted system files, the installer cannot prepare the local environment for the incoming cloud payload. Therefore, repairing the local component store must happen before you attempt the reset again.
How to Fix the Cloud Download Failed Error
Follow these verified technical solutions sequentially to resolve the error and successfully reinstall Windows 11.
1. Verify and Switch Your Network Connection
Before changing advanced system settings, ensure your network infrastructure supports large file downloads outside the standard desktop environment.
- Plug in an Ethernet Cable: Avoid Wi-Fi during recovery tasks because wired connections provide superior stability.
- Power Cycle Your Router: Unplug your router for 30 seconds to clear clogged DNS caches.
- Check Internet Bandwidth: Ensure your connection delivers at least 15 Mbps download speeds without interruption.
⚠️ Warning: Do not attempt a cloud reset while connected to a mobile hotspot or a metered data connection, as the 4GB payload may exhaust your data limit and terminate prematurely.
2. Run SFC and DISM Tools via Command Prompt
If network stability is not the issue, internal file corruption is likely blocking the Windows 11 Recovery subsystem. You can deploy deployment image tools to fix these files.
DOS
DISM.exe /Online /Cleanup-image /Restorehealth
sfc /scannow
Active system file monitoring prevents unauthorized modifications during this repair sequence. Execute these commands within an elevated Command Prompt window. The DISM utility connects directly to Windows Update to replace damaged components, while the SFC tool fixes local integrity violations.
3. Re-enable the Windows Recovery Environment (WinRE)
Sometimes, the recovery environment configuration file becomes misaligned or disabled entirely. Manually cycling the WinRE status forces Windows to re-index its recovery parameters.
- Open Command Prompt as an administrator.
- Type
reagentc /disableand hit Enter to turn off the recovery environment. - Type
reagentc /enableand press Enter to reactivate the service. - Type
reagentc /infoto confirm the status reads “Enabled.”
4. Reset TCP/IP Stack and Clear DNS
Network configurations can sometimes store faulty routing data, which prevents the recovery wizard from reaching Microsoft download nodes.
DOS
netsh int ip reset
ipconfig /flushdns
These commands purge outdated network configurations instantly. After running them, restart your computer and initiate the Windows 11 Cloud Reset process once more.
Alternative Deployment: Using Media Creation Tool
When native recovery tools fail completely, creating external installation media provides a reliable alternative path.
Create a Bootable USB Drive
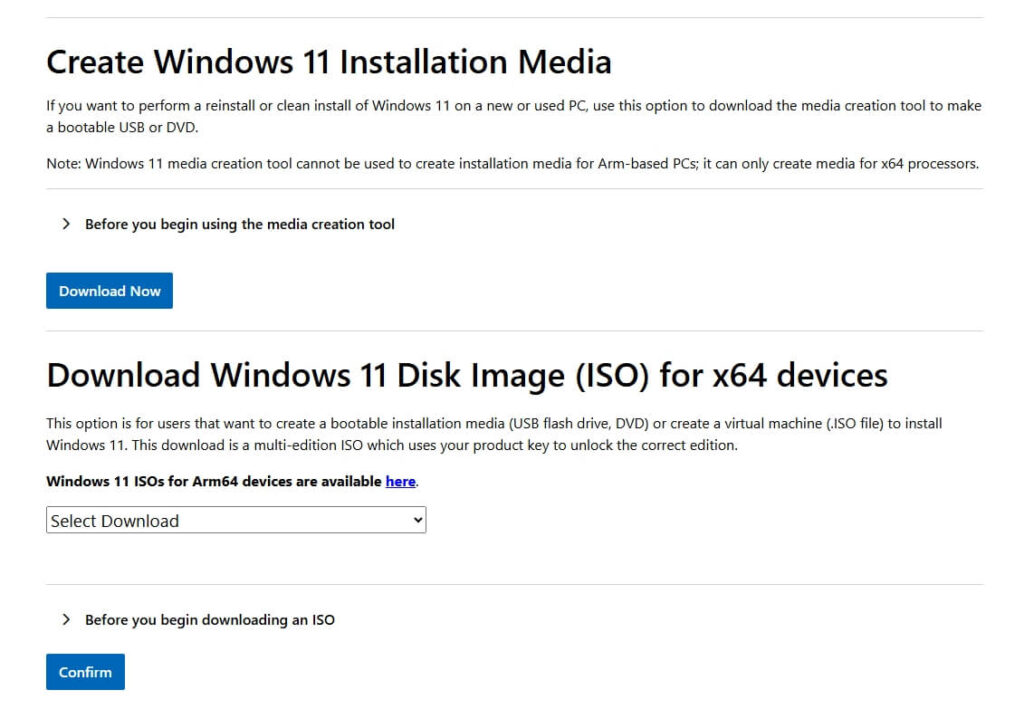
You can download the official tool directly from the Microsoft Software Download page. Insert a blank 8GB USB flash drive into a working computer and launch the utility. Select your language and edition preferences, then choose the USB flash drive option to generate a fresh installer.
Perform a Clean Installation
Boot your problematic computer using the newly created USB drive. Select your language options, click “Install Now,” and accept the licensing terms. Choose the “Custom: Install Windows only (advanced)” option to format your primary drive partition and deploy a pristine version of Windows 11.
💡 Pro-Tip: Always backup your critical personal files to an external storage drive or an isolated cloud directory before executing a clean installation, as this process erases your primary storage drive entirely.
Final Thoughts
Encountering a Fix Failed to Reset message can feel daunting, but systematic troubleshooting usually resolves the underlying network or file errors. By ensuring a wired connection, repairing your system files, and cycling WinRE, you can unlock the full potential of the cloud rebuild tool.
Which method successfully fixed the error on your machine? Let us know in the comments section below, and share this guide with your colleagues who manage Windows 11 environments!