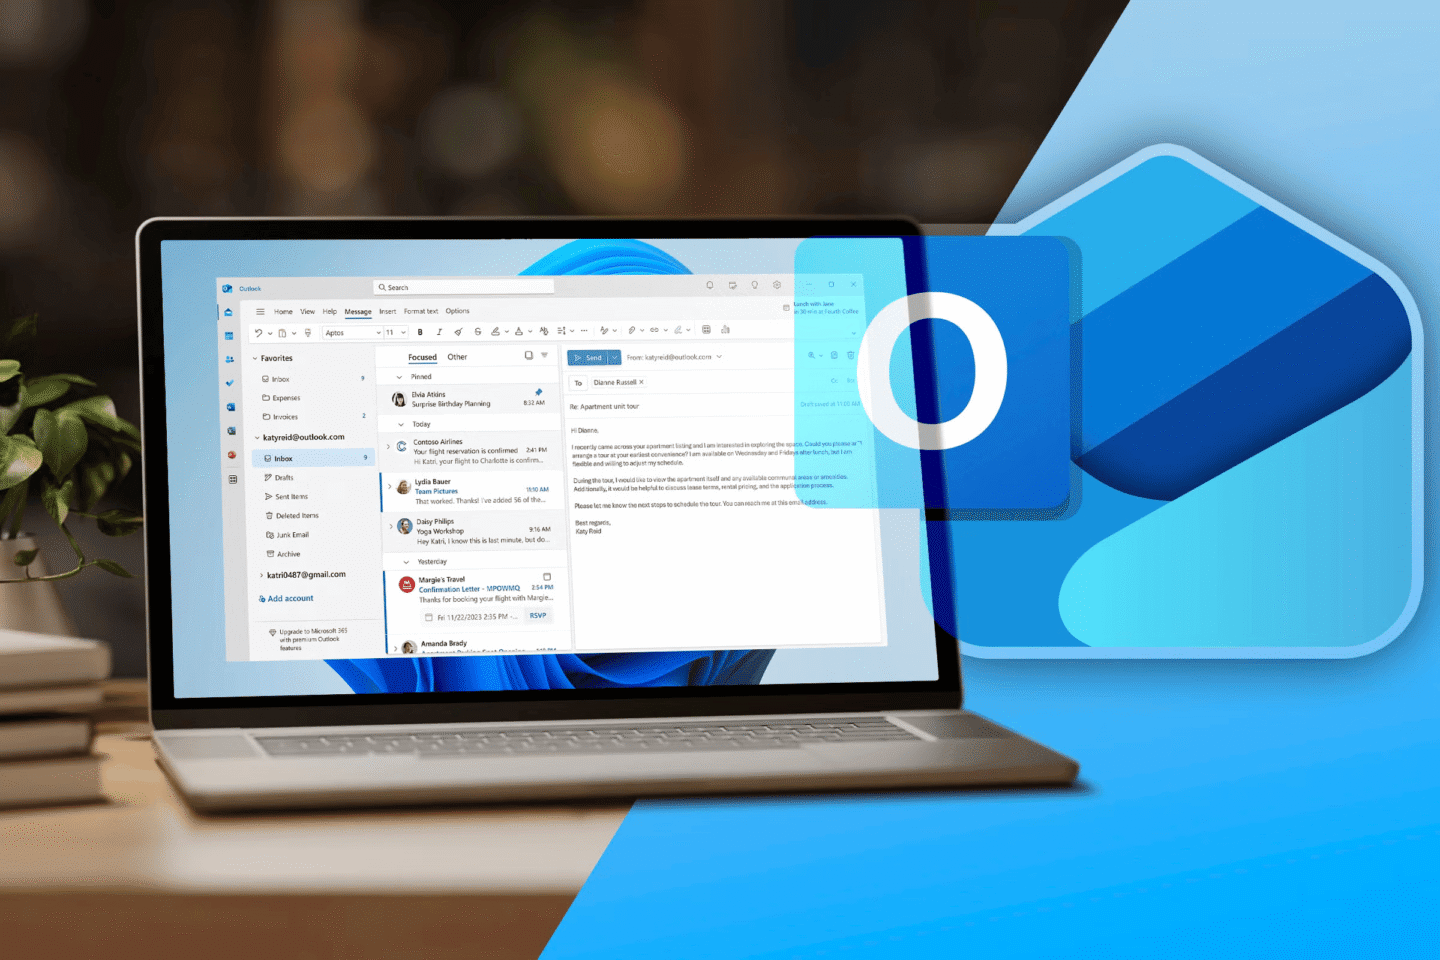
You can master Dynamic Mail Merge Fields in New Outlook for Windows to send highly personalized batch emails. Microsoft revolutionized email management with the modern web-based architecture of the New Outlook client. However, many IT professionals, marketers, and executive assistants quickly noticed a major gap during this transition. The legacy COM/MAPI links between Microsoft Word, Microsoft Excel, and the classic desktop client no longer operate seamlessly out of the box.
Fortunately, you can easily execute a successful mail merge using the right configuration strategies. You do not need to settle for generic bulk messages or resort to hidden BCC lists. By mastering New Outlook mail merge workflows and leveraging modern Microsoft 365 data integrations, you can deliver tailored messages to hundreds of contacts in minutes.
This comprehensive guide breaks down exact steps to map dynamic placeholders, connect data sources, and trigger error-free email campaigns. Whether you manage internal corporate updates or massive client outreach, this technical blueprint will save you hours of manual labor every week.
Understanding the New Outlook Architecture Shift
Microsoft built the New Outlook for Windows on a completely modernized web technology stack. Consequently, classic background protocol hooks like MAPI and COM add-ins do not function the same way they did in legacy Outlook.
When you initiated a mail merge in legacy desktop setups, Word acted as the main editor. It pulled rows from Excel and pushed formatted messages straight into the Classic Outlook Outbox via local system calls. In contrast, New Outlook relies on web-based rendering engines and cloud APIs. Understanding this difference prevents silent delivery failures where Word reports success, but no emails actually leave your Outbox.
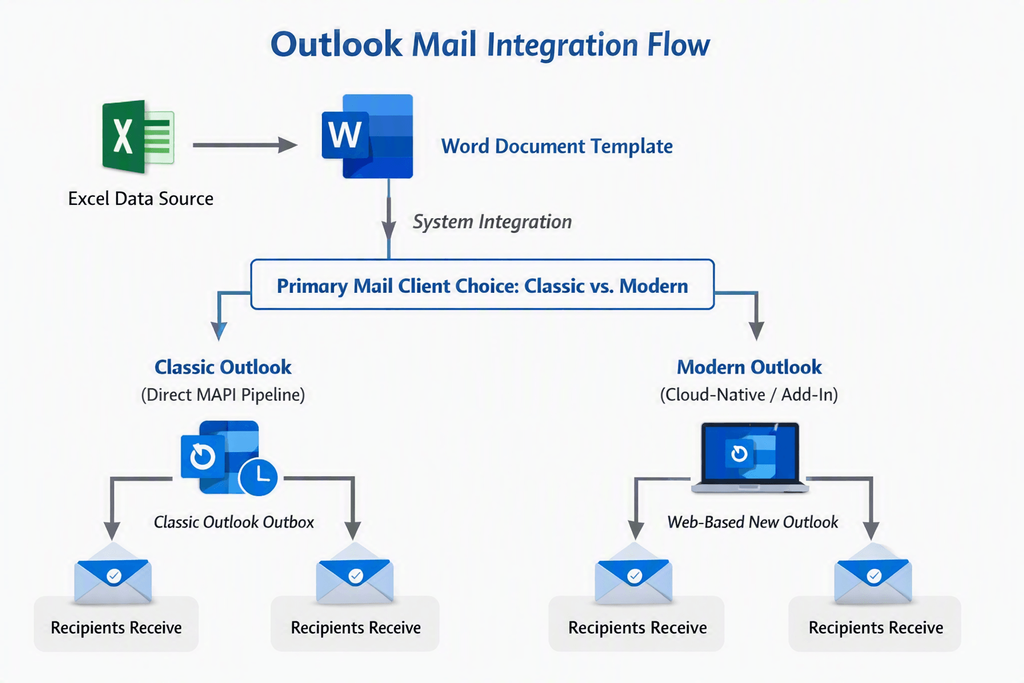
To execute a dynamic merge today, you must establish proper default protocol associations. Alternatively, you can utilize modern web-compatible add-ins designed for Microsoft 365 cloud environments. Both methods give you full access to dynamic placeholders like recipient names, invoice values, and custom account attributes.
Step 1: Preparing Your Excel Data Source
Every successful mail merge begins with a clean, structured spreadsheet. Your data source acts as the single source of truth for all variable content in your email body and subject line.
You must ensure that row one of your worksheet contains distinct column headers. Avoid special characters or spaces in these headers whenever possible. For instance, use FirstName instead of First Name to maintain optimal compatibility across Microsoft 365 services.
+---------------+--------------+-----------------------+---------------+---+
| FirstName | LastName | Email              | AccountType | ExpirationDate |
+-----------+--------------+-----------------------+-------------+---------+
| Alex      | Mercer   | alex@example.com   | Enterprise  | October 15     |
| Sarah     | Connor   | sarah@example.com  | Professional| November 01    |
+-------------+--------------+-----------------------+---------------+-----+
Essential Data Formatting Checklist
- Ensure every target recipient row contains a valid email address.
- Format dates and currency values explicitly in Excel before linking.
- Remove all empty rows and merged cells within the dataset.
- Store the file in an easily accessible location, such as local storage or Microsoft OneDrive.
⚠️ Warning: Incorrect email syntax in your Excel file will stall the merge queue. Always double-check that your email column contains no extra spaces or invalid characters before proceeding.
Step 2: Configuring Microsoft Word as the Merge Engine
Since Word handles complex text formatting and field mapping, you will compose your email template within Word. This approach unlocks advanced Microsoft Outlook dynamic fields without requiring custom code.
First, launch Microsoft Word and open a blank document. Navigate to the Mailings tab on the top ribbon. Click Start Mail Merge and choose E-mail Messages from the drop-down menu.
Word Top Ribbon -> Mailings Tab -> Start Mail Merge -> E-mail Messages
Next, link your Excel spreadsheet to the Word document:
- Click Select Recipients in the Mailings ribbon.
- Select Use an Existing List.
- Browse to your prepared Excel workbook and click Open.
- Choose the specific worksheet table containing your recipient data.
- Click OK to establish the connection.
Now your Word document is actively linked to your data source. You can easily pull any column header into your text as a dynamic placeholder.
Step 3: Inserting Dynamic Mail Merge Fields
Inserting dynamic placeholders allows you to tailor messages to individual recipients. This personal touch significantly boosts email engagement rates and prevents your outreach from landing in spam folders.
Position your cursor where you want personalized data to appear in the document. Click Insert Merge Field inside the Mailings tab. A drop-down menu will list all column headers from your linked Excel spreadsheet.
Text Cursor Position -> Mailings Tab -> Insert Merge Field -> Choose Field (e.g., «FirstName»)
Select the appropriate field, such as FirstName or AccountType. Word will insert placeholder brackets around the field name, like «FirstName».
Dear «FirstName»,

Thank you for maintaining your «AccountType» subscription.
Your current billing cycle ends on «ExpirationDate».
Implementing Conditional Logic Rules
You can also insert advanced conditional logic to change text based on specific data criteria. Click Rules under the Mailings tab and choose If…Then…Else….
- Field Name:
AccountType - Comparison: Equal to
- Compare To: Enterprise
- Insert Text: “Contact your dedicated account manager for priority support.”
- Otherwise Insert: “Visit our support portal for 24/7 assistance.”
This powerful feature eliminates the need to create separate campaigns for different customer segments.
Step 4: Previewing and Testing the Campaign
Never dispatch a bulk merge without conducting a complete preview and test run. Previewing helps you spot formatting errors, missing spaces around dynamic fields, and broken syntax.
Click Preview Results on the Mailings ribbon. Word instantly replaces all field tags with actual values from row one of your Excel sheet. Use the arrow buttons in the ribbon to step through records and verify that long names or special values display correctly.
💡 Pro-Tip: Pay close attention to punctuation around dynamic tags. Ensure you added a space before and after fields like «FirstName» so text does not run together when rendered.
You can also consult the official Microsoft Word Support portal to explore advanced formatting switches for date and currency variables.
Step 5: Routing Mail Merge Through New Outlook
When you reach the final step, select Finish & Merge on the Mailings ribbon. Choose Send Email Messages from the menu.
A dialog box will appear asking for transmission parameters:
- To: Select the column name that contains recipient email addresses (e.g.,
Email). - Subject line: Type a compelling title. You can also paste dynamic field tags here if needed.
- Mail format: Choose HTML to retain text formatting, links, and styling.
Finish & Merge -> Send Email Messages -> Set 'To' Field -> Enter Subject -> Select HTML -> Click OK
Navigating New Outlook Default Protocols
Because New Outlook uses modern web protocols, classic background handshakes require proper configuration. To ensure smooth execution, verify your system defaults using these steps:
- Open Windows Settings (
Win + I). - Select Apps and navigate to Default Apps.
- Search for Outlook and ensure your preferred mail handler is mapped correctly.
If you work in a enterprise environment where desktop background integrations are restricted, consider utilizing verified modern Microsoft 365 add-ins. Native extensions like SecureMailMerge run directly inside the New Outlook compose window. They allow you to upload Excel spreadsheets directly without switching applications.
Troubleshooting Common Mail Merge Issues
Even seasoned administrators encounter hiccups when executing bulk email automation. Here is how to fix the most common errors quickly:
| Issue | Root Cause | Solution |
| Silent Send Failure | New Outlook is active without local MAPI protocol hooks configured. | Map Windows default app associations or use a native Microsoft 365 web add-in. |
| Unformatted Numbers | Excel numerical formatting did not carry over to Word. | Add numeric picture switches (\# "$#,##0.00") directly to the Word field code. |
| Emails Stuck in Outbox | Outlook is set to Offline Mode or authentication expired. | Switch Outlook online and re-authenticate your Microsoft 365 credentials. |
For deep system diagnostics, refer to the Microsoft 365 Admin Center to monitor mail flow logs and confirm message delivery status across your tenant.
Final Thoughts
Mastering Outlook for Windows automation elevates your communication efficiency to new heights. Although the interface shift in the New Outlook ecosystem alters traditional background connections, combining Excel data sources with Word’s merge engine remains an incredibly potent strategy. By following these structured steps, you guarantee accurate, highly personalized messages for every recipient on your list.
What mail merge techniques or add-ins do you rely on in your workplace? Have you run into any challenges while transitioning to New Outlook? Drop your comments, questions, and experiences below—we would love to hear your thoughts and help you out!