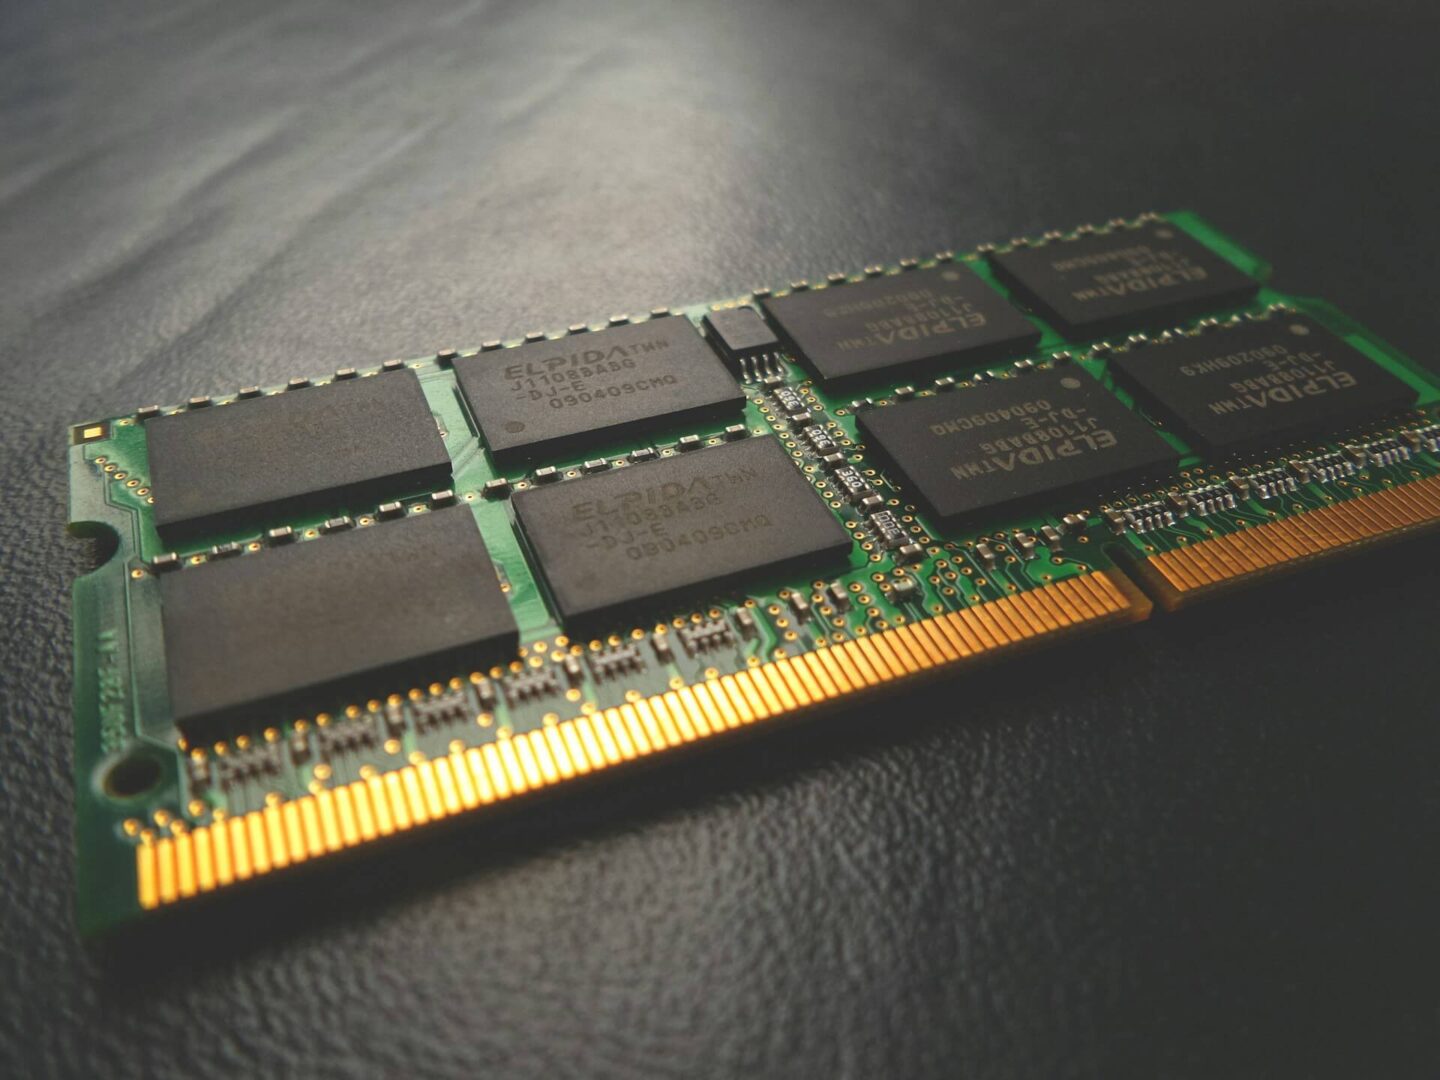
A laptop RAM upgrade can improve responsiveness when applications compete for limited memory. Browser tabs, video meetings, spreadsheets, and virtual machines can quickly consume available capacity. Adding compatible memory can reduce pauses without requiring a replacement laptop.
However, RAM cannot fix every performance problem. A slow mechanical HDD can delay application launches even with sufficient memory. Thermal throttling can reduce processor performance when cooling cannot control temperatures.
Before purchasing anything, open Task Manager → Performance → Memory during your normal workload. Examine In use, Available, and Committed memory. Persistent memory pressure alongside application pauses supports considering an upgrade.
Compare those readings with CPU and disk activity. High disk activity alone does not prove insufficient RAM. Likewise, heat-related slowdowns require cooling checks before buying memory.
The safest upgrade follows three principles: verify compatibility, isolate electrical power, and test the completed installation.
Checking Compatibility Before You Buy
Identify Your Exact Laptop Model
Find the complete model and product number using the chassis label or System Information. Press Windows + R, enter msinfo32, and press Enter.
Visit the manufacturer’s support website and download the matching service manual. Confirm the memory layout, supported specifications, and bottom-panel removal procedure. Similar-looking laptops can have different motherboard configurations.
Check whether your laptop contains:
- Two removable SO-DIMM slots.
- Soldered memory plus one removable slot.
- Entirely soldered memory without expansion slots.
- Another removable format, such as CAMM2/LPCAMM2, requiring a different installation procedure.
⚠️ Warning: Many thin-and-light laptops use soldered LPDDR4X or LPDDR5 memory, with zero SO-DIMM slots. Apple Silicon Macs also have non-user-upgradeable unified memory and no SO-DIMM slots. On Windows, check Task Manager → Performance → Memory → Slots used before ordering RAM. Treat this reading as preliminary: confirm physical upgradeability through your model’s service manual because firmware reporting can be inaccurate.
An unused slot allows expansion without removing existing memory. If all removable slots are occupied, upgrading usually requires replacing modules.
Match Generation, Form Factor, and Voltage
DDR4 and DDR5 are physically and electrically incompatible. Standard DDR4 SO-DIMMs operate at 1.2V, while standard DDR5 SO-DIMMs operate at 1.1V. Neither generation can replace the other.
Their connector layouts differ. Never force a module into a socket because its capacity or advertised speed appears suitable.
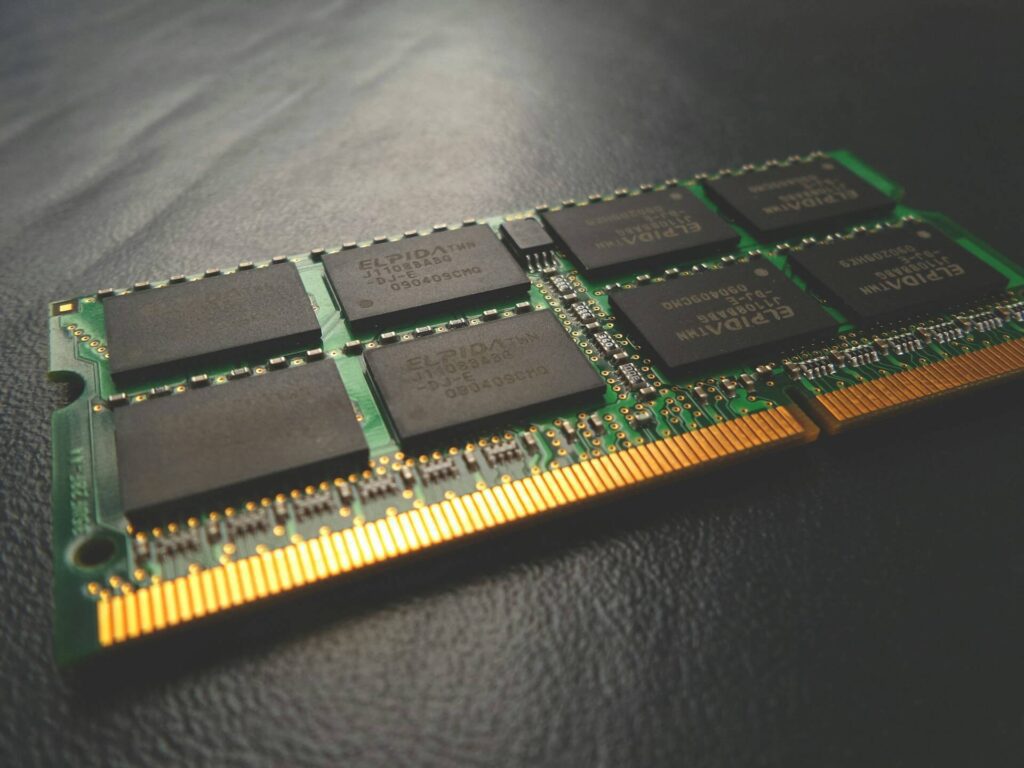
Also confirm the physical format. Kingston’s SO-DIMM memory information provides a reference when identifying compact laptop modules. Desktop UDIMM sticks do not fit laptop SO-DIMM sockets.
Check Speed and Existing Module Specifications
Download CPU-Z from its official website to inspect memory type, operating frequency, timings, and module specifications.
Open CPU-Z → Memory for the current operating configuration. Under SPD, select each available slot to inspect module capacity, manufacturer, part number, and stored profiles.
A blank SPD entry does not conclusively prove an empty physical socket. Some systems restrict access to this information.
Use MT/s, meaning transfers per second, when comparing advertised memory speeds. CPU-Z may show approximately 1,600 MHz for DDR4-3200 because DDR transfers data twice per clock cycle.
Faster-rated RAM does not automatically run at its advertised maximum. The laptop must support an appropriate operating profile. Many laptops cannot enable advertised XMP/EXPO settings, so confirm supported JEDEC specifications.
Confirm Maximum Supported Capacity
Check both maximum total capacity and maximum capacity per slot. Include soldered memory when calculating the proposed total.
The processor’s theoretical memory limit does not establish the laptop’s supported limit. Motherboard design, firmware, module density, and manufacturer validation also matter.
Use the Crucial System Scanner as an additional compatibility check. Compare its recommendations with manufacturer documentation before ordering. Investigate conflicting limits rather than assuming the larger figure will work.
💡 Pro-Tip: Match module capacity, speed, generation, and supported timings for predictable compatibility and dual-channel operation. A matched pair usually simplifies selection. Buy laptop SO-DIMM modules, avoiding desktop UDIMM sticks. Matching specifications still does not override motherboard compatibility requirements.
Mixed-capacity modules may work, sometimes with partial dual-channel operation. However, supported matched configurations make installation and troubleshooting more straightforward.
Step-by-Step Physical Installation
Prepare Your Tools and Workspace
Gather Phillips #0/#00 screwdrivers, a plastic spudger, and a screw organizer. Use another driver if your service manual specifies it.
Work on a clean, dry surface away from carpet. A properly grounded ESD wrist strap and mat help control static discharge. Hold memory by its edges, avoiding gold contacts and exposed components.
Consult the manufacturer’s instructions first. You can also check iFixit’s laptop repair guides for model-specific photographs and disassembly guidance.
⚠️ Warning: ALWAYS unplug the AC charger and disconnect the internal battery connector from the motherboard before touching or inserting RAM. Remove an external battery where applicable. After disconnecting battery power, hold the power button for 10 seconds to help discharge residual capacitors. Connected power can cause permanent short-circuit damage. Follow the service manual’s battery-isolation procedure and stop if safe access is unavailable.
Install the Memory Module
- Shut down completely.
Save your work and shut down Windows. Disconnect docks, USB devices, and other peripherals. Sleep and Hibernate are unsuitable for hardware servicing. - Remove the bottom panel.
Follow the documented screw locations and clip-release sequence. Track different screw lengths to prevent damage during reassembly. Use plastic opening tools and lift carefully around attached cables. - Disconnect internal battery power.
Identify the connector and follow its documented release mechanism. Some connectors slide horizontally; others lift or use locking retainers. Grip the connector body rather than pulling wires. Complete the discharge step above before handling RAM. - Remove the existing module if necessary.
Gently spread both side retention clips. Allow the SO-DIMM to rise, then withdraw it along its insertion angle. Handle it by the edges and store it safely. - Insert the replacement SO-DIMM.
Align the module’s notch with the socket. Slide it fully into place at approximately 30–45 degrees, following the manufacturer’s specified angle. Stop if the notch does not align or insertion requires excessive force. - Engage both retention clips.
Press the module downward until both clips engage its side notches. Confirm that it lies flat and sits evenly. Inserting into the connector and locking downward are separate movements. - Reassemble the laptop.
Restore memory shields, insulating sheets, and cable routing. Reconnect the battery, refit the bottom cover, and tighten screws gently. Check for loose screws before reconnecting AC power.
Stop immediately if you find a swollen battery, damaged connector, or broken memory socket. These conditions require repair before continuing.
Booting Up and Stability Testing
Allow Time for Memory Training
Reconnect the charger after reassembly and start the laptop. Firmware may need additional time to configure the replacement memory.
⚠️ Warning: Modern DDR5 laptops can display a black screen during initial memory training. A 30–90-second pause can occur, but this is not a universal limit. Some systems require several minutes. Follow your model’s guidance before forcing shutdown.
For example, ASUS documents memory-training periods of approximately 5–10 minutes for certain configurations. Keep power connected and allow the documented process to finish.
Verify Capacity, Speed, and Channels
Once Windows loads, confirm that the upgrade registered correctly:
- Press Ctrl + Shift + Esc to open Task Manager.
- Select Performance → Memory.
- Check the installed capacity above the memory graph.
- Compare Speed with your laptop’s supported operating specification.
- Review Slots used and Hardware reserved, allowing for reporting limitations.
Some reserved memory is normal, particularly with integrated graphics. An entire missing module requires investigation.
Use CPU-Z → Memory to inspect channel configuration and operating timings. Task Manager does not reliably identify dual-channel mode.
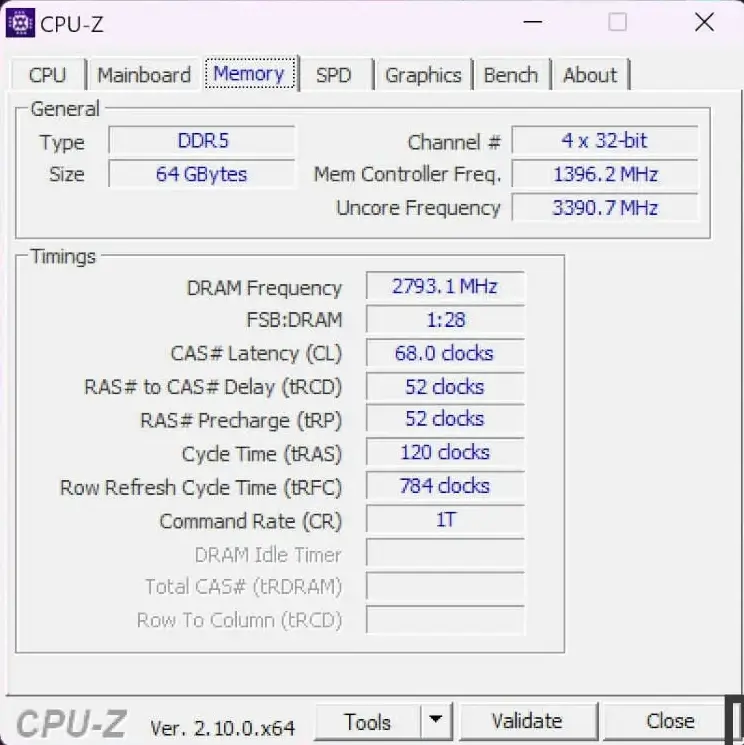
DDR5 reporting needs particular care. One DDR5 SO-DIMM contains two 32-bit subchannels. A “2 × 32-bit” reading therefore does not prove two modules are installed.
Run Windows Memory Diagnostic
Start with Windows’ built-in memory test:
- Save your work.
- Press Windows + R, enter
mdsched.exe, and press Enter. - Select Restart now and check for problems.
- Allow the test to finish and Windows to restart.
- Press Windows + R, enter
eventvwr.msc, and press Enter. - Open Windows Logs → System.
- Select Find, search for MemoryDiagnostics-Results, and open the matching event.
Read the event’s result rather than relying only on a notification. A clean result is encouraging, but deeper testing remains useful after hardware changes.
Perform Deeper Testing with MemTest86
Download the Windows USB package from the official MemTest86 website. This utility boots independently of Windows and checks memory using multiple test patterns.
- Extract the downloaded ZIP file.
- Connect a spare USB drive.
- Run the included imageUSB utility.
- Select the correct USB drive and supplied MemTest86 image.
- Choose Write and confirm the operation.
- Restart and open your manufacturer’s one-time boot menu.
- Select the USB’s UEFI boot entry and start testing.
⚠️ Warning: Creating the bootable USB erases its contents. Back up important files and confirm the selected drive before writing.
Complete four full passes for initial validation. Keep the charger connected and ventilation clear. Save the report and investigate any reported errors.
Memory-test errors can involve a module, socket, compatibility problem, or memory-controller path. They do not automatically identify one defective stick.
Finally, repeat your normal workload. Check multitasking responsiveness, application stability, and sleep-and-wake behavior. Passing tests reduces uncertainty but cannot guarantee every workload.
Troubleshooting Common Post-Upgrade Issues
Start with the Symptom
Before reopening the laptop, shut down, unplug AC, disconnect the battery, and discharge residual power.
| Post-Upgrade Symptom | Likely Cause | Immediate Fix |
|---|---|---|
| Black screen / power LED on but no display | Memory training, incomplete seating, incompatible RAM | Allow documented training time; then isolate power and reseat |
| Windows shows only old RAM capacity | New module undetected, unsupported capacity, poor seating | Compare BIOS capacity and test the new module individually |
| Only half the installed capacity appears | Undetected module, slot problem, unsupported configuration | Test individual modules and permitted slot combinations |
| Random BSODs under load | Faulty RAM, incompatible timings or profiles, mixed-module instability | Use supported defaults and test modules individually |
| RAM runs below advertised speed | Platform limit or unsupported performance profile | Compare operating speed with manufacturer specifications |
Separate Detection Problems from Usable-Memory Limits
Enter BIOS/UEFI using your manufacturer’s startup procedure. Compare its detected memory total with Windows.
If BIOS detects only part of the installed capacity, check seating and supported module specifications. A firmware-level detection problem generally requires hardware or compatibility investigation.
If BIOS detects everything, inspect Windows’ Hardware reserved figure and operating-system memory limits. Also check whether someone previously imposed a boot memory limit. Do not arbitrarily change advanced boot settings.
Isolate Modules Before Replacing Parts
Restore the original RAM to establish a baseline. If normal operation returns, investigate the replacement’s compatibility and condition.
Test removable modules individually in the manufacturer’s recommended slot. Test other slot combinations only where the service manual permits them.
Errors following one module suggest a module fault. Failures following one slot suggest a socket, motherboard, or memory-controller path problem.
Modules passing separately but failing together can indicate configuration incompatibility. Use supported default settings rather than guessing voltage or timing adjustments.
A MEMORY_MANAGEMENT blue screen alone does not prove defective RAM. Consider other causes if failures persist with the original configuration.
Conclusion: Verify the Upgrade Before Relying on It
A successful RAM upgrade requires compatible hardware, safe installation, and stable operation. Confirm capacity and speed, complete memory testing, and repeat your everyday workload.
Keep the original modules until reliability is established. If problems persist, return to a known-working configuration before making further changes.
Share your laptop model, original memory, and upgrade results in the comments. Pass this guide to someone planning a laptop memory upgrade.