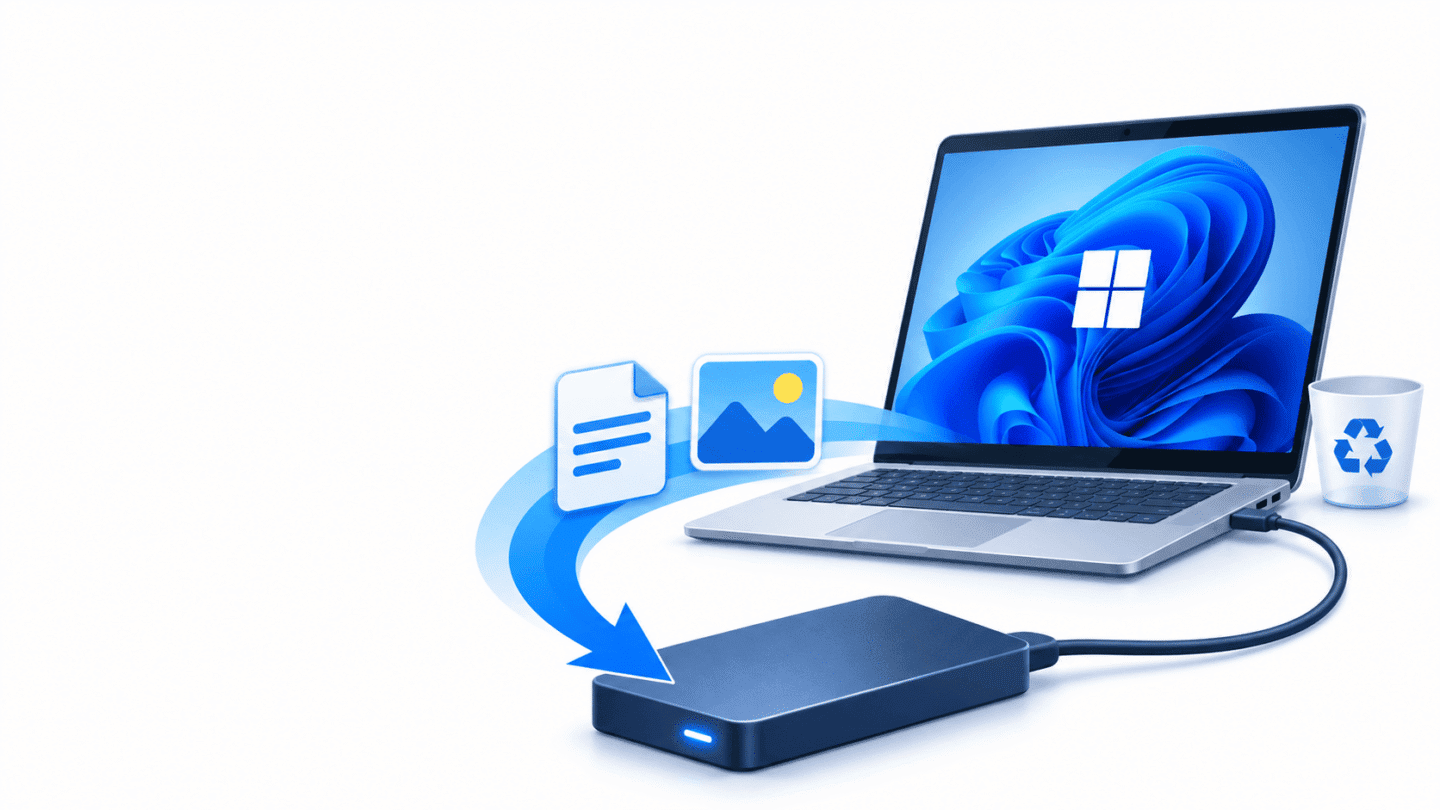
Accidentally deleting an important document, photograph, or project folder can feel disastrous. Fortunately, you can sometimes recover deleted files in Windows 11 without purchasing recovery software. Windows includes several recovery options, while free utilities can search for files missing from the Recycle Bin.
However, recovery depends on your storage device, existing backups, and activity after deletion. A file may survive on disk until another operation overwrites its contents. On SSDs, background storage management can make recovery considerably harder.
Start with existing copies and backups before scanning the drive. This approach saves time and reduces unnecessary activity on potentially recoverable storage.
Stop Using the Affected Drive Immediately
Stop writing new data to the drive containing your deleted files. Avoid downloads, software installations, file transfers, and cleanup utilities. These activities can overwrite storage space previously occupied by deleted files.
Follow these precautions before attempting recovery:
- Stop saving documents or downloading files to the affected drive.
- Avoid formatting or initializing a disk that Windows cannot recognize.
- Avoid repair operations, including CHKDSK repairs, until you assess recovery options.
- Prepare a separate physical drive for recovered files.
- Download recovery software using another computer whenever practical.
If files disappeared from your Windows system drive, background activity remains a concern. Windows continues writing temporary files, logs, and other data while running. For valuable files, consider shutting down and connecting the drive to another computer for recovery.
Understand SSD TRIM Versus HDD Overwriting
On a conventional magnetic HDD, deletion usually removes filesystem references and marks the occupied space as available. File contents may remain until new writes overwrite them. Therefore, reducing drive activity can improve recovery prospects.
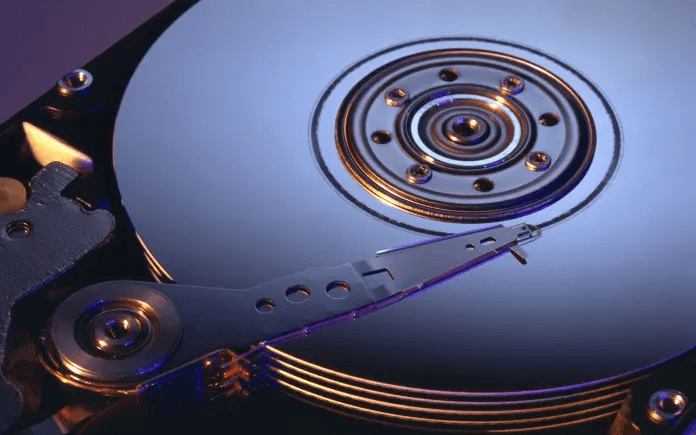
An SSD introduces another obstacle: TRIM. Windows sends deletion notifications identifying blocks that no longer contain needed data. The SSD can then reclaim those blocks through background garbage collection.
Consequently, deleted SSD contents may become inaccessible even without new files overwriting their locations. Recovery software cannot reconstruct data that the device no longer exposes.
Administrators can inspect Windows’ delete-notification configuration using an elevated terminal:
Command Prompt (Admin)
fsutil behavior query DisableDeleteNotifyFor NTFS, a result of DisableDeleteNotify = 0 means delete notifications are enabled. However, this setting cannot establish whether a particular file’s blocks have already been trimmed. Disabling TRIM afterward cannot reverse completed operations.
Phase 1: Try Built-In Windows 11 Recovery Options
Restore Files from the Recycle Bin
Check the Recycle Bin before installing anything. Files deleted normally from supported local locations often remain there until you empty it.
- Open Recycle Bin on your desktop.
- Locate the required file or folder.
- Use Date Deleted and Original Location to identify the correct item.
- Right-click the item and select Restore.
- Open its original folder and verify the restored content.
You can select multiple items before restoring them. However, files deleted using Shift+Delete usually bypass the Recycle Bin. Some removable-media and network deletions also bypass the local bin.
If the item is missing, check whether an existing backup contains it.
Recover Files with File History
File History stores historical copies of protected personal files on another drive or network location. It can recover deleted files or earlier versions of documents.
The essential requirement is timing: File History must have captured the relevant files before deletion. Enabling it afterward cannot recreate missing backups.
To restore an existing backup:
- Reconnect the external drive containing your File History backups.
- Open Start, search for Control Panel, and launch it.
- In Category view, select System and Security → File History.
- Click Restore personal files.
- Browse to the folder that contained the deleted item.
- Use the navigation arrows to select a backup predating deletion.
- Select the required files.
- Right-click the green Restore button and choose Restore to.
Choose another destination when possible. This lets you inspect recovered files before replacing current versions. Microsoft’s File History documentation explains backup configuration and previous-version restoration.
Check Previous Versions and Available Shadow Copies
Windows can expose historical file and folder copies through Previous Versions. Available entries depend on existing backup or snapshot sources.
For a deleted file, inspect the folder that previously contained it:
- Press Windows + E to open File Explorer.
- Navigate to the original parent folder.
- Right-click that folder and select Properties → Previous Versions.
- Select a version created before deletion.
- Choose Open, or Open in File History where available.
- Locate the missing file and copy it to another destination.
If an entire folder disappeared, inspect its surviving parent folder instead. An empty Previous Versions list means Windows has no available entries there; it does not prove that disk recovery is impossible.
Volume Shadow Copy Service (VSS) supports snapshots used by Windows components and backup applications. However, Windows 11 has no universal File Explorer switch that retroactively creates historical copies.
Also, distinguish snapshots from System Restore. System Restore rolls back system configuration, applications, and related components. It does not undelete personal documents.
Administrators can list existing snapshots through an elevated terminal:
Command Prompt (Admin)
vssadmin list shadows /for=C:This command inspects snapshots for C:. It does not create a backup or restore files.
Phase 2: Use Windows File Recovery
Prepare Microsoft’s Free Recovery Tool
If existing copies are unavailable, Windows File Recovery can attempt recovery from local storage. Microsoft distributes this command-line application separately through the Microsoft Store.
Before starting, connect a separate physical destination drive. In the following examples, E: represents that recovery drive.
- Open Microsoft Store.
- Search for Windows File Recovery.
- Verify that Microsoft publishes the application, then install it.
- Launch Windows File Recovery through Start.
- Approve the administrator prompt.
Installing software on an affected C: drive creates additional writes. For valuable data, consider connecting that drive to another Windows computer with the utility already installed.
Windows File Recovery supports local storage, including internal disks and removable media. It does not recover directly from cloud storage or network shares.
Choose Regular or Extensive Mode
First, identify the source filesystem through File Explorer → This PC → right-click drive → Properties.
Choose the recovery mode according to the filesystem and circumstances:
| Source condition | Recommended mode |
|---|---|
| Healthy NTFS volume; recently deleted files | Regular |
| NTFS volume; older deletions | Extensive |
| Formatted or corrupted NTFS volume | Extensive |
| FAT32 or exFAT volume | Extensive |
Regular mode provides a sensible starting point for recent NTFS deletions. Extensive performs a broader recovery attempt for more difficult cases.
The general syntax is:
winfr source-drive: destination-drive: [/mode] [/switches]Run Targeted Recovery Commands
To recover files from an NTFS Documents folder:
winfr C: E: /regular /n \Users\<username>\Documents\Replace <username> with your actual Windows profile folder name, removing the angle brackets. Keep the trailing backslash when specifying a folder.
For example:
winfr C: E: /regular /n \Users\Jess\Documents\To search for Word documents and PDFs:
winfr C: E: /regular /n *.docx /n *.pdfTo recover photographs from a FAT32 or exFAT removable drive assigned D::
winfr D: E: /extensive /n *.jpg /n *.pngThe /n option filters recovery by filename, path, or wildcard pattern. Verify your drive letters carefully before confirming the operation.
Press Y when prompted. Windows creates a destination folder named Recovery_, followed by the date and time.
Source and destination drives must differ. A separate physical disk provides better protection than another partition on the affected device.
Finally, open recovered documents and photographs to verify their contents. A recovered filename does not guarantee a complete, usable file.
Phase 3: Try Free and Open-Source Recovery Tools
Recuva Free: Standard Scan Versus Deep Scan
Recuva offers a graphical alternative for users uncomfortable with command-line recovery. It supports NTFS, FAT32, and exFAT drives.
However, Recuva is proprietary freeware, while TestDisk and PhotoRec are open source. The vendor identifies Recuva Free and Professional as home-use products. Support technicians should check applicable licensing before commercial use.
Download it from the official Recuva website, using another drive or computer where practical.
- Launch the recovery wizard.
- Select the required file type.
- Specify the original drive or folder.
- Run a standard scan.
- Select promising results and click Recover.
- Save the results to a separate physical drive.
A standard scan primarily uses filesystem information to locate deleted entries. It usually finishes faster and has better prospects of retaining original filenames.
If it misses your files, try Deep Scan. This searches drive contents for recognizable file signatures and can take considerably longer. Files found this way may lose their original names.
Recoverability indicators remain estimates. Neither scanning method reverses overwritten data or completed SSD TRIM operations.
TestDisk: Investigate Lost or Damaged Partitions
Use TestDisk when a partition disappears, becomes inaccessible, or appears as RAW. It examines partition structures and boot sectors, and offers file undelete functions for supported filesystems.
RAW means Windows cannot recognize a usable filesystem. It does not identify the underlying cause, which could include metadata damage, encryption, or hardware problems.
For partition investigation:
- Run TestDisk as administrator.
- Select the correct physical disk.
- Verify the detected partition-table type.
- Choose Analyse → Quick Search.
- Use Deeper Search if the expected partition remains missing.
- List and copy accessible files before considering structural changes.
Do not select Write simply because TestDisk finds a candidate partition. Verify the layout first, and image valuable source media before attempting repairs.
PhotoRec: Recover Files Through File Carving
Use PhotoRec, or its graphical companion QPhotoRec, when filesystem metadata is severely damaged or other tools cannot locate files.
PhotoRec uses file carving: it searches underlying storage for recognizable file structures. This can recover content after formatting or filesystem damage, although original filenames and folder organization usually disappear.
Select the source disk, partition, required file types, and an external destination. For NTFS, FAT32, and exFAT, choose Other when asked for the filesystem family.
Recovered files appear in numbered directories such as:
E:\Recovered\recup_dir.1\Expect duplicates, embedded thumbnails, and potentially incomplete files. Fragmented files can be particularly difficult to reconstruct. The official PhotoRec guide explains scan scope and recovery options.
💡 Pro-Tip: Recover into a clearly named folder on another physical drive. Verify important files before sorting, renaming, or deleting duplicates.
Phase 4: Protect Files Before the Next Deletion
Configure Local Backups with File History
Once recovery finishes, create a versioned backup routine.
- Connect an external backup drive.
- Open Control Panel → System and Security → File History.
- Choose Select drive and select your destination.
- Click Turn on.
- Open Advanced settings to configure backup frequency and retention.
- Confirm that your important folders are included.
- Perform a test restore.
File History protects supported libraries and folders. Add other required folders to an appropriate library, then verify their inclusion in the backup.
NTFS is generally practical for Windows backup drives. FAT32 cannot store individual files larger than approximately 4 GB.
Enable OneDrive Folder Protection
Open OneDrive → Settings → Sync and backup → Manage backup. Enable the appropriate folders and confirm that synchronization completes successfully.
However, synchronization also propagates deletions. Keep an independent backup alongside OneDrive.
For deleted cloud files, open the OneDrive website → Recycle bin, select the required items, and choose Restore. Version history can also help recover earlier document contents.
Remember that online-only files may have no complete local content for disk recovery tools to scan. Microsoft’s OneDrive folder backup guide covers configuration.
Configure System Protection and Understand Its Limits
To configure restore-point protection:
- Open Start and search for Create a restore point.
- Open System Protection.
- Select the appropriate drive and click Configure.
- Select Turn on system protection.
- Allocate suitable disk space and click Apply.
Use this feature for system recovery. Do not treat it as a substitute for personal-file backups or guaranteed Previous Versions availability.
For scheduled data snapshots, use backup software that supports VSS and verify its retention settings. Snapshots stored on the original disk remain vulnerable to disk failure.
Maintain three copies of important data across two storage types, including one off-site copy. Keep an offline or disconnected backup where practical.
Quick Reference: Choose the Right Recovery Method
| Method | Suitable recovery scenario | Main limitation |
|---|---|---|
| Recycle Bin | Ordinary accidental deletion | Item must remain in the bin |
| File History | Deleted or overwritten personal files | Earlier backup required |
| Previous Versions | Files available in earlier folder versions | Existing backup or snapshot required |
| Windows File Recovery | Cleared bin, Shift+Delete, formatted volumes | Overwriting and TRIM limit results |
| Recuva | Deleted files on accessible volumes | Deep Scan may lose filenames |
| TestDisk | Lost partitions or damaged filesystem structures | Repairs require careful verification |
| PhotoRec | Formatted or severely damaged filesystems | Names and folder structure usually lost |
| OneDrive recovery | Synced deletions and unwanted edits | Account retention limits apply |
Final Thoughts
Successful file recovery depends on surviving data or an earlier copy. Start with the Recycle Bin and backups, then progress to Windows File Recovery or third-party utilities.
Throughout the process, minimize source-drive activity, recover to another physical disk, and verify important files. Once recovery finishes, establish backups that you can actually restore.
Which method worked for you? Share your drive type and recovery experience in the comments, and share this guide with someone facing an accidental deletion.