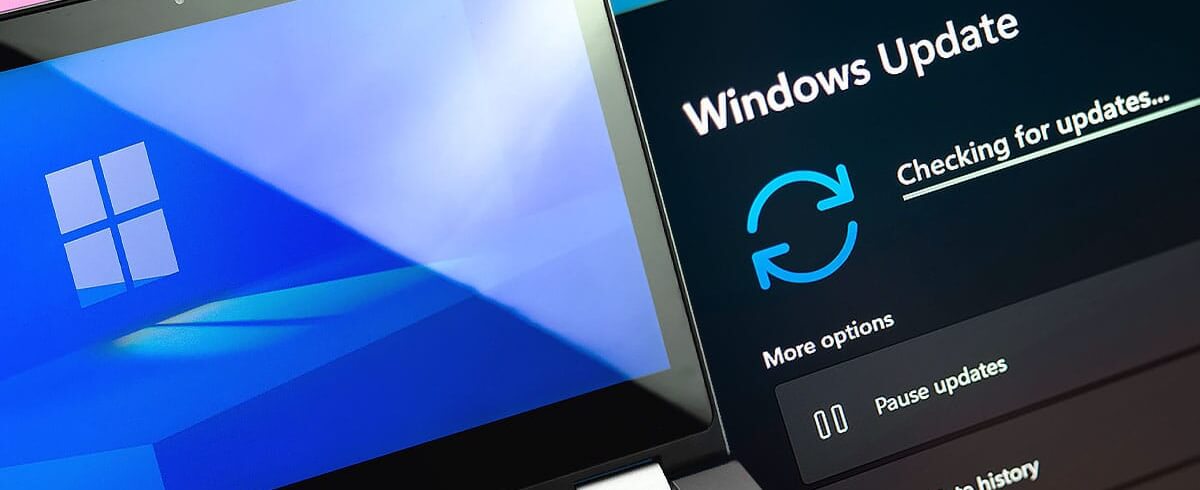
The tech world is currently reeling from a wave of system failures. Recently, Microsoft deployed a critical cumulative update aimed at updating security architectures. While modern devices sailed through smoothly, users running Windows 11 on legacy hardware hit a digital brick wall. A forced June 2026 security patch has triggered rampant Windows 11 boot loops, rendering hundreds of bypassed and older machines completely useless overnight.
If your computer is trapped in an endless cycle of restarts, you are not alone. This guide provides actionable steps to break the cycle. We will examine exactly why this mandatory security baseline update breaks older platforms. Additionally, we will show you how to roll back your operating system to safety. Read on to reclaim control of your PC and discover how to handle this massive unsupported hardware patch failure.
Why the Security Baseline Update Crashes Older PCs
At the heart of this disruption lies a fundamental clash between strict security standards and aging motherboard firmware. Microsoft designed this mandatory security baseline update to enforce modern trust chains. Specifically, it revokes expired 2011 cryptographic keys and pushes newer 2023 Secure Boot certificates. Modern computers handle this transition automatically in the background. Unfortunately, the update fails spectacularly when applied to an unsupported hardware patch environment.
Many users running Windows 11 on older CPUs relied on registry bypass techniques to install the operating system. Because these devices lack formal firmware compatibility, the new security components fail to validate during initial startup. Consequently, the machine halts immediately, encounters an error, and restarts. This constant verification failure produces the frustrating Windows 11 boot loops that are now flooding community tech support forums.
[Legacy Firmware / Registry Bypass] ──> [Mandatory June 2026 Security Patch]
                                                  │
                                                  ▼
                                    [Secure Boot Key Validation Fails]
                                                  │
                                                  ▼
                                      [Infinite Boot Loop Cycle]
Step 1: Accessing the Windows Recovery Environment
To repair your system, you must first break the infinite restart cycle. Since you cannot reach the standard desktop interface, you must force your computer into the Windows Recovery Environment (WinRE). You can achieve this by intercepting the normal startup sequence.
First, turn off your computer completely by holding down the physical power button for 10 seconds. Next, turn the computer back on. The moment you see the manufacturer logo or the initial Windows spinning dots, hold down the power button again until the machine shuts off. Repeat this exact process three consecutive times. On the fourth startup, Windows will recognize the repeated failures and automatically boot into the advanced diagnostic recovery menu.
Step 2: Utilizing WinRE to Uninstall the Quality Update
Once your machine successfully loads the blue WinRE screen, you can begin the recovery process. You will use the built-in diagnostic tools to remove the problematic security baseline file.
- Navigate to the initial menu and select Troubleshoot.
- Click on Advanced Options to reveal deeper system tools.
- Select Uninstall Updates from the grid of choices.
- Choose the option explicitly labeled Uninstall latest quality update.
⚠️ Warning: Do not select “Uninstall latest feature update” during this process. The issue stems from a monthly security baseline patch, which falls strictly under the quality update classification. Removing a feature update instead will prolong your downtime and could potentially cause data mismatch errors.
After you select the quality update option, confirm your choice and enter your account password if prompted. The system will spend several minutes stripping away the bad files. Once the uninstallation finishes, click Continue to boot normally into your standard Windows 11 desktop environment.
Step 3: Bypassing Boot Loops via UEFI Settings
If the quality update uninstallation fails or throws an error, a hidden firmware trick can help. Many power users have successfully bypassed the loop by adjusting Secure Boot parameters directly in the BIOS.
Restart your PC and repeatedly press your specific motherboard setup key, which is typically F2, F10, or Del. Once inside the UEFI utility dashboard, navigate to the Security or Boot tab. Locate the Secure Boot configuration toggle and switch it to Disabled. Save your modified configuration settings and allow the computer to restart.
Disabling this setting stops the firmware from performing strict signature verification on the newly modified Windows boot loader files. In a vast majority of legacy cases, this temporary bypass allows the system to finish processing its background tasks and boot straight to the login screen.
Step 4: Pausing Windows Updates to Prevent Re-infection
Getting back to your desktop is a massive victory, but your work is not quite finished yet. Because this security baseline update is mandatory, Windows Update will immediately try to download and reinstall it. You must block this automated behavior to prevent falling right back into a crash loop.
Click your Start menu, open the Settings application, and jump over to the Windows Update section. Locate the option labeled Pause updates and expand the dropdown menu. Select the maximum allowable timeframe, which usually pauses all incoming software deployments for up to 5 weeks.
Step 5: Repairing Corrupted System Images
Abruptly interrupting system startup processes can easily degrade your underlying operating system structure. Now that you are safely back on the desktop, you must run deep internal diagnostics to fix any residual file fragmentation.
Open your Start menu, type cmd, right-click the top result, and select Run as administrator. In the elevated command window, type the following system file checker command and hit Enter:
sfc /scannowLet the utility thoroughly scan your internal storage drive. Once it reaches 100 percent completion, execute the deployment image servicing tool by entering:
DISM /Online /Cleanup-Image /RestoreHealthThis dual-layer repair process compares your local system components against an official cloud manifest. It ensures that your underlying framework is entirely healthy, stable, and completely cleared of patch fragments.
Pro-Tips for Managing Legacy Hardware
Running modern software on unsupported silicon requires an active, defensive approach to system administration. If you intend to keep using Windows 11 on a legacy platform, you must adapt your maintenance routines.
- Create Regular System Restore Points: Before the second Tuesday of every month, manually generate a fresh restore point so you can rollback instantly if things break.
- Keep Your Motherboard Firmware Updated: Check your device manufacturer’s portal for the latest BIOS releases, as newer firmware often adds compatibility for updated security certificates.
- Maintain Independent Backups: Never rely solely on an unsupported operating system to protect critical files; always mirror important data to an external drive or cloud host.
Final Thoughts
This security baseline incident serves as a stark reminder of the risks associated with running Windows 11 on unsupported platforms. While the OS works beautifully most of the time, mandatory updates can easily break custom bypass configurations. By utilizing the Windows Recovery Environment, disabling Secure Boot temporarily, and pausing automatic updates, you can successfully recover your system and maintain excellent stability.
Did this security update trap your computer in an infinite loop? Were you able to successfully roll back using our guide? Let us know your specific hardware specs and your troubleshooting experiences in the comments section below! Don’t forget to share this article with your fellow tech enthusiasts to help save their legacy rigs from the update graveyard.