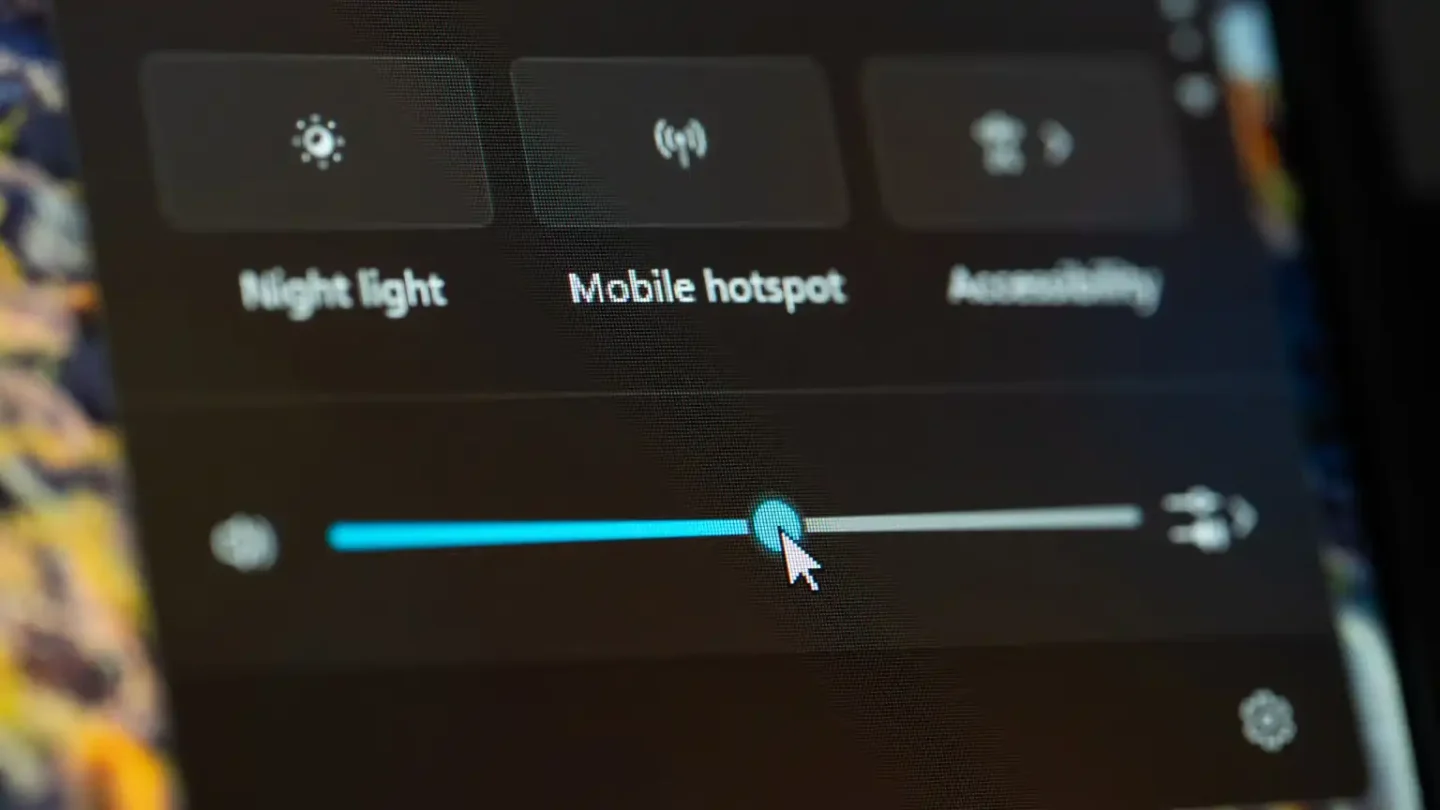
Imagine launching your favorite game or starting an important video call, only to encounter total silence. Unfortunately, many users frequently report unexpected Windows 11 audio device muted glitches during daily operation. Consequently, this frustrating problem cuts off sound and continuously resets 3D spatial sound configurations back to default stereo. Moreover, system updates, aggressive power management profiles, and corrupted audio drivers often trigger this annoying loop without warning.
Because modern operating systems handle background devices dynamically, minor driver conflicts can quickly disable your active sound playback. Therefore, troubleshooting requires a systematic approach to identify whether software policies, power features, or driver settings cause the conflict. In this technical walkthrough, we will explore proven solutions to stop automatic audio muting permanently while maintaining your preferred 3D surround spatial configurations.
Understanding Why Windows 11 Resets Audio and Spatial Sound
Before jumping directly into solutions, you must understand why Windows 11 alters sound settings unexpectedly. Specifically, Microsoft designed Windows 11 with automated power-saving protocols and dynamic device re-enumeration routines. While these background routines aim to extend battery life and reduce background resource usage, they often interrupt persistent audio driver states.
Additionally, third-party software applications frequently request exclusive control over your primary audio playback interface. For instance, voice chat applications like Discord or video communication suites like Microsoft Teams adjust communication channels dynamically. Consequently, when these applications release control, Windows often defaults to a basic muted state or drops advanced 3D spatial sound presets entirely.
Step 1: Run the Official Windows Audio Troubleshooter
First, leverage Microsoft’s automated diagnostic infrastructure to resolve immediate device configuration errors. Although power users often bypass built-in tools, the official system troubleshooter actively resets stuck background services effortlessly.
- Press Windows Key + I to open the main Settings application quickly.
- Select System from the left navigation panel, then click Troubleshoot.
- Choose Other troubleshooters to access the complete diagnostic menu.
- Locate Audio and click the Run button directly beside it.
- Follow the automated prompts carefully to clear temporary system audio conflicts.
💡 Pro-Tip: If the automated tool detects hardware modifications, select the option to apply automatic fixes directly. Consequently, this step refreshes the underlying Windows Audio service registry keys without forcing a full system reboot.
For additional core diagnostic procedures, consult official documentation directly through the Microsoft Support Portal.
Step 2: Disable Exclusive Mode and Communication Auto-Muting
Next, prevent external applications from hijacking your primary sound playback driver completely. By default, Windows allows specific programs to claim exclusive control over output hardware, which frequently causes instant muting bugs.
- Press Windows Key + R to open the Run dialog box instantly.
- Type
mmsys.cplinto the prompt field and hit Enter to open classic Sound Control Panel. - Right-click your active primary playback device and select Properties.
- Navigate directly to the Advanced tab located at the top.
- Uncheck Allow applications to take exclusive control of this device.
- Uncheck Give exclusive mode applications priority.
- Click Apply, then transition to the Communications tab in the main panel.
- Select Do nothing under the automatic volume reduction section, then click OK.
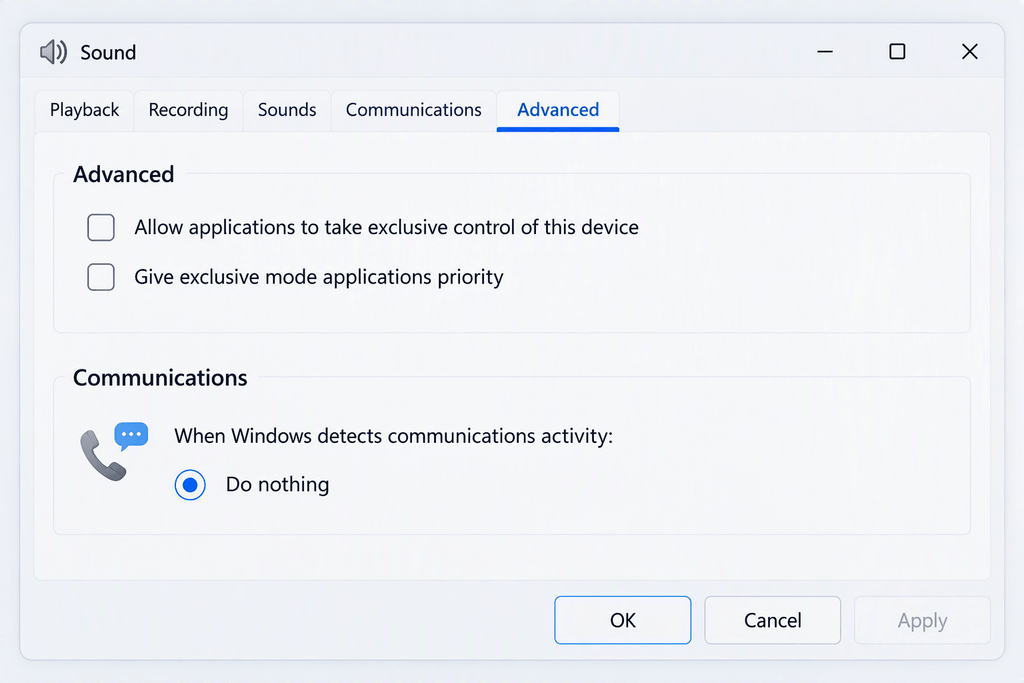
By disabling these aggressive features, you eliminate software-induced muting while protecting active 3D spatial sound parameters across system updates.
Step 3: Prevent Windows Power Management From Turning Off Audio Hardware
Similarly, aggressive PCI Express and USB power management routines routinely put audio hardware into low-power sleep states. Consequently, when the device wakes up, Windows fails to restore the prior 3D spatial settings accurately.
To disable energy-saving dropouts on onboard chips, access device parameters through the official Realtek High Definition Audio Setup Guide:
- Right-click the Start button and select Device Manager from the context menu.
- Expand the Sound, video and game controllers category clearly.
- Right-click your active audio controller (e.g., Realtek Audio) and pick Properties.
- Click the Power Management tab if present, and uncheck Allow the computer to turn off this device to save power.
- Next, expand the Universal Serial Bus controllers section if you use a USB DAC or headset.
- Open properties for each USB Root Hub, navigate to Power Management, and disable power saving options.
⚠️ Warning: Disabling power savings on USB hubs slightly increases background power draw. However, this step remains absolutely critical for keeping external USB audio interfaces awake and preventing sudden spatial audio drops.
Step 4: Reinstall and Lock Drivers to Stop Realtek Audio Settings Reset
Furthermore, outdated, generic, or corrupt device drivers represent the primary cause of a recurring Fix Realtek audio settings reset loop. Therefore, executing a clean driver installation ensures underlying registry entries remain completely uncorrupted.
- Download the latest WHQL-certified driver package from your motherboard vendor or device manufacturer.
- Disconnect your internet connection temporarily to prevent Windows Update from installing generic drivers automatically.
- Open Device Manager, right-click your audio device, and select Uninstall device.
- Check the box labeled Attempt to remove the driver for this device and click Uninstall.
- Reboot your PC completely to flush system memory caches.
- Install your freshly downloaded driver package manually, then reconnect your network connection.
If you encounter persistent installation errors during driver updating routines, refer to the detailed Driver Installation Troubleshooting Guide on Microsoft Learn for advanced deployment options.
Step 5: Configure 3D Spatial Sound and Windows Audio Services
Now, re-enable your spatial sound engine securely so Windows retains Dolby Atmos, Windows Sonic, or DTS Headphone:X preferences across system reboots.
- Press Windows Key + R, type
services.msc, and press Enter. - Scroll down to locate the Windows Audio service clearly.
- Right-click Windows Audio and select Properties.
- Set the Startup type dropdown menu directly to Automatic.
- Transition to the Recovery tab inside the properties window.
- Change First failure and Second failure options to Restart the Service.
- Repeat these exact service configuration steps for Windows Audio Endpoint Builder.
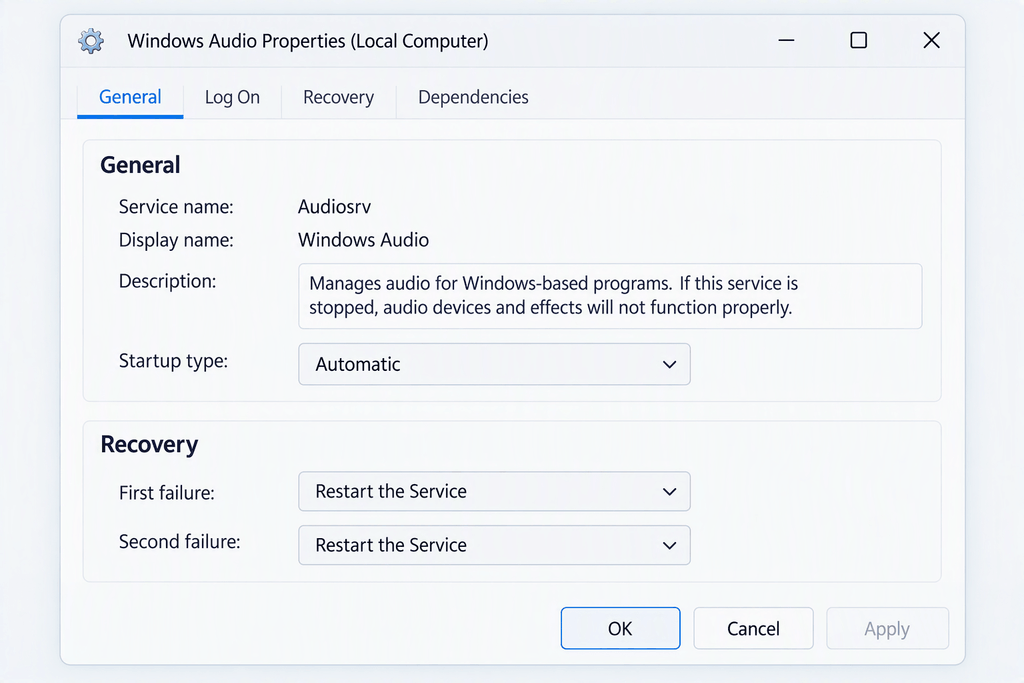
Finally, right-click the speaker icon in your system tray, navigate to Spatial Sound, and re-select Windows Sonic for Headphones or your preferred spatial sound software. Because you previously configured background services to auto-restart, Windows will now hold these settings securely.
For additional spatial sound setup information, explore the official Dolby Access Setup Manual or the official DTS Sound Unbound Portal to ensure your surround licensing remains active.
Final Thoughts and System Stability Tips
In conclusion, resolving persistent audio device muting and unexpected 3D spatial sound resets in Windows 11 requires addressing driver management, power states, and exclusive software access simultaneously. By systematically following the steps detailed above, you eliminate background conflicts, protect spatial sound configurations, and restore reliable, high-fidelity audio performance to your workstation.
Remember to re-check exclusive mode settings whenever you install major Windows feature updates, as system updates occasionally restore default settings automatically. Keep your drivers updated directly from official hardware manufacturers, and keep background communications software configured properly.
What specific audio hardware or headset are you currently running on Windows 11? Did these steps permanently resolve your spatial sound dropouts? Let us know in the comments below, share this article with fellow gamers, and join our active tech community discussions today!