Microsoft recently introduced a powerful new AI feature called Windows Copilot Recall. This tool takes constant snapshots of your screen to help you find past activities. However, many users feel this feature creates massive security risks and privacy vulnerabilities. If you want to protect your personal data, you need to turn this feature off completely.
Fortunately, you can eliminate this tracking tool from your operating system today. This comprehensive guide will show you exactly how to disable Windows 11 Recall safely. We will explore multiple methods, including basic system settings, Group Policy tweaks, and advanced registry edits.
Understanding Windows Copilot Recall and Its Privacy Risks
Before we dive into the step-by-step instructions, we must understand what this feature actually does. The tool logs your keystrokes, active applications, visited websites, and instant messages. Consequently, a bad actor with local access could easily steal your entire digital history in seconds. Cybersecurity experts have already raised major alarms regarding how this data is stored on your hard drive.
Furthermore, the feature runs constantly in the background, consuming valuable system resources. This continuous background processing can significantly degrade performance on mid-range laptops and custom desktop builds. Therefore, turning it off saves your data privacy and reclaims your hardware efficiency at the same time.
Method 1: Turn Off Recall via Windows Settings
The easiest way to stop this tracking feature is through the native Settings application. Microsoft allows users to toggle the basic capture functionality off with just a few clicks.
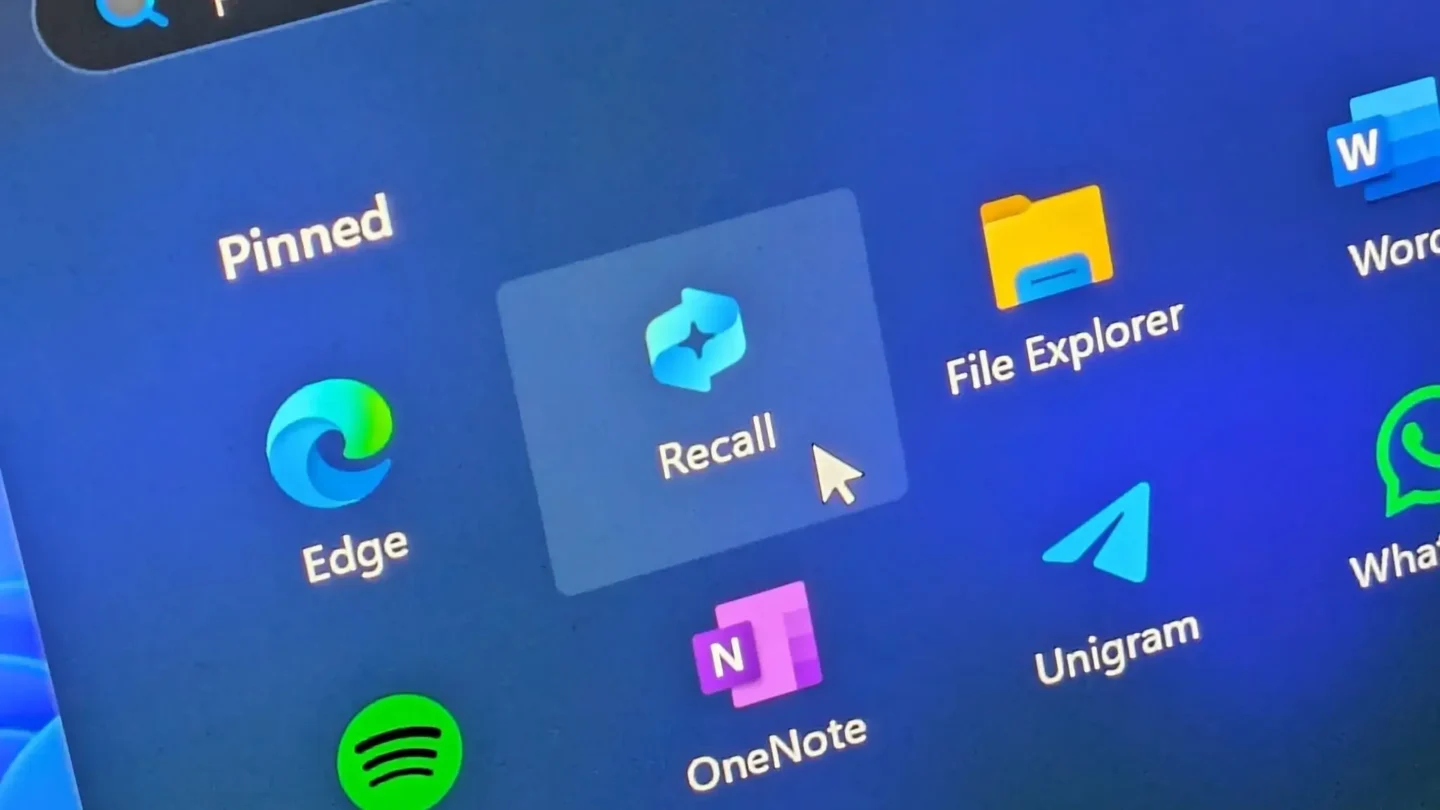
Step 1: Open Privacy & Security
First, press the Windows Key + I simultaneously to launch your System Settings menu. Next, navigate to the left-hand sidebar and select Privacy & security. From the main panel, scroll down until you locate the specific section labeled Recall & snapshots.
Step 2: Toggle Off the Capture Feature
Inside this menu, you will see a toggle switch labeled Save snapshots. Click this switch immediately to flip it from On to Off. Additionally, make sure to click the Delete snapshots button right below the toggle. This action completely purges any previous screen recordings that Windows has already stored on your drive.
⚠️ Warning: Simply flipping this switch stops future recordings, but Windows updates might turn it back on. For a permanent solution, you must use the advanced technical methods detailed below.
Method 2: Permanently Disable Recall via Group Policy Editor
If you use Windows 11 Pro, Enterprise, or Education, you can use the Local Group Policy Editor. This administrative tool enforces system-wide rules that standard Windows updates cannot easily overwrite.
Step 1: Launch the Policy Editor
First, press the Windows Key + R to open the Run dialog box. Type gpedit.msc into the empty field and press Enter. This command will instantly launch the Local Group Policy Editor window on your screen.
Step 2: Navigate to Windows AI Policies
In the left pane, navigate through the folders using this exact path:
Computer Configuration > Administrative Templates > Windows Components > Windows AI
Step 3: Modify the Snapshot Policy
Look at the right-hand panel and double-click the policy named Turn off Windows Recall. A new configuration window will pop up automatically. Change the selection from Not Configured to Enabled. Finally, click Apply and then click OK to lock in your brand-new system rules.
Method 3: Use the Windows Registry for a Total Block
Windows 11 Home users do not have access to the Group Policy Editor. Therefore, you must modify the Windows Registry to achieve the exact same permanent block.
Step 1: Open the Registry Editor
Press the Windows Key + R once again to call up the Run dialog box. Type regedit into the field and hit Enter to open the editor. If a User Account Control prompt appears, click Yes to grant administrative privileges.
Step 2: Navigate to the Policy Key
Use the sidebar on the left to navigate to the following registry path:
HKEY_LOCAL_MACHINE\SOFTWARE\Policies\Microsoft\Windows
Step 3: Create a New Windows AI Key
Right-click on the main Windows folder, select New, and then choose Key. Name this brand-new key exactly WindowsAI. Next, right-click the newly created WindowsAI folder, select New, and choose DWORD (32-bit) Value.
Step 4: Configure the DWORD Value
Name this specific new value DisableAIDataAnalysis. After naming it, double-click the item to edit its properties. Change the Value data field from 0 to 1. Click OK, close the Registry Editor, and restart your computer to apply the deep system changes.
Method 4: Completely Uninstall the Recall Component
For absolute peace of mind, you can actually remove the underlying packages using deployment tools. This method ensures that the software components no longer exist on your storage drive.
Step 1: Open Terminal as Administrator
Right-click the Start menu button and select Terminal (Admin) or PowerShell (Admin). This action opens a high-privilege command console necessary for deep operating system modifications.
Step 2: Execute the DISM Removal Command
Copy and paste the following command into your terminal window, then hit Enter:
PowerShell
dism /online /disable-feature /featurename:Recall
The Deployment Image Servicing and Management tool will now strip the package from your local Windows image. Once the process hits 100 percent, the terminal will prompt you to restart your machine. Type Y to restart and finish the uninstallation.
💡 Pro-Tip: If you ever want to revert this change later, just run the exact same command but replace the word /disable-feature with /enable-feature.
Verifying That Windows 11 Recall Is Fully Dead
After your computer restarts, you should verify that your privacy blocks are working perfectly. You can easily double-check your system status by revisiting the original Settings menu.
Navigate back to Settings > Privacy & security > Recall & snapshots. The entire page should now appear grayed out or show a message stating that your organization manages these settings. Furthermore, checking your Task Manager will confirm that no background AI snapshot processes are pulling data from your CPU or RAM.
For additional system hardening, consider auditing your overall OS privacy setup. Websites like EFF’s Surveillance Self-Defense Guide offer fantastic blueprints for securing modern operating systems. You can also monitor your local network traffic using tools found on Wireshark’s Official Download Page to ensure no unauthorized data leaves your machine.
If you want to keep tracking and optimizing your system health, consider reading the official hardware optimization documentation over at Microsoft Learn. For open-source privacy software alternatives, check out the recommendations listed on Privacy Guides. Finally, you can keep up with emerging OS security vulnerabilities by monitoring the CISA Official Vulnerability Database.
Final Thoughts
Microsoft designed Windows Copilot Recall to improve user productivity, but the implementation poses clear security risks. Fortunately, you can easily regain total control over your computer’s privacy. By utilizing the Settings app, Group Policy adjustments, or Registry modifications, you can ensure your private activities stay truly private.
Do you plan on keeping this AI feature active, or did you disable it immediately? Let us know your thoughts in the comments section below! Please share this helpful article with your friends and colleagues to help them secure their Windows 11 devices today.