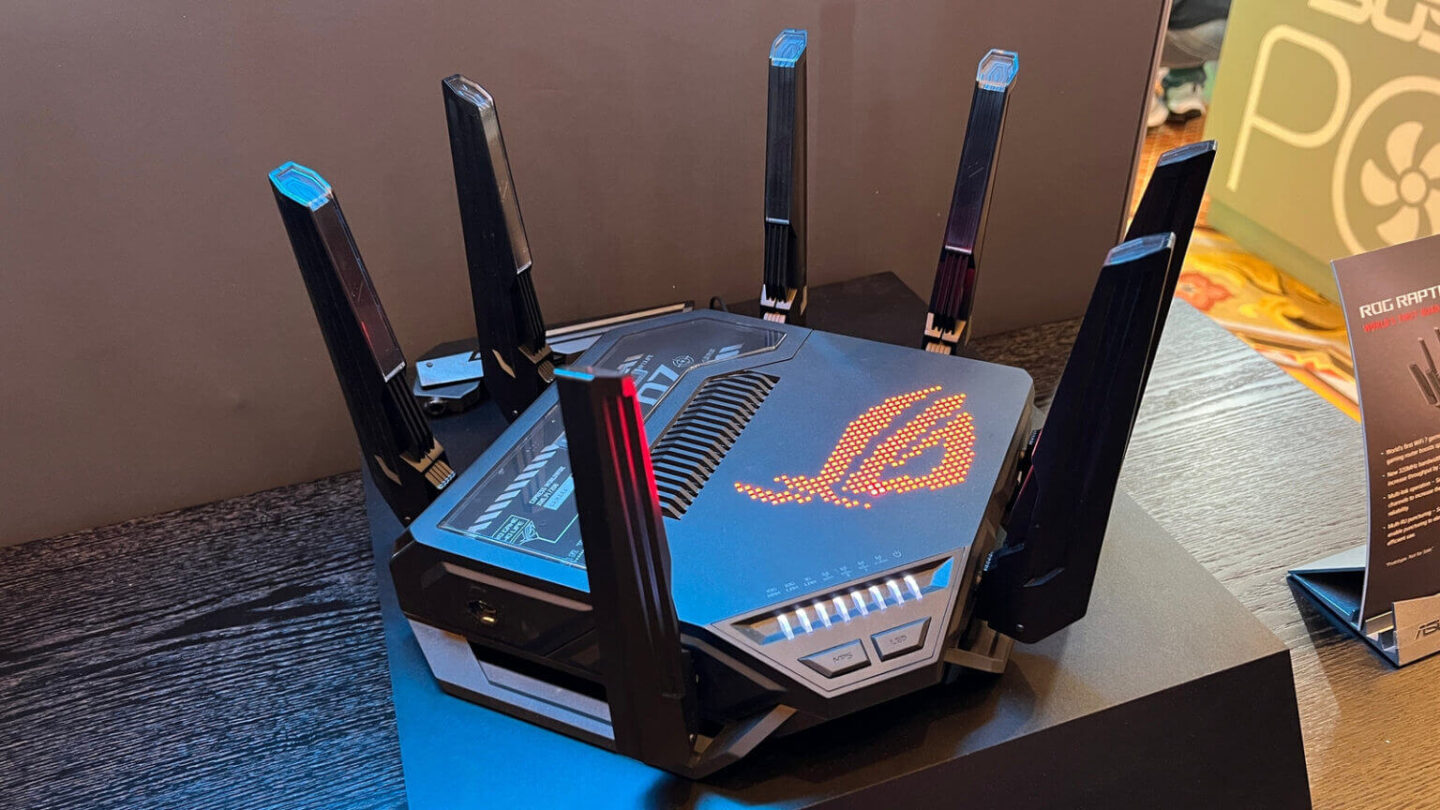
Wi-Fi 7 introduces groundbreaking speed, but early adopters frequently encounter frustrating Wi-Fi 7 MLO connection drops in Windows 11. This revolutionary standard promises to transform your home network entirely. However, software bugs and driver conflicts often cause sudden disconnections. If your premium network constantly drops its signal, you are not alone. Fortunately, you can fix these stability issues with a few targeted adjustments.
Multi-Link Operation represents the crown jewel of the new wireless standard. Because older Wi-Fi generations limit devices to a single band, they often suffer from congestion. In contrast, MLO allows your computer to transmit data across multiple bands simultaneously. This technical leap dramatically reduces latency while increasing throughput. Nevertheless, Windows 11 occasionally struggles to manage these concurrent streams smoothly.
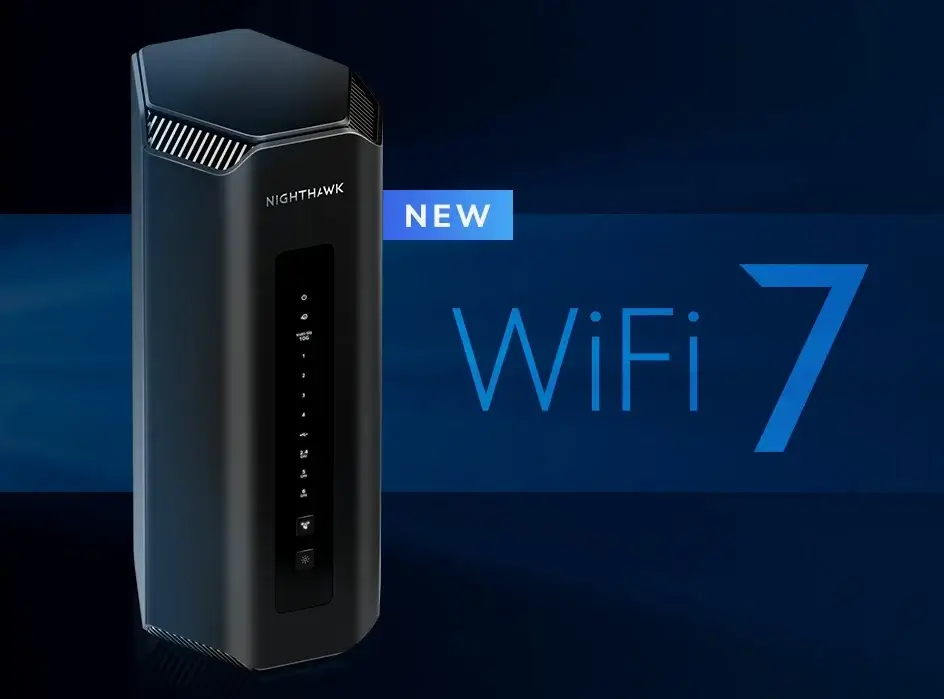
Frequent drops occur when the operating system mismanages the aggregated bands. For example, a minor drop in the 6 GHz frequency might trigger a complete connection failure. Instead of seamlessly routing traffic to the 5 GHz band, Windows terminates the entire session. This technical guide will help you resolve these aggressive drops permanently.
+-------------------------------------------------------------+
|                     Wi-Fi 7 MLO Architecture                |
|                                                             |
|  [ Windows 11 PC ] <--- Concurrent Streams ---> [ Router ]  |
|         │                                          │        |
|         ├── Stream 1: 2.4 GHz Band ────────────────┼────────┤
|         ├── Stream 2: 5 GHz Band ──────────────────┼────────┤
|         └── Stream 3: 6 GHz Band ──────────────────┼────────┤
+-------------------------------------------------------------+
Understanding Multi-Link Operation (MLO)
To resolve network drops, you must first understand how MLO behaves under load. Traditional roaming algorithms force your device to choose between 2.4 GHz, 5 GHz, or 6 GHz frequencies. Consequently, your PC remains locked onto one highway until the signal degrades entirely. MLO changes this paradigm completely by combining these separate frequencies into a single data pipe.
Because your PC connects to multiple bands at once, throughput rises exponentially. Your router dynamically distributes data packets based on current airtime availability. Therefore, heavy interference on one frequency should not interrupt your workflow. If a microwave disrupts the 2.4 GHz band, the 6 GHz band carries the remaining payload.
Unfortunately, this complexity introduces new failure points for the Windows network stack. When the operating system detects high packet loss on one stream, it sometimes overreacts. Instead of dropping the corrupted stream, Windows resets the entire wireless adapter. Understanding this behavior helps us isolate the underlying software triggers.
Upgrade Windows 11 to Version 24H2
Before changing hardware settings, you must verify your specific Windows 11 build version. Microsoft explicitly engineered Windows 11 version 24H2 to provide native Wi-Fi 7 platform support. If you run version 23H2 or older, your system lacks the necessary architectural components. Consequently, older versions handle multi-band aggregation through generic, unstable fallback protocols.
+---------------------------------------------------------------+
| Check Windows Version:                                        |
| Settings > System > About > Windows specifications > Version   |
+---------------------------------------------------------------+
Upgrading to the latest feature update immediately resolves core kernel-level conflicts. Microsoft rewritten significant portions of the wireless subsystem specifically for multi-link configurations. Therefore, running 24H2 ensures your OS speaks the same language as your high-end router. You can easily check your system status through the Windows Settings application.
To update your system, navigate directly to the Windows Update menu. Click the check for updates button and accept all pending feature installations. If the 24H2 update does not appear, you can force the installation manually. Visit the official Microsoft Software Download page to download the Windows 11 Installation Assistant safely.
⚠️ Warning: Do not attempt to run MLO on Windows 11 23H2 using third-party software tools. Unofficial patches often cause persistent Blue Screen of Death (BSOD) errors in the Netwtw14.sys network driver.
Install the Latest Wireless Network Adapter Drivers
Outdated network card drivers cause a vast majority of wireless disconnections. Hardware manufacturers like Intel, Qualcomm, and MediaTek release frequent updates to stabilize early Wi-Fi 7 silicon. Because these manufacturers patch critical bugs monthly, generic Windows drivers are entirely insufficient. You must obtain the absolute latest driver package directly from the silicon vendor.
If you use an Intel Wi-Fi 7 BE200 chip, download the driver from Intel’s official support portal. Similarly, Qualcomm and MediaTek hardware owners must check their respective motherboard manufacturer pages. Brand new network adapters require bleeding-edge software to handle complex MLO coordination routines.
1.Open Device Manager:Access system hardware controls.
Right-click the Windows Start button and select Device Manager from the power user menu.
2.Locate Wireless Adapter:Identify your Wi-Fi 7 hardware.
Expand the Network adapters section, then double-click your specific Wi-Fi 7 controller module.
3.Uninstall Current Driver:Remove corrupted network software.
Switch to the Driver tab, click Uninstall Device, check the box for driver removal, and click confirm.
4.Install Fresh Driver:Apply the latest vendor software.
Run the standalone driver installer executable package that you previously downloaded from the hardware vendor.
Adjust Advanced Network Adapter Settings
Default Windows power management settings aggressively throttle advanced network hardware to save battery. When your network card drops into a low-power state, it instantly breaks the MLO bond. Because maintaining multiple concurrent links demands significant power, you must disable all power-saving disruptions.
First, return to the Device Manager and open your Wi-Fi 7 adapter properties again. Navigate directly to the Advanced property tab to access granular hardware configurations. Look for the MIMO Power Save Mode property inside the scrollable selection list. Change this value from Auto SMPS to No SMPS to keep all antenna chains active.
+---------------------------------------------------------------+
| Advanced Adapter Configuration:                               |
| MIMO Power Save Mode   ---->   Set to "No SMPS"               |
| Ultra High Band (6GHz) ---->   Set to "Enabled"               |
+---------------------------------------------------------------+
Next, check the Power Management tab at the top of the properties window. Uncheck the box that allows the computer to turn off this device to save power. By forcing the adapter to stay fully powered, you prevent sudden link sleep cycles. This small modification fixes many intermittent drops during periods of network inactivity.
Configure Router MLO Settings Properly
Your wireless router configuration dictates how smoothly Windows handles multi-link steering. If your router uses identical Service Set Identifiers (SSIDs) across all bands, Windows can struggle. Some consumer routers implement MLO poorly by mixing encryption protocols between channels. You must ensure your router runs the latest firmware to fix these backend bugs.
Log into your router’s web administration panel using your preferred internet browser. Navigate to the wireless settings screen and locate the specific MLO configuration section. Ensure you select WPA3-Personal encryption exclusively for the aggregated MLO network. Because Wi-Fi 7 mandates WPA3 security, mixing WPA2 into the MLO pool breaks connections instantly.
+---------------------------------------------------------------+
| Recommended Router MLO Security Configuration:                 |
| [ MLO Network SSID ] ───> MUST USE ───> [ WPA3-Personal Only ] |
+---------------------------------------------------------------+
Additionally, consider assigning a dedicated, unique SSID solely for your MLO traffic. Separating your MLO network from older legacy devices reduces broadcast overhead significantly. This separation prevents older smart-home gadgets from confusing the router’s band-steering engine. Consequently, your Windows 11 PC maintains a cleaner, uninterrupted path to the router.
💡 Pro-Tip: Always set your 6 GHz channel width to 320 MHz if your local regulations permit it. This setting gives your Windows 11 PC maximum bandwidth allocation, which helps the MLO algorithm balance data streams more effectively.
Disable Windows Location Services
Oddly enough, the background scanning mechanics of Windows Location Services frequently disrupt MLO networks. Every few minutes, Windows triggers an active Wi-Fi environment scan to triangulate your geographic position. This background probe forces the wireless adapter to momentarily stop transmitting data on secondary channels.
Because MLO requires precise timing to sync streams, this periodic probe causes minor latency spikes. Under heavy network loads, this microscopic interruption can cause a complete stream timeout. If the timeout exceeds the router’s tolerance limit, the router drops the client entirely. Disabling location tracking prevents these artificial gaps.
To disable this tracking, open your Windows Settings app and click on Privacy & security. Scroll down to App permissions, then click directly on the Location settings sub-menu. Toggle the primary Location services switch to the off position immediately. Your network card will stop unnecessary background scanning, which stabilizes your active data streams.
+---------------------------------------------------------------+
| Disable Location Services Path:                               |
| Settings > Privacy & Security > Location > Toggle "Off"       |
+---------------------------------------------------------------+
Reset the Windows 11 Network Stack
If you still experience drops after updating drivers, your internal network configuration might be corrupted. Accumulated system updates often leave behind problematic registry keys in the network stack. Fortunately, clearing these old configurations forces Windows to rebuild its entire routing database from scratch.
You can execute a comprehensive stack reset safely using the administrative Command Prompt interface. This process flushes cached network data and resets vital internet protocol parameters instantly. Before proceeding, ensure you save all open work because this step requires a system reboot.
+---------------------------------------------------------------+
| Administrative Command Sequence:                              |
| 1. netsh winsock reset                                        |
| 2. netsh int ip reset                                         |
| 3. ipconfig /flushdns                                         |
+---------------------------------------------------------------+
Open your Start menu, type cmd, and select the run as administrator option. Type netsh winsock reset into the console window and press your enter key. Next, execute netsh int ip reset to rebuild your core TCP/IP boundaries completely. Finally, clear your domain cache by typing ipconfig /flushdns before restarting your computer.
Final Thoughts
Deploying cutting-edge technology like Wi-Fi 7 always involves tackling a few early configuration hurdles. Because MLO changes how hardware operates fundamentally, small software bugs can easily disrupt your connection. Fortunately, updating Windows 11 to version 24H2 and configuring power settings solves the vast majority of drops. By methodically following these steps, you can finally enjoy uninterrupted, blisteringly fast wireless speeds.
Join the Discussion!
Did this guide fix your wireless drops, or are you still experiencing intermittent disconnections? Drop a comment below with your motherboard model and router setup so we can troubleshoot together!