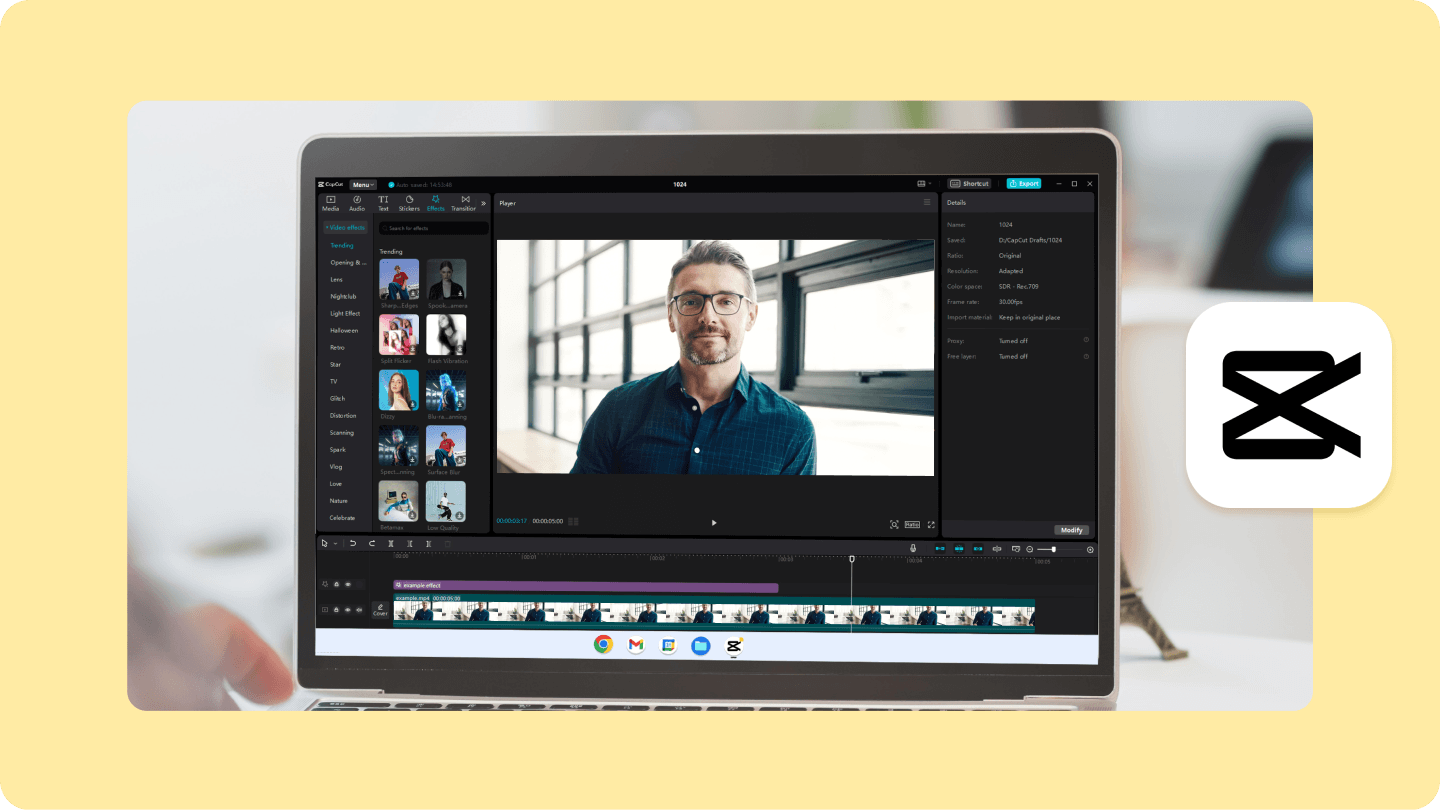
Video editors love CapCut Desktop because it offers rapid timeline trimming, automated captions, and brilliant AI visual effects. However, thousands of creators encounter severe system slowdowns, high VRAM memory leaks, and sudden export crashes while rendering high-resolution timelines. Furthermore, your graphics card video RAM rapidly exhausts itself during long editing sessions. As a result, the application suddenly freezes or forcefully closes right when your export progress bar reaches ninety percent.
Consequently, these performance bottlenecks derail productivity and frustrate creators working on tight client deadlines. Thankfully, you do not need to purchase an expensive workstation GPU to solve these rendering failures. In this comprehensive troubleshooting guide, we will analyze why video memory inflates and walk you through step-by-step solutions. Therefore, you can permanently fix CapCut Desktop VRAM leaks and eliminate frustrating CapCut export crashes 2026 forever.
+--------------------------------------------------------------------------------+
|                          VRAM LEAK DIAGNOSTIC FLOW                             |
+--------------------------------------------------------------------------------+
|  [ Symptom: Sudden crash at 90% export or choppy 4K preview playback ]        |
|                                     |                                          |
|                                     v                                          |
|  [ Step 1: Clear corrupted cache files in CapCut AppData directory ]           |
|                                     |                                          |
|                                     v                                          |
|  [ Step 2: Toggle Hardware Acceleration & test GPU encoder stability ]         |
|                                     |                                          |
|                                     v                                          |
|  [ Step 3: Enable low-resolution Proxy Editing for high-bitrate media ]       |
|                                     |                                          |
|                                     v                                          |
|  [ Step 4: Expand system Virtual Memory / Pagefile on fast NVMe SSD ]         |
+--------------------------------------------------------------------------------+
Understanding VRAM Memory Leaks in CapCut Desktop
To fix the problem effectively, you must first understand how modern video editing software interacts with graphics memory. Specifically, your graphics processing unit relies on dedicated VRAM to store frame buffers, color grades, and heavy visual effect layers. When you edit high-bitrate 4K footage, CapCut allocates chunk after chunk of video RAM to preview effects seamlessly.
However, software bugs in temporary buffer management cause memory allocation leaks. Instead of releasing VRAM after rendering a clip frame, the background process retains that dedicated memory indefinitely. Consequently, your GPU quickly runs out of headroom. Once VRAM reaches maximum capacity, Windows or macOS forcibly terminates the CapCut rendering thread to prevent complete system instability.
⚠️ Warning: Ignoring persistent GPU memory spikes causes severe system crashes, blue screens (BSOD), corrupted project indexes, and lost timeline edits.
Furthermore, complex AI keying tools, optical flow speed ramping, and heavy particle overlays accelerate memory leaks. In addition, opening multiple timeline tabs during a single session compounds the unreleased frame data. Therefore, system memory usage continuously climbs higher until your export engine fails entirely.
+---------------------------------------------------------------------------------+
|                       VRAM ALLOCATION VS UNRELEASED LEAKS                       |
+---------------------------------------------------------------------------------+
| System State        | VRAM Used | Available VRAM | System Behavior              |
+---------------------+-----------+----------------+------------------------------+
| Fresh Launch        |  1.8 GB   |   6.2 GB       | Smooth timeline playback     |
| Active 4K Editing   |  4.5 GB   |   3.5 GB       | Normal GPU acceleration      |
| Extended AI Effects |  7.8 GB   |   0.2 GB       | Choppy playback, lag spikes  |
| Export Under Leak   |  8.0 GB   |   0.0 GB       | App Crash / Export Failure   |
+---------------------+-----------+----------------+------------------------------+
Step 1: Purge Corrupted AppData and Render Cache Files
To begin troubleshooting, you must purge temporary cached preview files immediately. Over time, CapCut stores gigabytes of uncompressed preview renders inside deep system directories. Unfortunately, corrupted cache files retain broken memory handles that continuously trigger a CapCut low memory error during render cycles.
First, close the app completely and open your file explorer. Next, perform a manual manual cache deletion to clear broken temporary files thoroughly. Official build updates can be downloaded directly from the CapCut Download Page.
Windows Cache Purge Procedure
- Press Win + R on your keyboard to launch the Run dialog box.
- Type
%LocalAppData%\CapCut\into the prompt and hit Enter. - Open the
User Datafolder and locate theCachedirectory. - Select all temporary contents and delete them permanently.
macOS Cache Purge Procedure
- Open Finder and press Cmd + Shift + G to open the path location bar.
- Enter
~/Library/Caches/com.lemon.lvoverseas/and press Return. - Drag all cached render subfolders directly into your Trash bin.
- Empty your Trash immediately to reclaim critical drive space.
💡 Pro-Tip: Deleting temporary cache files will never delete your original source videos or project timelines. It simply forces CapCut to rebuild clean frame indexes upon launch.
Additionally, you should clear cache within the application interface. Navigate to the internal settings panel and click the CapCut video editor clear cache button. Consequently, this process frees up system RAM and resets stuck background threads.
Step 2: Configure Hardware Acceleration and GPU Encoding
In many scenarios, hardware acceleration settings trigger severe encoder conflicts. While GPU hardware encoding speeds up video rendering, buggy encoder profiles frequently freeze your graphics driver mid-export. Therefore, toggling these settings provides an immediate CapCut render freeze fix.
First, open CapCut Desktop and navigate directly to the top menu bar. Next, select Settings and click on the Performance tab. Here, you will find options for hardware decoding and encoding toggles.
+---------------------------------------------------------------------------------+
|                   GPU HARDWARE ENCODING TOGGLE SETTINGS                         |
+---------------------------------------------------------------------------------+
| Setting Option                | Recommended State | Reason / Benefit            |
+-------------------------------+-------------------+-----------------------------+
| Speed up Hardware Decoding    | ENABLED           | Smooth timeline scrubbing   |
| Speed up Hardware Encoding    | DISABLED (Temp)   | Prevents export GPU crash   |
| Pre-render Timeline Effects   | ENABLED           | Reduces real-time VRAM peak |
+-------------------------------+-------------------+-----------------------------+
Uncheck the option labeled Speed up hardware encoding and click Save. Afterwards, restart your computer to ensure driver states clear out cleanly. When you attempt an export afterwards, your CPU will handle encoding tasks reliably. Although CPU encoding takes slightly longer, it bypasses VRAM exhaustion crashes completely.
Furthermore, outdated display drivers frequently fail during complex video rendering jobs. Consequently, updating your display hardware drivers to stability-focused studio drivers is vital.
- Download the latest creator drivers from NVIDIA Driver Support.
- Install updated graphics packages directly via AMD Driver Downloads.
- Update integrated graphics adapters using Intel Driver Assistant.
Specifically, NVIDIA users should always select Studio Drivers rather than Game Ready drivers. Studio drivers undergo rigorous stability testing with video editing software suites. As a result, they handle heavy hardware acceleration workloads without leaking video memory.
Step 3: Implement a Low-Resolution Proxy Editing Setup
Editing raw 4K h.264 or h.265 media directly places massive strain on VRAM memory pools. Every time you scrub the timeline, CapCut decodes heavy intra-frame camera footage instantly. Consequently, VRAM spikes rapidly while rendering complex effects. You can resolve this strain completely by creating a CapCut proxy editing setup.
Proxy files are lightweight, low-resolution copies of your original high-resolution media. While editing, CapCut processes these lightweight proxy files smoothly in real time. Subsequently, when you export the final project, CapCut automatically switches back to the full-resolution source files.
+---------------------------------------------------------------------------------+
|                       PROXY WORKFLOW ARCHITECTURE                               |
+---------------------------------------------------------------------------------+
| [ RAW 4K Camera Footage ] ----> ( Auto Proxy Generation )                       |
|                                       |                                         |
|                                       v                                         |
| [ Lightweight 720p Edit Proxy ] ---> ( Smooth Editing & VFX Playback )          |
|                                       |                                         |
|                                       v                                         |
| [ Final Export Master ] <----------- ( Re-links Full 4K Media Automatically )   |
+---------------------------------------------------------------------------------+
How to Enable Proxies in CapCut Desktop
- Open your project settings in the right panel.
- Locate the Performance section and check Proxy.
- Select 720p or 1080p as your target proxy resolution.
- Allow CapCut to generate background proxy files before editing.
In addition, proxy media consumes significantly less video memory during real-time timeline scrubbing. Therefore, your GPU maintains healthy thermal levels and ample free VRAM headroom.
💡 Pro-Tip: If your video project stalls repeatedly during export, duplicate your project file first. Duplicating timelines rebuilds broken metadata indexes and cleans up damaged clip handles.
Step 4: Expand Virtual Memory (Pagefile) Allocation
When physical GPU memory and system RAM fill up, Windows uses virtual memory pagefiles as a buffer. However, default Windows virtual memory settings are often far too restrictive for heavy video editing. If your system hits the pagefile limit during export, CapCut instantly crashes to desktop.
To prevent these crashes, you must expand your virtual memory pagefile manually. Follow the official Microsoft Virtual Memory Guide or apply our optimized settings below.
+---------------------------------------------------------------------------------+
|                   RECOMMENDED PAGEFILE ALLOCATION SIZES                         |
+---------------------------------------------------------------------------------+
| Installed System RAM  | Initial Size (Min)         | Maximum Size (Max)         |
+-----------------------+----------------------------+----------------------------+
| 16 GB                 | 24,576 MB (24 GB)          | 49,152 MB (48 GB)          |
| 32 GB                 | 49,152 MB (48 GB)          | 65,536 MB (64 GB)          |
| 64 GB                 | 32,768 MB (32 GB)          | 65,536 MB (64 GB)          |
+-----------------------+----------------------------+----------------------------+
Steps to Customize Pagefile Size
- Type
View advanced system settingsin your Windows search bar and open it. - Under the Performance header, click Settings, then select the Advanced tab.
- Click Change under the Virtual Memory section.
- Uncheck Automatically manage paging file size for all drives.
- Select your fastest NVMe solid-state drive (SSD) and click Custom size.
- Set Initial size to
24576MB and Maximum size to49152MB. - Click Set, press OK, and restart your computer.
Consequently, expanding your pagefile gives Windows a massive safety net. When VRAM surges during complex timeline renders, the extended swap memory absorbs extra data chunks smoothly. As a result, your rendering job finishes successfully without unexpected crashes.
Step 5: Optimize Export Codecs and Project Settings
Sometimes, specific export settings trigger fatal GPU hardware acceleration crashes. Specifically, encoding high-bitrate 4K footage using the H.264 codec requires massive peak VRAM allocations. Therefore, adjusting your export settings slightly can stabilize the entire rendering engine.
+---------------------------------------------------------------------------------+
|                   OPTIMIZED EXPORT PANEL CONFIGURATION                          |
+---------------------------------------------------------------------------------+
| Export Setting Parameter      | High-Stability Setting  | Crash Avoidance Value |
+-------------------------------+-------------------------+-----------------------+
| Resolution                    | 1080p or 2K Quad HD     | Avoid raw 4K native   |
| Frame Rate                    | 30 fps or 60 fps        | Match source clip fps |
| Video Format / Codec          | HEVC (H.265) or ProRes  | Replace unstable H.264|
| Bitrate Preset                | Standard / Recommended  | Avoid Higher Bitrate  |
+-------------------------------+-------------------------+-----------------------+
First, switch your video container format from H.264 to HEVC (H.265) or ProRes. Modern graphics cards feature dedicated hardware blocks optimized specifically for efficient H.265 compression. Next, lower your export bitrate from “Higher” down to Recommended. High bitrates force CapCut to hold larger frame buffers in VRAM simultaneously.
Furthermore, disable Smart HDR and motion blur effects before exporting long videos. These AI-driven tools recalculate pixel vectors across multiple frames at once, multiplying memory consumption. Once your export succeeds, you can re-enable effects selectively for shorter clip sections.
Summary Table: Troubleshooting CapCut Export Crashes
+---------------------------------------------------------------------------------+
|                  TROUBLESHOOTING ACTION PLAN MATRIX                             |
+---------------------------------------------------------------------------------+
| Problem Observed         | Primary Root Cause       | Immediate Fix Action      |
+--------------------------+--------------------------+---------------------------+
| VRAM reaches 100%        | Memory allocation leak   | Clear %LocalAppData% cache|
| Crash at 99% export      | GPU driver encoder lock  | Disable Hardware Encoding |
| Choppy 4K preview        | Heavy intra-frame codecs | Enable 720p Proxy Editing |
| Out of Memory error      | Restricted swap file     | Expand Virtual Memory     |
| Frozen render screen     | Corrupted timeline index | Duplicate project file    |
+--------------------------+--------------------------+---------------------------+
Final Thoughts & Conclusion
CapCut Desktop remains one of the most versatile and powerful video editing tools available today. However, unoptimized VRAM consumption and system memory leaks can quickly stall your creative workflow. Thankfully, you can restore rock-solid export stability by applying the systematic troubleshooting steps outlined in this article.
To summarize, always maintain clean system cache directories and keep your graphics drivers updated to studio releases. Additionally, utilize proxy workflows for high-resolution footage and expand your Windows virtual memory pagefile. By optimizing these performance parameters, you can edit complex 4K projects without fear of sudden software crashes.
Video Guide
This video provides visual step-by-step instructions on adjusting hardware acceleration settings and clearing software memory caches inside CapCut Desktop to fix export failures.
Did these fixes resolve your CapCut export issues? Leave a comment below with your graphics card specs and share this troubleshooting guide with fellow creators!