Creating eye-catching presentations is no longer limited to graphic designers. With tools like Canva, anyone can design like a pro. Whether you’re a student, teacher, or manager, this guide will help you craft beautiful slides quickly and easily. If you’re new to Canva or just want to improve your presentation game, this step-by-step beginner’s guide is for you. It covers design tips, Canva features, and real-world uses. Plus, it introduces powerful presentation tools to impress your audience.
Why Choose Canva for Your Presentations?
Canva is a free, user-friendly platform designed for non-designers. It offers a drag-and-drop interface that’s easy to master. With a large collection of templates, images, fonts, and icons, it simplifies visual storytelling. This is why Canva has become a favorite for millions around the globe.
Moreover, it works right in your browser, with nothing to install. You can create, edit, and share your work online. Its cloud-based design makes collaborating with teams seamless and efficient. You don’t need graphic design skills to use it—just creativity and purpose.
Canva’s official website provides all the tools you need to get started. You can sign up for free or explore their Pro plan for more advanced features.
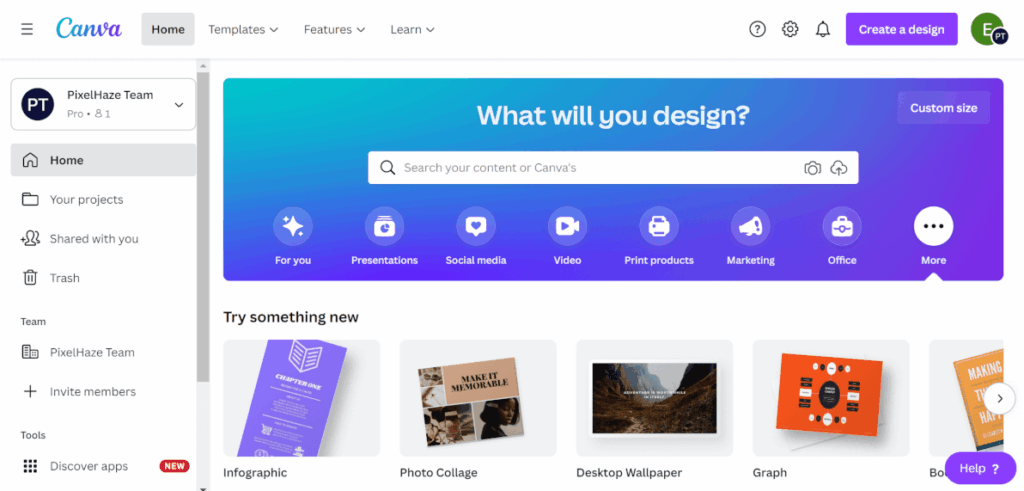
Step 1: Set Up Your Canva Account
To begin, visit www.canva.com and sign up using your email or Google account. Once signed in, click on “Presentation” from the homepage to access presentation templates.
You’ll be taken to a blank slide canvas. From there, you can choose from hundreds of pre-made layouts. These templates save time and help maintain visual consistency.
If you’re unsure where to start, check out this beginner’s walkthrough that explains Canva’s basics in more detail.
Step 2: Choose the Right Presentation Template
Templates are the foundation of good design. Canva offers countless presentation templates that match different purposes—business, education, marketing, and more.
Use the search bar to find a design that fits your message. For example, search “business pitch” or “school project.” Once chosen, you can fully customize the colors, fonts, and layout.
Explore this guide on choosing effective presentation templates to make smarter decisions.
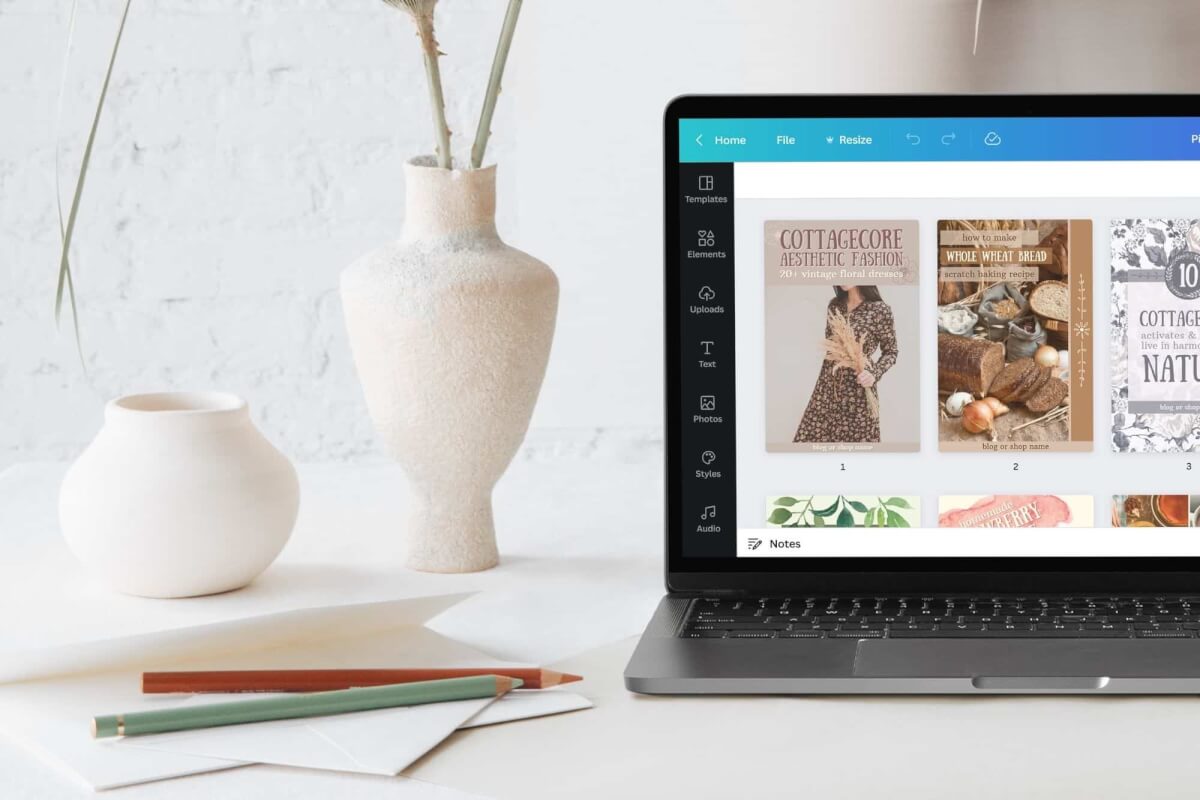
Step 3: Add Visual Elements to Boost Engagement
Visuals are powerful. Canva allows you to insert images, videos, icons, charts, and more into your slides. This makes your presentation dynamic and memorable.
Click “Elements” to browse graphics, shapes, and infographics. Upload your own files if needed. Adjust their size, color, and alignment with ease. You can even use Canva animations to bring life to static slides.
Be sure to follow these visual design tips to avoid clutter and maintain clarity.
Step 4: Use Fonts and Colors Consistently
A consistent style builds professionalism. Canva provides curated font pairings and color palettes to simplify this process. Stick to 2-3 fonts and colors throughout your slides.
Click the “Styles” tab to explore preset options, or create your brand kit if you’re using Canva Pro. This makes your designs unified and polished.
For more guidance, read this article on how to use typography in presentations.
Step 5: Present, Share, or Download Your Work
Once your presentation is complete, you can present directly from Canva. Use the “Present” button for full-screen mode. Alternatively, download your slides in PDF, PNG, or PPT format.
You can also share a link with others for collaboration or viewing. This is ideal for remote teams or classrooms.
To ensure your file settings are correct, review Canva’s presentation export guide.
Bonus Tips for Stunning Presentations
- Keep your slides simple and focused on one idea at a time.
- Use high-quality visuals that align with your topic.
- Limit text. Use bullet points or keywords instead of long paragraphs.
- Include your brand colors or logo for professional appeal.
- Practice your delivery to match the tone of your design.
With regular use, you’ll gain confidence and speed in creating presentations that impress every time.