As you continue to use your computer, whether it is a work computer or a personal home computer, over time it accumulates chunks of unwanted files. These files could be “temporary files” when you install a certain software and the said installer failed to remove them after the installation process. They can also be temporary internet files that your browser downloaded so that your web browsing experience will be faster and efficient. They can also be “orphaned files” or left-overs when you uninstall a certain program. To top it all, your computer could have accumulated registry errors as well (For Windows computers).

The best tool to optimize your computer, both for Windows and Mac, is CCleaner. I have personallu used CCleaner for more than a decade now to keep my system clean, optimized and registry error-free. With CCleaner, your computer will be faster, your web browsing will be safer, and your computer will boot quicker.
Here are the steps to start optimizing your computer using CCleaner.
NOTE: Yes, you can use the free version of CCleaner but it is ideal to take advantage of the FREE Trial of the Professional version to enjoy its full benefits.
A. Download CCleaner Professional Trial Version
I highly recommend using the Free Trial of the Professional version of CCleaner to experience its full features even in few days time. It is then your option to buy the professional license after the trial period to keep all the features of the software.
You can go to https://ccleaner.com and download the software as trial.
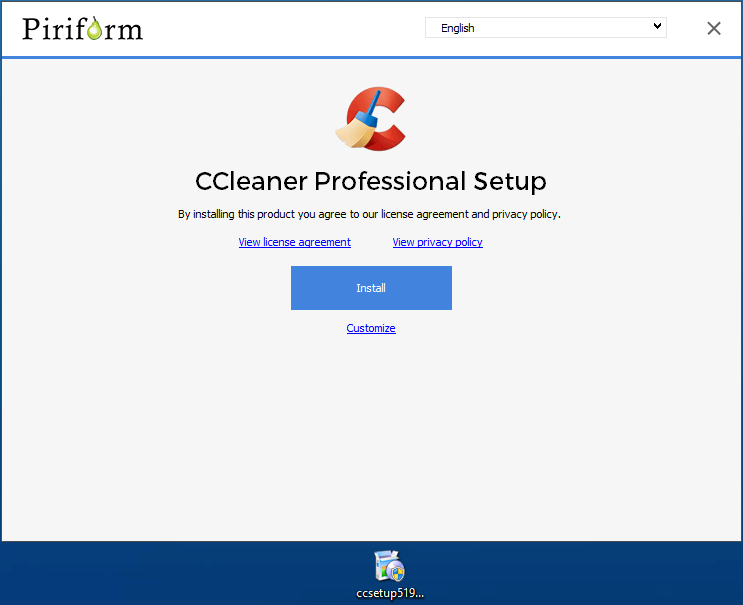
B. Install CCleaner
After downloading CCleaner, double click on the downloaded file to start the installation. Just follow the installation wizard to fully install CCleaner on your system.
C. Perform the Cleaner Cleanup
After installing CCleaner Professional Trial version, run the program to perform the Cleaner phase of the cleanup. Cleaner is the default function when you open CCleaner.
Then click on the Analyze button for the CCleaner tool to dig your drive for unwanted files to remove. When the analysis is done, click on the Run Cleaner button to finally remove the unwanted files.
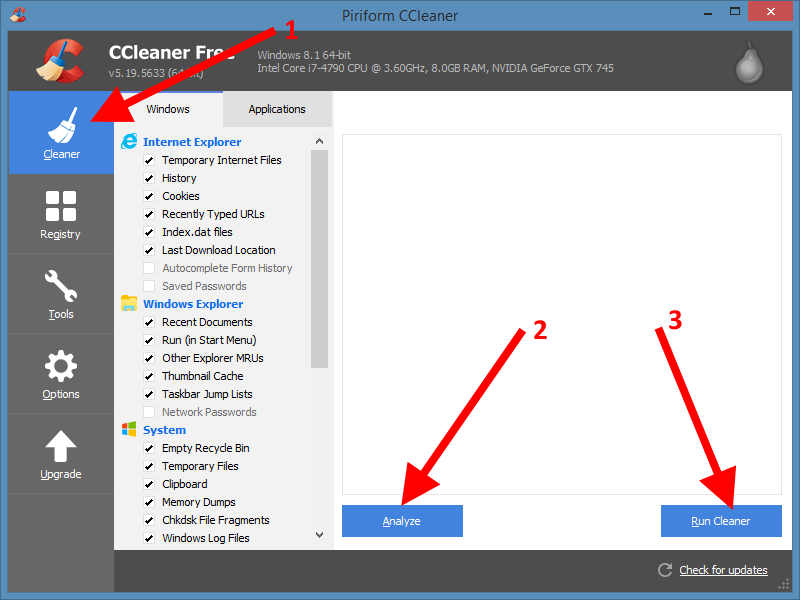
These “unwanted” files are temporary internet files, deleted files in the Recycle Bin, orphaned files, and other chunks of data that are leftovers when you remove or uninstall programs.
D. Perform the Registry Cleanup (Windows)
NOTE: If you want a fallback for this process, you can backup your registry first before proceeding.
After the Cleaner procedures, the next important procedure to undertake is the Registry scan and cleanup. This process will scan the registry for errors. You just click on Registry on the left panel (below Cleaner), then click on Scan for Issues. Allow it to perform the necessary scan and you shall see the list of items listed. When the scan is done, click on Fix selected issues button. When prompted to save the registry first, click on No since there is no need to backup the registry keys before deleting them.

Then redo the process until there is no error listed.