If you have an old PC collecting dust, it’s time to give it new life—as a home media server. In 2025, repurposing outdated hardware is both environmentally smart and incredibly useful. A media server allows you to stream music, movies, TV shows, and photos across devices in your home, or even remotely.
You don’t need to be a tech expert or spend much money. With tools like Plex and Jellyfin, you can create a powerful streaming solution that rivals commercial platforms. Whether you’re archiving old DVDs or organizing your digital library, this guide will help you turn your PC into a full-featured media hub.
1. Why Build a Media Server Instead of Using Cloud Services?
Streaming services like Netflix and Spotify are great, but they don’t offer full control. A media server gives you complete access to your personal content—anytime, anywhere.
Unlike cloud storage, local media servers avoid recurring fees and let you store large files without limits. Also, you don’t rely on internet availability to access your favorite media. For privacy-conscious users, keeping files at home is far more secure. Learn more from Plex’s official FAQ.
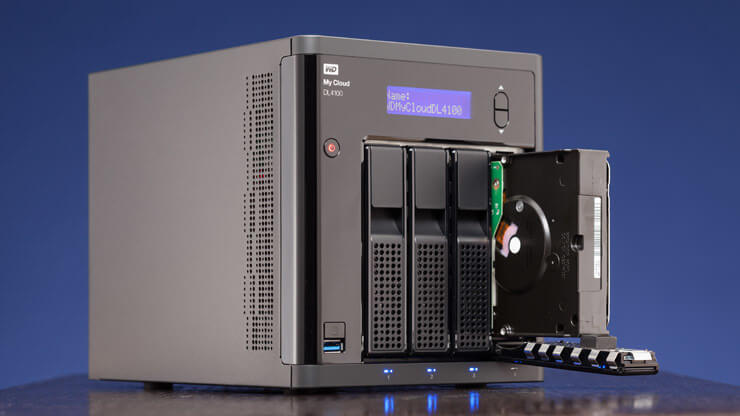
2. Minimum Hardware Requirements for a Home Media Server
Most old PCs can handle media server tasks if they meet basic requirements:
- Dual-core CPU or better
- At least 4GB RAM
- 250GB hard drive (or external storage)
- Ethernet port or strong Wi-Fi card
- A working USB port for installation media
Performance improves with faster drives and more RAM, especially if you transcode videos. However, for direct streaming, even a decade-old system will do.
Consider upgrading the hard drive to an SSD or adding a larger HDD for expanded storage. To better understand server hardware needs, check this Jellyfin performance guide.
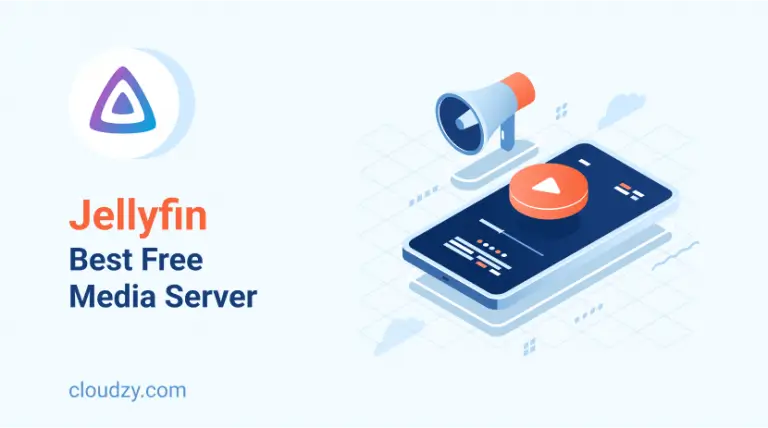
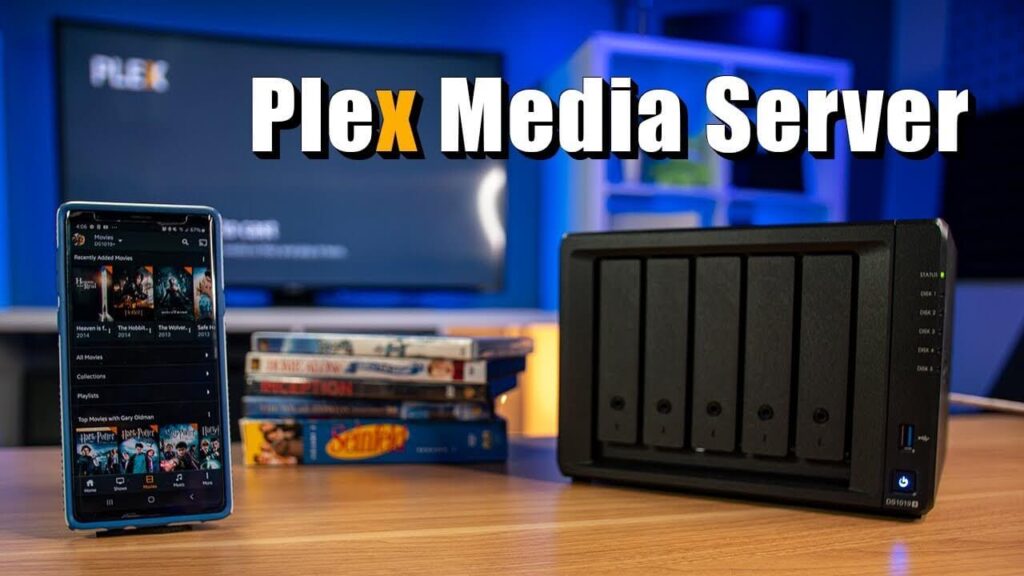
3. Choose Your Media Server Software
You have a few excellent options in 2025. The most popular media server applications include:
- Plex – Simple, polished interface with remote access, metadata, and mobile support
- Jellyfin – Free and open-source alternative to Plex with no paid features
- Emby – Hybrid solution with good customization and remote streaming
- Kodi – More of a local media player, ideal if the server connects to your TV
Download your chosen software, install it on your PC, and follow the setup wizard. Plex and Jellyfin both provide detailed instructions on their websites to guide you through.
4. Install the Operating System and Set Up the Server
Install a lightweight OS to optimize performance. Ubuntu Server or Debian are solid Linux-based choices, or use Windows 10 if you’re more comfortable with it.
Steps to install:
- Download the OS ISO file and flash it to a USB drive using Balena Etcher.
- Insert the USB into your old PC and boot from it.
- Follow installation prompts to install the OS.
Once installed, update the system and install your server software. On Linux, use terminal commands. On Windows, install via .exe files as usual. To manage remotely, use SSH or remote desktop software like AnyDesk.
5. Add and Organize Your Media Library
Store your files in clearly labeled folders:
- Movies
- TV Shows
- Music
- Photos
Ensure your filenames follow recognized formats for automatic metadata scraping. For example:Movie.Name.2022.1080p.mkvTV.Show.S01E01.720p.mp4
Point your media server software to these folders. It will scan, categorize, and add cover art, descriptions, and metadata automatically. Plex has detailed folder naming tips on their support page.
6. Enable Streaming on Local Network and Remote Devices
You can stream content on:
- Smartphones (using Plex, Jellyfin, or Emby apps)
- Smart TVs via Roku, Fire Stick, or Android TV
- Laptops or tablets through browsers
- Gaming consoles like Xbox and PlayStation
To enable remote streaming:
- Forward ports in your router for the media server (e.g., 32400 for Plex).
- Set up dynamic DNS using No-IP or DuckDNS.
- Secure with a strong admin password.
For help with port forwarding, see this how-to guide.
7. Backup and Maintenance Tips
Always back up your media, especially if you plan to rip physical media or store important files. Use an external drive or set up a basic RAID for redundancy.
Schedule your server to reboot occasionally. Clean up unnecessary temp files and monitor storage usage. For automation and remote access, consider integrating with tools like Home Assistant or Nextcloud.
Final Thoughts
Turning your old PC into a home media server is easier than ever in 2025. You’ll not only declutter your device library but also gain total control over your content. Whether you’re watching movies, listening to music, or organizing family photos, a DIY media server brings your digital world together.
Have you built your own media server already? Got questions or recommendations? Drop your thoughts in the comments and help other readers get started!