Building your own gaming PC is no longer a luxury for the wealthy. With smart choices, you can assemble a powerful machine on a tight budget. In fact, a budget gaming PC often performs better than prebuilt models of the same price range.
In this guide, you’ll learn how to build a gaming PC under $700 without compromising quality. Whether you’re new to PC building or upgrading from an older setup, these steps will walk you through everything you need—from choosing components to assembling them.
1. Set a Clear Budget and Prioritize Key Components
Before buying parts, define your budget. A solid entry-level gaming PC can be built for $500–$800. Higher budgets offer better performance, of course.
Focus your spending on the GPU and CPU, since they impact gaming the most. The rest of the components can be adjusted to fit your budget. Learn more about budget allocation from Tom’s Hardware’s PC building guide.
2. Choose a Cost-Effective Processor (CPU)
Your CPU should balance price and performance. For budget builds, AMD Ryzen 5 and Intel Core i3/i5 offer great value.
Recommended options:
- AMD Ryzen 5 5600G (includes integrated graphics)
- Intel Core i5-12400F (powerful for the price)
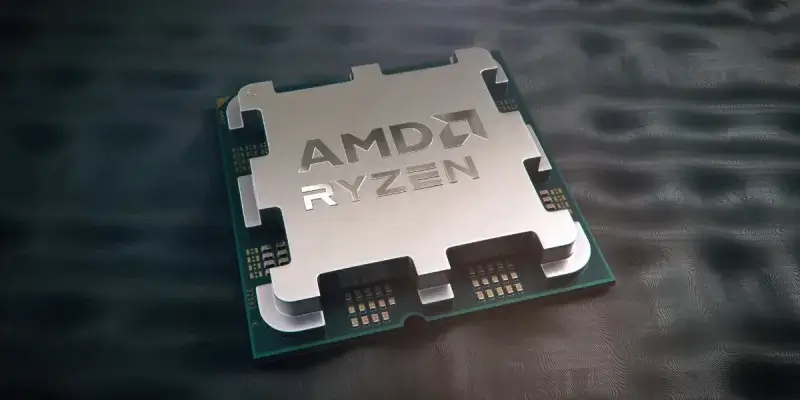
Always check compatibility with your motherboard before buying. Compare prices and benchmarks using CPU UserBenchmark.
3. Pick a Reliable Graphics Card (GPU) for 1080p Gaming
The GPU is the heart of your gaming PC. For 1080p gaming, affordable yet capable GPUs include:
- AMD Radeon RX 6600
- NVIDIA GeForce GTX 1660 Super
- Intel Arc A750 (good for DX12 games)
Prices vary widely, so check sites like PCPartPicker for up-to-date deals and compatibility.
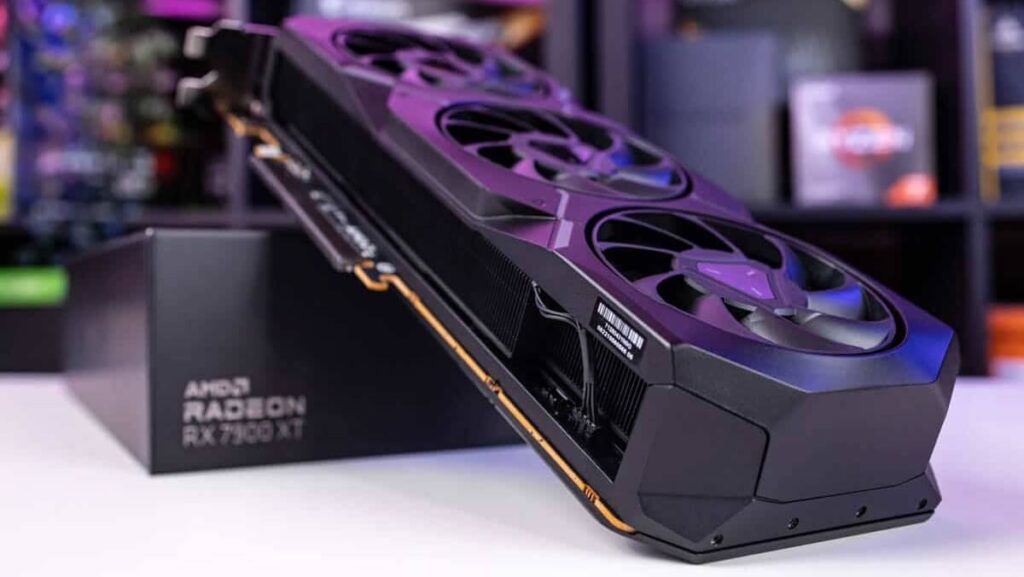
If you’re really strapped for cash, consider starting with a CPU that has integrated graphics and upgrading later.
4. Select a Compatible Motherboard with Essential Features
Choose a motherboard that supports your chosen CPU and has features like M.2 support, USB 3.2, and at least 2 RAM slots.
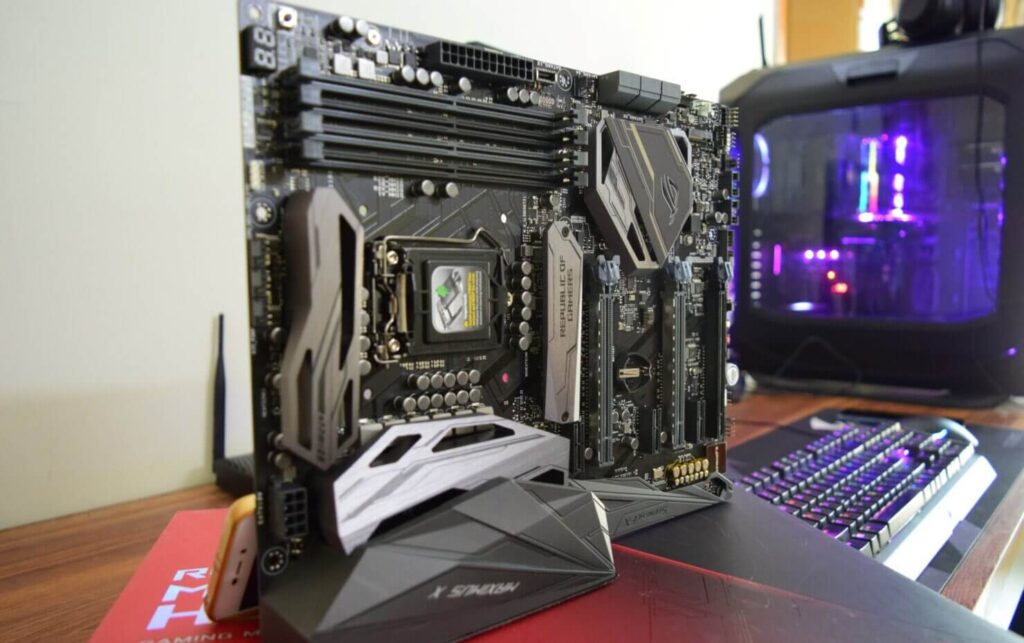
Budget-friendly motherboard suggestions:
- MSI B550M PRO-VDH (for AMD builds)
- ASUS Prime H610M (for Intel builds)
Read reviews before purchasing. TechSpot offers great comparisons and recommendations.
5. Get at Least 16GB of RAM (Preferably 3200MHz or Higher)
For smooth gameplay, 16GB of DDR4 RAM is the sweet spot. Dual-channel kits are better than a single stick.
Some affordable and reliable kits include:
- Corsair Vengeance LPX 16GB (2x8GB) DDR4
- G.SKILL Ripjaws V Series 16GB DDR4

Stick to 3200MHz for AMD builds, while 2666MHz or higher works well with most Intel CPUs. For RAM compatibility, check your motherboard’s QVL list.
6. Choose Fast Storage Without Breaking the Bank
An SSD will make your PC boot faster and games load quicker. Even budget PCs should avoid hard drives as the main storage.
Budget SSD picks:
- Kingston NV2 500GB NVMe SSD
- Crucial P3 1TB NVMe SSD
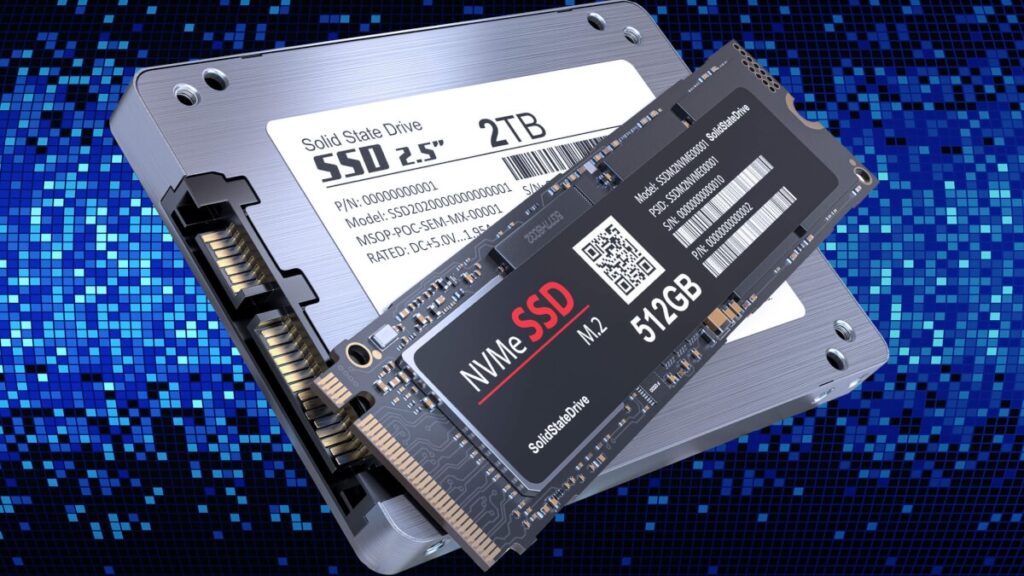
You can always add more storage later. For now, focus on one fast SSD. Read performance reviews at StorageReview.
7. Select a Power Supply (PSU) with Enough Wattage and Efficiency
Never cheap out on your PSU. A good power supply protects your components and offers future upgrade flexibility.
Look for at least 80+ Bronze certification. Top budget models include:
- EVGA 600 BR 600W
- Corsair CV550 550W
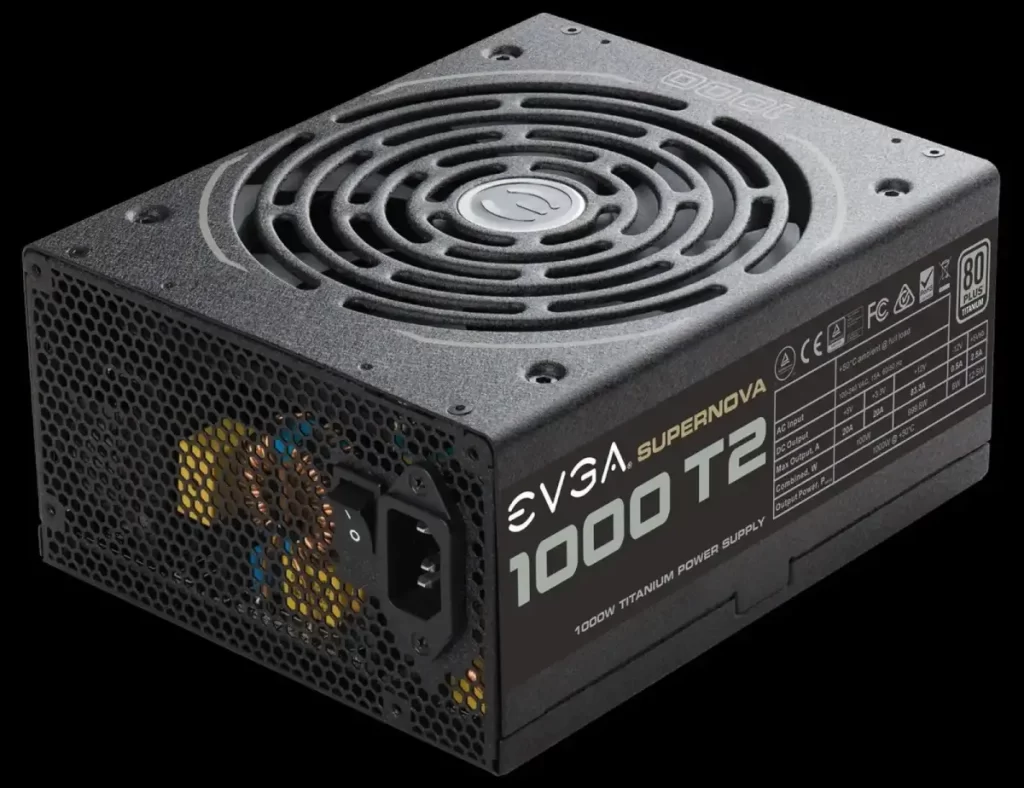
Use the Cooler Master Power Supply Calculator to determine your system’s power needs.
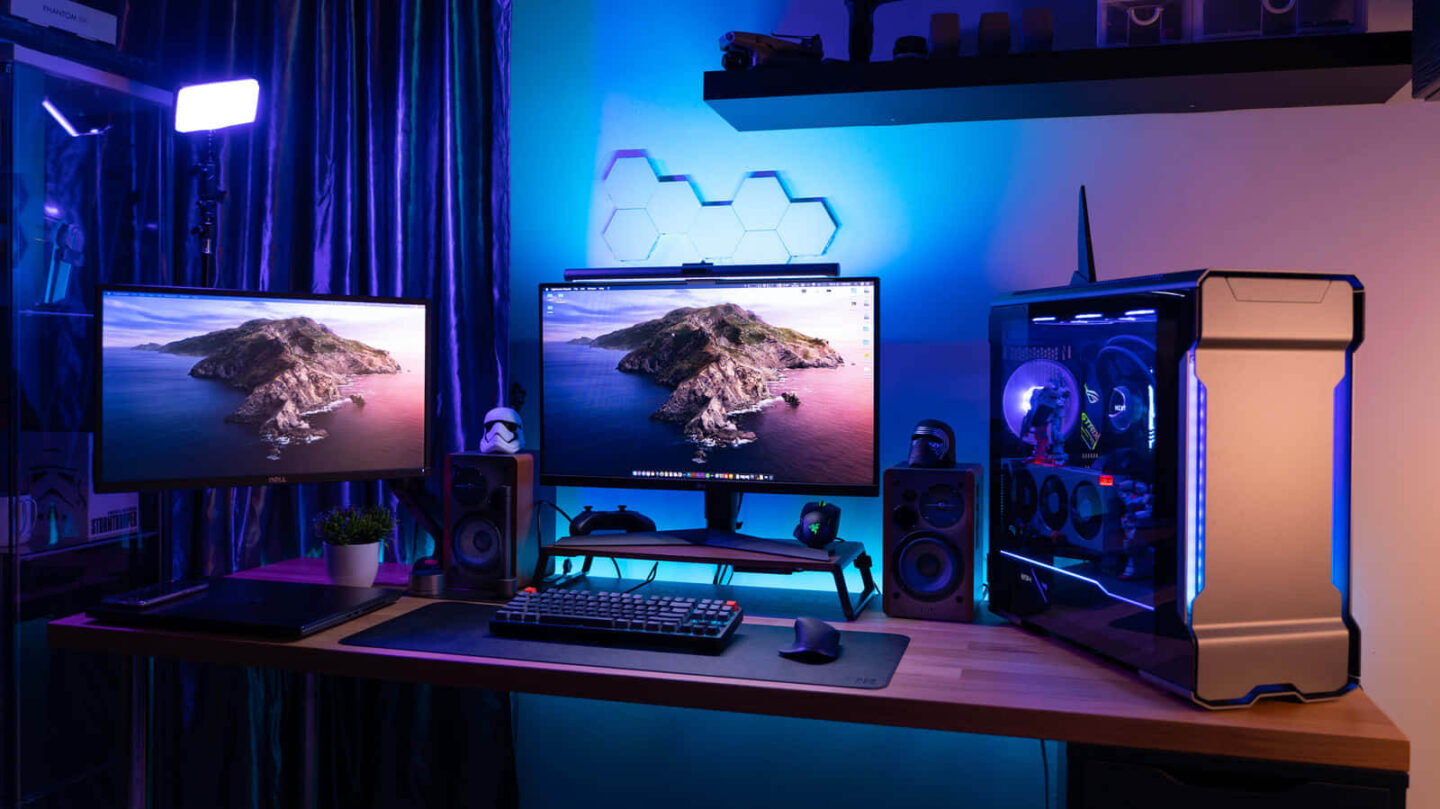
8. Find a Budget-Friendly Case with Good Airflow
Your case should allow for easy cable management and decent airflow. Avoid flashy RGB if it means sacrificing quality.
Affordable yet well-ventilated options:
- NZXT H510
- Cooler Master MasterBox Q300L
Make sure your case supports your motherboard’s size (ATX, mATX, or Mini-ITX) and GPU length.
9. Assemble Your Gaming PC Step by Step
Now that you have your parts, it’s time to assemble. Follow this basic order:
- Install CPU and RAM on the motherboard
- Place motherboard into the case
- Connect the PSU and mount your storage
- Insert the GPU
- Connect all cables carefully
- Power on and check BIOS
For visual learners, follow this detailed YouTube PC building tutorial for beginner-friendly guidance.
10. Install Windows and Essential Drivers
You can download Windows from the Microsoft official website. Use a USB drive and follow the setup instructions.
Once installed, download drivers for:
- Motherboard (LAN, audio, chipset)
- GPU (from NVIDIA or AMD websites)
- Monitor/display
Don’t forget to install antivirus and tools like Steam or Epic Games for your game library.
Final Thoughts
Building your own gaming PC can save money and teach you valuable skills. It’s also fun and incredibly rewarding.
Have you built a budget gaming rig recently? Drop your build specs or questions in the comments—we’d love to hear from you!