
Screen recording has become essential for content creators and educators alike. Whether you’re a teacher sharing a lesson or a gamer showing off skills, capturing your screen is a must. The demand for easy-to-use, high-quality screen recording tools is higher than ever. Thankfully, all major platforms now offer powerful built-in or third-party tools.
This all-in-one tutorial walks you through how to record your screen on Windows, Mac, Android, and iPhone. We also cover tips and best practices, ensuring you capture crisp, professional footage every time. Whether you’re creating a tutorial, streaming a game, or giving a presentation, this 2025 update has got you covered.
Screen Recording on Windows (Windows 10 & 11)
Using Xbox Game Bar (Built-in Tool)
Windows 10 and 11 come with the Xbox Game Bar, a built-in tool designed for gamers but useful for everyone. To use it, press Win + G to launch the Game Bar. Then click the “Capture” widget and hit the record button.
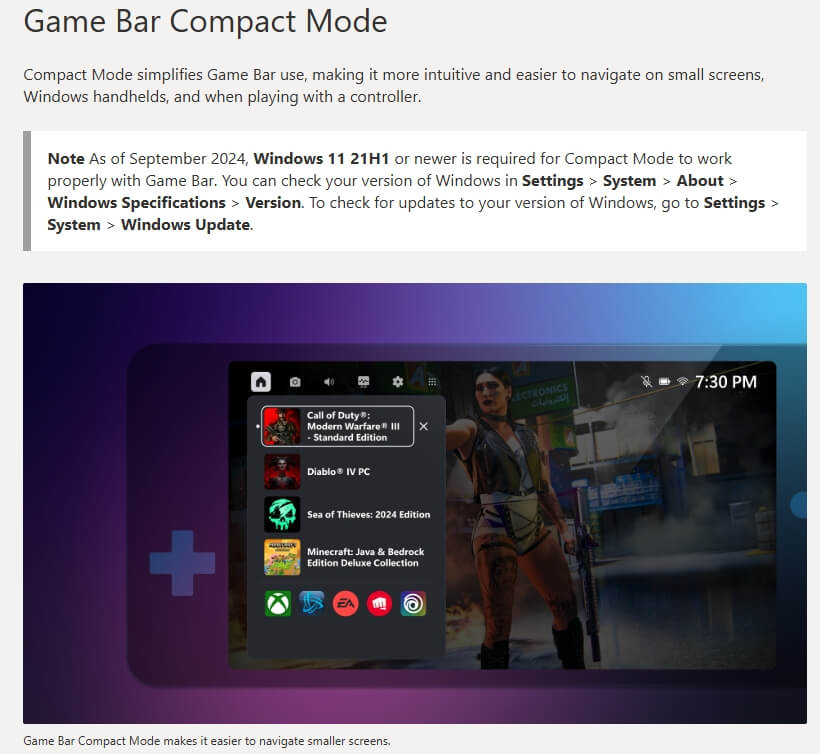
You can also use the shortcut Win + Alt + R to start recording instantly. However, note that Xbox Game Bar can only record one app at a time, not the full desktop.
➡️ Learn more about Xbox Game Bar on Microsoft’s site
Third-party Alternatives
For more advanced features like full-screen capture and annotations, tools like OBS Studio and ShareX are excellent. These are free, open-source programs with customizable settings.
If you’re aiming for professional videos, consider Camtasia. It offers powerful editing tools and supports exporting in multiple formats.
Screen Recording on macOS (Ventura & Sonoma)
Using macOS Native Tools
Macs running Mojave or later have a built-in screen recording tool. Press Command + Shift + 5 to open the screen recording menu. You can choose to capture the full screen, a selected window, or a specific portion.
Click “Options” to set a timer or choose your audio source. After recording, the video is saved to your desktop by default.
➡️ Apple’s official guide to screen recording on Mac
Using QuickTime Player
QuickTime Player is another built-in tool that supports screen recording. Open QuickTime > File > New Screen Recording. You can add microphone audio and choose video quality settings.
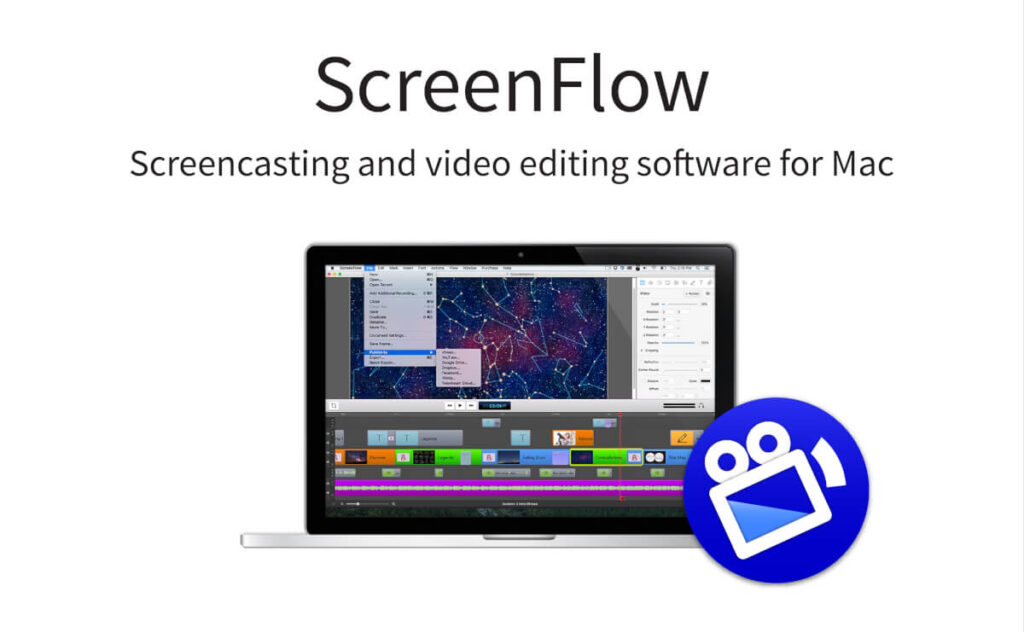
For more advanced editing and export features, try third-party options like ScreenFlow or Capto.
Screen Recording on Android (Android 11 and Up)
Using Built-in Recorder
Most Android phones running Android 11 or later have a native screen recording feature. Swipe down to open the Quick Settings panel and tap “Screen Record.”
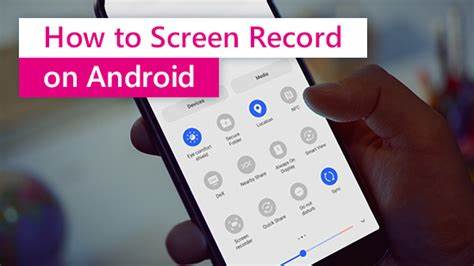
Enable audio if needed, and choose whether to show touch interactions. Then tap “Start” to begin recording. Your video saves to the device’s gallery automatically.
➡️ Official Android screen recording guide from Google
Third-party Apps
If your device lacks this feature, you can use trusted apps like AZ Screen Recorder or Mobizen Screen Recorder. These apps are free and offer features like overlays, live streaming, and editing tools.
Screen Recording on iPhone (iOS 14 and Up)
Using the iOS Screen Recorder
Apple devices with iOS 14 or newer come with a built-in screen recorder. Go to Settings > Control Center and add “Screen Recording” if it’s not there already.
Swipe down from the top-right of your screen (iPhone X and later) and tap the record button. You can enable the microphone by long-pressing the icon before recording.
Once done, the video will save to the Photos app.
➡️ Apple’s official iPhone screen recording support page
Additional Tips for iOS
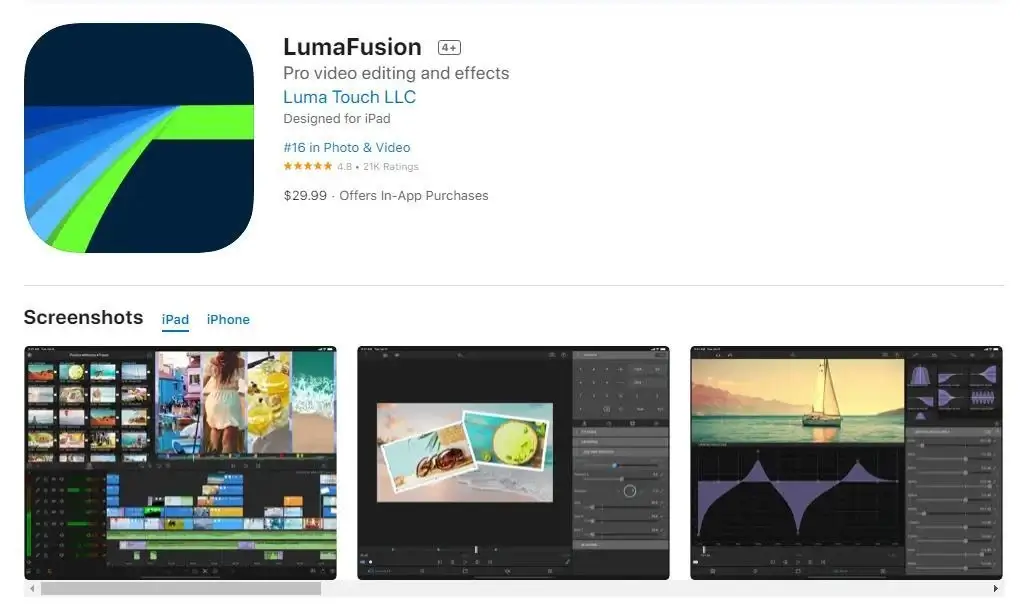
For more editing options, consider using LumaFusion or iMovie for iOS. These tools let you trim, merge, and add music or voiceovers directly on your device.
Tips for High-Quality Screen Recordings
Plan Before You Record
Always prepare your content beforehand. Close unnecessary apps and notifications to avoid distractions. Set your resolution to 1080p or higher for clear visuals.
Use External Microphones for Better Audio
While built-in mics work, external microphones greatly improve audio quality. Tools like the Blue Yeti or Rode NT-USB are great investments for creators.
Edit and Enhance Your Video
Post-recording, use editing software like DaVinci Resolve or Adobe Premiere Pro to trim, cut, and enhance your video. Add captions, transitions, and background music for a polished finish.
Conclusion
Screen recording in 2025 is easier and more accessible than ever. Whether you’re using a PC, Mac, Android, or iPhone, each platform offers intuitive tools to capture your screen effectively. For content creators, educators, and gamers, mastering these tools is a game changer.
Now that you know how to record on all major platforms, start creating high-quality, engaging content with confidence. With the right tools and a little practice, you can produce professional recordings every time.