
Building a high-performance gaming PC is a rewarding experience that gives gamers full control over their hardware, performance, and aesthetics. Unlike pre-built systems, a custom-built PC ensures that each component meets the user’s specific gaming needs. From choosing the right processor to selecting an efficient cooling system, every decision impacts gameplay, speed, and overall system longevity.
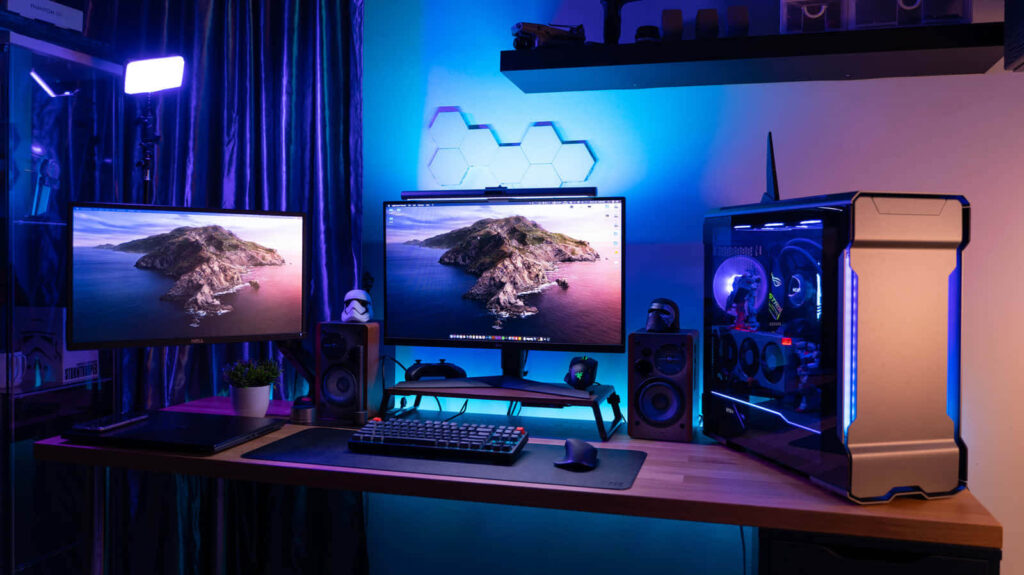
For gaming enthusiasts, the primary goal is to create a rig that can handle modern AAA titles, support high refresh rates, and offer an immersive experience with minimal lag. Whether you’re a novice or an experienced builder, this guide will walk you through the essential steps to assembling a high-performance gaming machine. By carefully selecting the right gaming CPU and powerful GPU, you can ensure a system that meets both present and future gaming demands.
Step 1: Choosing the Right Components
1.1 Selecting a Powerful Processor (CPU)
The CPU is the brain of your gaming PC and plays a crucial role in determining how well your system can handle multitasking and game physics. For high-performance gaming, consider:
- AMD Ryzen 7/9 Series or Intel Core i7/i9 Series for a balance of speed and power.
- Opt for at least 6 to 8 cores with high clock speeds for smooth gameplay.
- Ensure compatibility with your motherboard’s chipset to maximize efficiency.
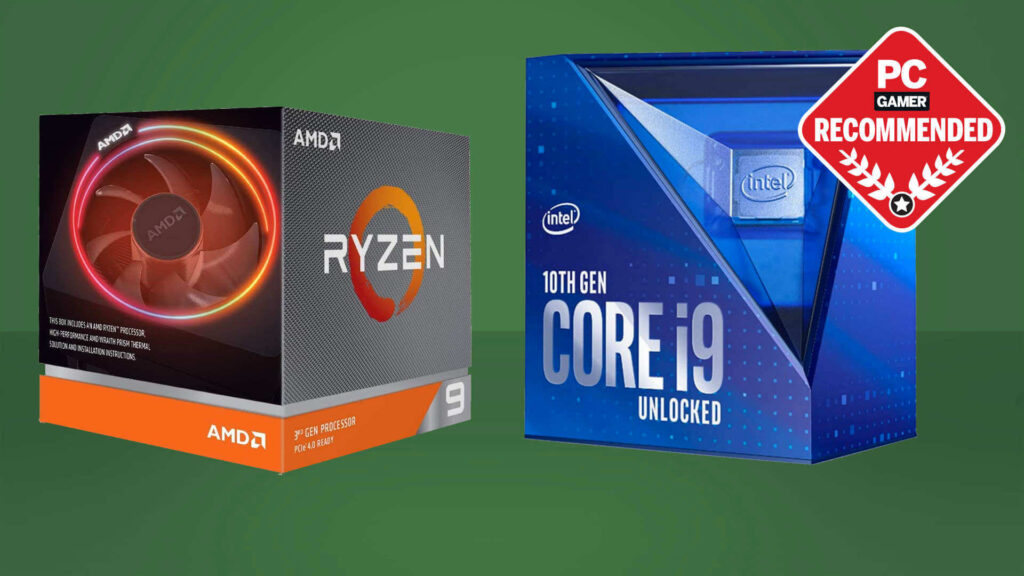
For benchmarking comparisons, check out PassMark CPU Benchmarks.
1.2 Selecting a Powerful Graphics Card (GPU)
The GPU is responsible for rendering graphics and significantly impacts frame rates and visual quality. Consider:
- NVIDIA GeForce RTX 4070/4090 or AMD Radeon RX 7900 XTX for 4K gaming and ray tracing.
- Check the VRAM (8GB or more) for high-resolution textures.
- Ensure your power supply can handle the GPU’s wattage.
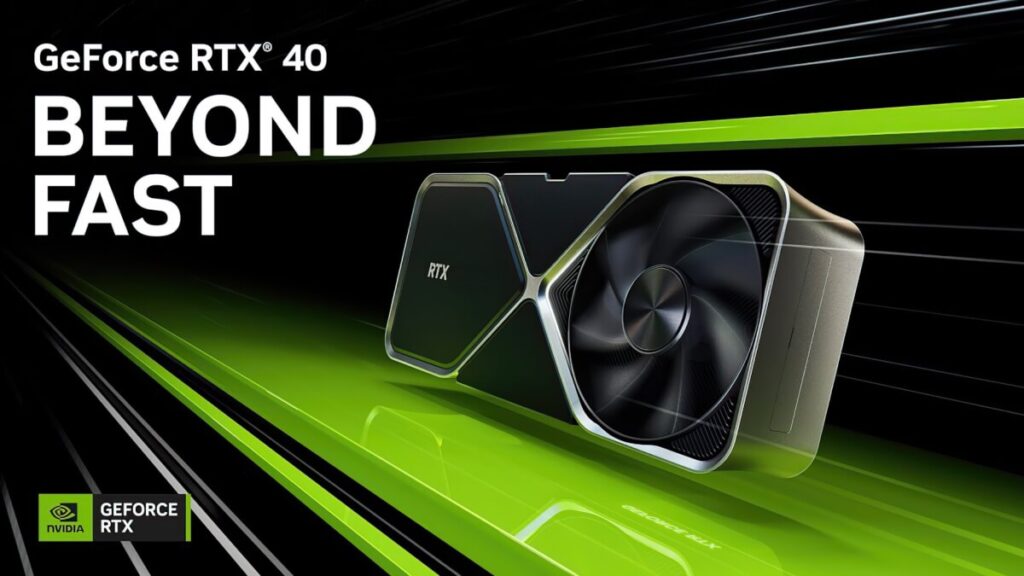
For GPU comparisons, refer to Tom’s Hardware GPU Hierarchy.
1.3 Picking the Right Motherboard
Your motherboard should support your CPU, RAM, and storage preferences. Look for:
- Chipset compatibility (e.g., AMD X670, Intel Z790)
- Multiple PCIe slots for future upgrades.
- Integrated Wi-Fi and Bluetooth for added convenience.
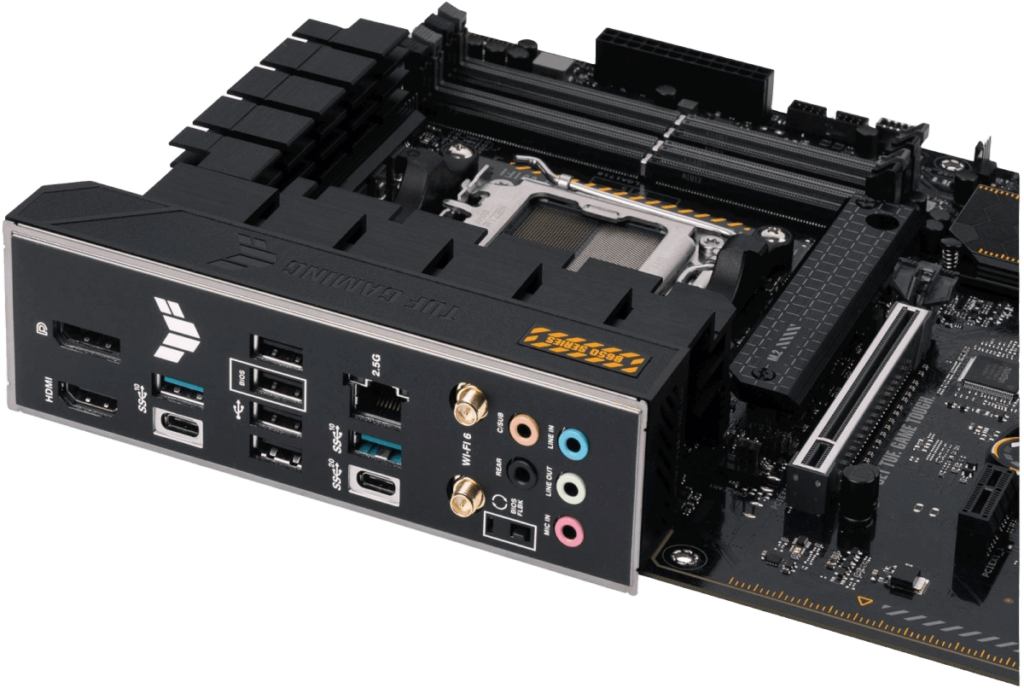
For in-depth reviews, visit AnandTech Motherboard Reviews.
1.4 Selecting the Best RAM for Gaming
- 16GB DDR5 is the new standard, but 32GB is ideal for future-proofing.
- Look for speeds of 6000MHz+ for the latest generation processors.
- Choose a kit with low latency (CL timings) for better performance.
1.5 Choosing Fast Storage: SSD vs. HDD
- NVMe M.2 SSDs (such as Samsung 980 Pro) offer ultra-fast read/write speeds.
- A 1TB+ SSD is recommended for your OS and games, while a 2TB HDD can be used for additional storage.
Step 2: Selecting a Case and Power Supply
2.1 Choosing the Right PC Case
- Mid-tower or full-tower cases provide better airflow and cable management.
- Ensure adequate ventilation and space for future upgrades.
- RGB lighting and tempered glass add aesthetics but prioritize functionality over looks.
2.2 Getting a Reliable Power Supply Unit (PSU)
- A 750W-1000W PSU with an 80 PLUS Gold/Platinum rating ensures stability.
- Modular PSUs help with cleaner cable management.
Check out PSU calculators like OuterVision Power Supply Calculator to determine the correct wattage.
Step 3: Cooling and Cable Management
3.1 CPU and GPU Cooling Solutions
- Air cooling (Noctua NH-D15) for cost-effective cooling.
- Liquid cooling (AIO coolers like Corsair H150i) for overclocking and quieter performance.
3.2 Optimizing Airflow and Cable Management
- Arrange cables to avoid obstructing fans.
- Use 3-4 case fans for optimal cooling and dust management.
- Consider fan controllers or software to adjust fan speeds dynamically.
Step 4: Assembling Your Gaming PC
4.1 Installing Components in Order
- Install CPU onto the motherboard.
- Secure RAM sticks in the correct slots.
- Attach the M.2 SSD (if applicable).
- Install the motherboard into the case.
- Connect the PSU and routing cables.
- Mount the GPU in the PCIe slot.
- Connect case fans and cooling solutions.
- Double-check all connections before booting up.
4.2 Booting Up and Installing Drivers
- Enter BIOS and ensure all hardware is detected.
- Install the OS (Windows/Linux) from a USB drive.
- Download and install the latest drivers from the motherboard and GPU manufacturer’s website.
Step 5: Fine-Tuning and Overclocking
5.1 Overclocking for Maximum Performance
- Use BIOS or MSI Afterburner to tweak CPU and GPU clock speeds.
- Adjust fan curves to maintain safe temperatures.
- Monitor temperatures using HWMonitor or HWiNFO.
5.2 Installing Essential Gaming Software
- Steam, Epic Games Launcher, Xbox Game Pass for accessing games.
- Discord, OBS Studio for communication and streaming.
- MSI Afterburner, NVIDIA GeForce Experience for performance monitoring and tuning.
Conclusion
Building a high-performance gaming PC allows for customization, future upgrades, and optimized performance. With the right CPU, GPU, cooling solutions, and proper assembly, you can create a gaming rig that delivers top-tier performance. Follow this guide, install necessary drivers, and optimize settings for the best gaming experience possible.
For further insights, visit PCPartPicker to ensure component compatibility.