Have you ever wondered how you can easily extract the embedded images, graphs, illustrations or drawings in your MS Word document, your MS Excel workbook, or your MS PowerPoint presentation files?

With embedded images, you might explore copying the image and pasting it to MS Paint and then saving each one at a time. This conventional process is tedious and time consuming. Imagine if your MS Word document has 50 embedded pictures in it. You need to copy 50 times, paste to MS Paint 50 time, and then save the individual images 50 times.
In this trick, you will be able to extract all of the images, illustrations and drawings at once. For the sake of this demo, I will be showing how to extract embedded images in an MS Word document.
The steps shown below are using MS Word 2010. These same steps will also work with MS Office 2007 or 2013 as long as the file extension is .DOCX. (For Excel files, .XLSX, for PowerPoint, .PPTX.)
Step 1: Locate and prepare the MS Word document that you will be dealing with. For safety and security, make a copy of the file as backup should the process fail, so that you will be working with the backup file, not the original file.
Step 2: Open the MS Word file to see the actual embedded pictures. For this demo, my sample Word document is a single page, with 2 images inserted. The name of the file below is Sample_Inserts.docx.

Step 3: Close the file as you prepare to extract embedded images from it. Locate the MS Word file to where you saved it. In my sample file, it is saved in My Documents.
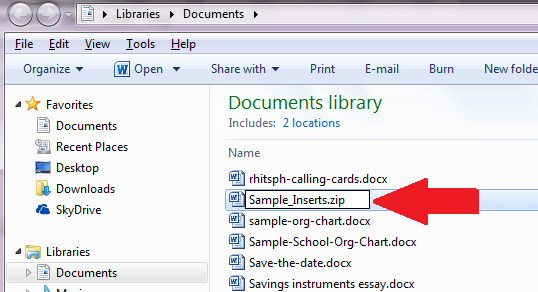
Step 4: When found, here starts the trick: Change the file extension of the MS Word file, from .docx to .zip. This can be done in two ways. First, click on the filename, then press F2 to rename. Then leave the file name as is, just change the file extension from .docx to .zip. Second, you can right click on the MS Word file, then click on Rename, then change the file extension to .zip.
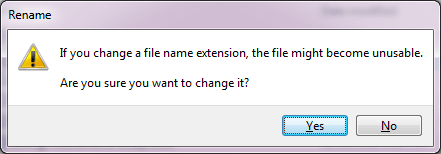
Step 5: After renaming the .docx file extension to .zip, press Enter to execute the action. When you are prompted by a pop up window, click Yes to confirm the action.
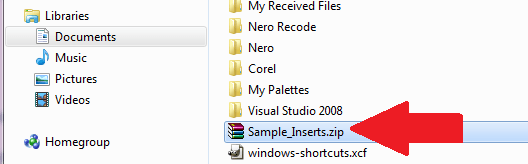
Step 6: Then the file icon will change from being with the blue “W” MS Word icon, to a ZIP file or archive icon. In my case, since my default archiving software is WinRar, the MS Word file now shows with the WinRar icon.
Step 7: This time, open the contents of the ZIP file to show the actual structure of the MS Word’s .DOCX file. Here is my sample screen shot:
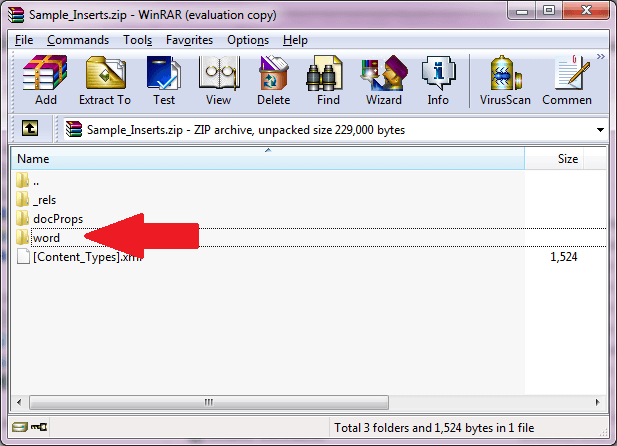
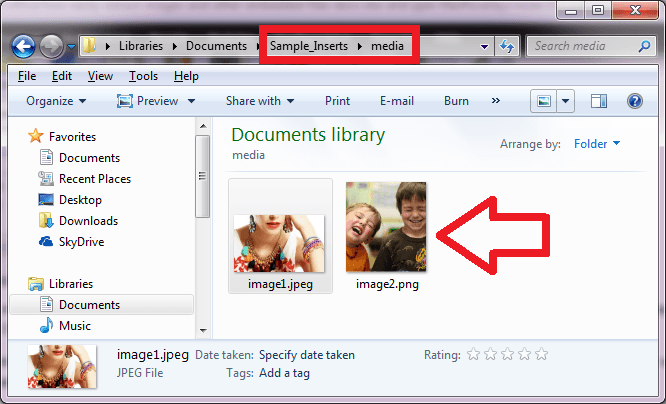
Step 8: Next, open the folders and locate the images there. The images are usually stored in a folder called “images”. In my sample file, it is in fact inside the “word” folder within the “media” sub-folder.
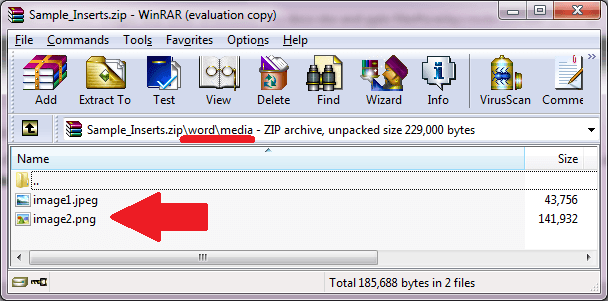
Step 9: Finally, extract ONLY the media folder since you only need the embedded images. You can do this in various ways depending on your ZIP program. In any case, you can simply COPY the “media” folder that contains the embedded file, then paste it somewhere.
Step 10: For WinRar, you need to click on the “media” folder, then click on “Extract To” button. Then by default, WinRar will create a folder based on the file name of the ZIP file. In my sample, the folder is Sample_Inserts. Extract the folder there, and you shall get the individual images embedded in the MS Word document.